Enjoy your mount – Video Mount Products DS-CH User Manual
Page 4
WARNING: The installer of these products must verify that the mount surface, ceiling or wall, will safely
support the combined weight of all attached equipment and hardware. Video Mount Products will not
be held liable for the improper use or installation of its products.
Enjoy Your Mount!
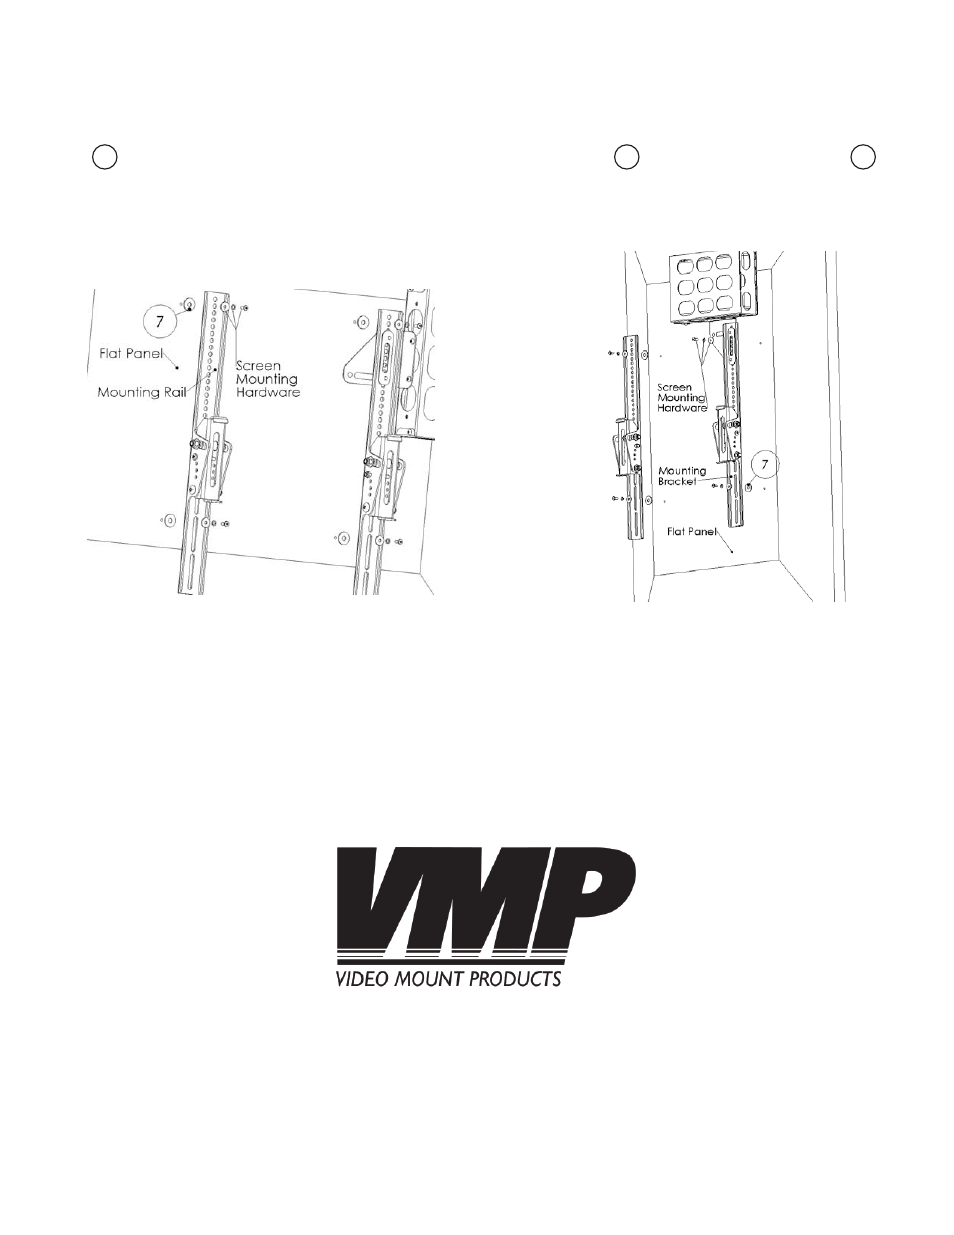
Step 5a: Attaching the mounting rail to the fl at panel
(fl at panel in landscape)
Step 5
Proceed to follow the mounting instructions for the mount you are attaching the DS-CH to until you get
to the point where you are attaching the fl at panel to the mounting rails. At that point the only differ-
ence between the instructions provided with the other mount and the DS-CH is since the connector
fl ap will create a standoff of the thickness of the connector fl ap you can use the washers as
spacers so the fl at panel will still have an even surface to mount on.
Please verify that all nuts and screws are securely tightened.
Step 5b: Attaching the mounting rail to the fl at panel
(fl at panel in portrait)
2
2
7