Enjoy your mount – Video Mount Products FP-XMFTB User Manual
Page 4
Step 5
Adjust the tilt tension by tightening the socket head screws with
the M5 Allen Key so they are fairly tight. Note: You may have
to adjust the tilt tension once the flat screen is on the wall so do not
tighten as hard as you can because it will make further adjustment
on the wall much more difficult.
Step 6
Use the hooks on the top lip to hook on the top rail of the wall
plate . Tighten the M5 screws in the bottom lip to secure
the TVs to the wall plate and to secure its horizontal position.
Step 7
If you need to adjust the tilt tension simply tilt down the flat screen
as far as it will go. Note: This is done to give you room to work with
behind the flat screen. Take the M5 Allen Key and tighten down
the socket screws until you have achieved the desired tilt tension
and readjust the tilt to the desired angle.
Please verify that all nuts and screws are securely tightened.
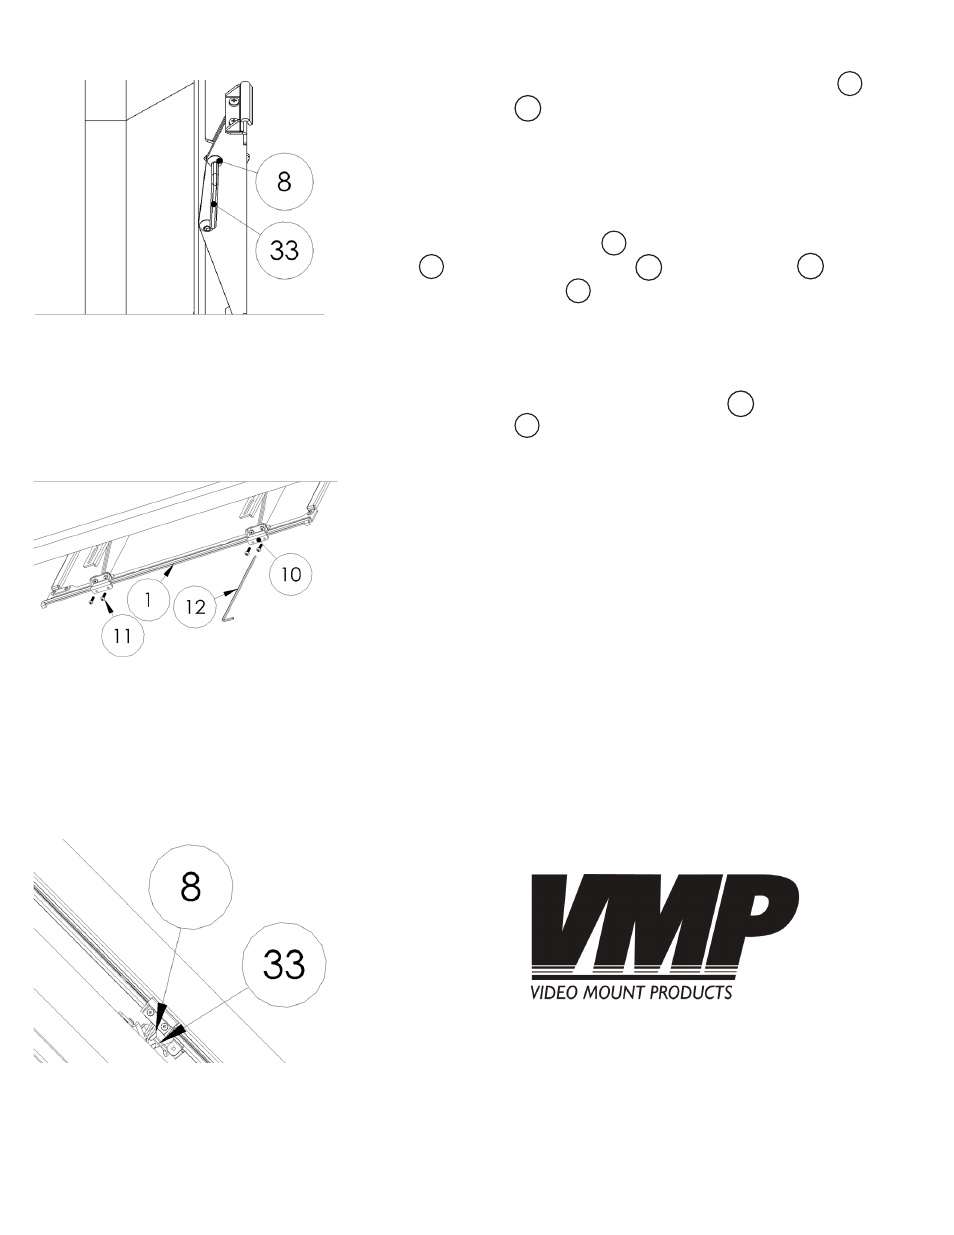
Step 5: Tightening the tilt
mechanism
WARNING: The installer of these products must verify that the
mount surface, ceiling or wall, will safely support the com-
bined weight of all attached equipment and hardware. Vid-
eo Mount Products will not be held liable for the improper use
or installation of its products
Enjoy Your Mount!
Step 6: Securing the tilt
brackets to the wall plate
9
33
33
11
1
8
8
Step 7: Adjusting the tilt tension after
placing the screen on the wall
10
1