Enjoy your mount – Video Mount Products PDS-LWAB User Manual
Page 4
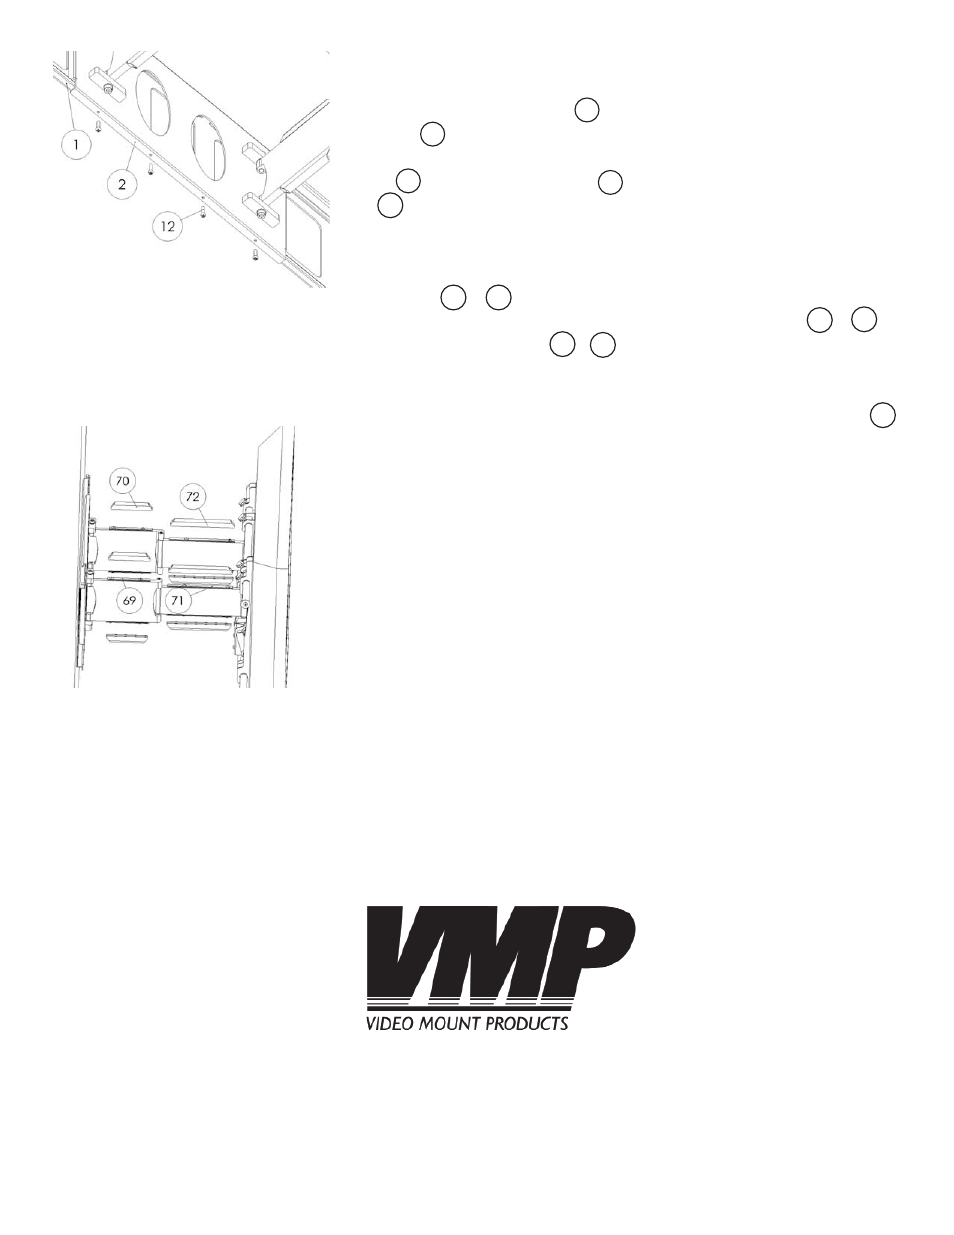
Step 4
Lift the monitor with the arms attached so the bent lip on the
wall mounting bracket catches the top edge of the wall
plate . Note: This should be done with at least two people in
order to prevent possible injury.
Once the wall mounting brack-
et is on the wall plate then use the ¼” – 20UNC screws
to secure the wall mounting bracket in place.
Step 5
To run the cables along the articulating arms pop off the cable
covers & along the top and bottom of the arms and run
your cables as desired. Reattach the cable covers & to
their respective bases & when f nished.
Step 6
In order to tilt the mount, loosen the tilt adjustment handles
slightly tilt the monitor and retighten the handles.
Please verify that all nuts and screws are securely tightened.
Step 4 : Attaching the wall
mounting bracket to the
wall plate
Step 5 : Running the cables
along the arms
2
72
70
WARNING: The installer of these products must verify that the mount surface, ceiling or wall, will safely
support the combined weight of all attached equipment and hardware. Video Mount Products will not
be held liable for the improper use or installation of its products.
Enjoy Your Mount!
72
70
71
69
64
1
2
1
12