General usage and maintenance – RIKON Power Tools 10-600VS User Manual
Page 10
10
A scroll saw is fundamentally a “curve cutting tool” but which can also carry out straight and angled edge cuts.
Familiarize yourself with the following important points prior to commissioning the saw.
• The saw does not automatically cut wood. You must feed the wood against the saw blade manually.
• The cutting process occurs while the blade is moving.
• Feed the wood slowly against the saw blade as the saw blade teeth are small.
• Persons carrying out work with the saw require training. The saw blade may break easily during this training time
while the operator is still unfamiliar with the saw.
• The saw is best suited for sheets of wood less than 25 mm (1’’) thick.
• Feed the wood especially slowly against the blade and avoid abrupt curves to prevent the saw blade from breaking,
if you wish to cut wood sheets thicker than 25 mm (1’’).
• Saw blade teeth will get dull over time, saw blades must be replaced. Blade wear depends on type of wood and operator.
• Try and make sure that the saw blade follows the grain of the wood in order to obtain a clean cut.
• The saw speed must be reduced to minimum when cutting precious and non-ferrous metals.
Inside cuts
Warning: Switch off the saw and remove the cord from power supply before installing saw blades in order to
avoid injuries caused by unintentional activation of the saw. This saw is suited also to inside cuts, or cuts not
starting at the edge of the work piece.
Proceed as follows:
• Drill a 6mm (1/4’’) hole in the work piece.
• Turn the blade tension knob to release the tension in the blade.
• Place the bore hole over the saw blade slot in the work table.
• Install the saw blade through the hole in the work piece and through the work blade slot, and fasten the blade to the
holders.
• When you have completed the inside cut, remove the saw blade and then remove the work piece from the table.
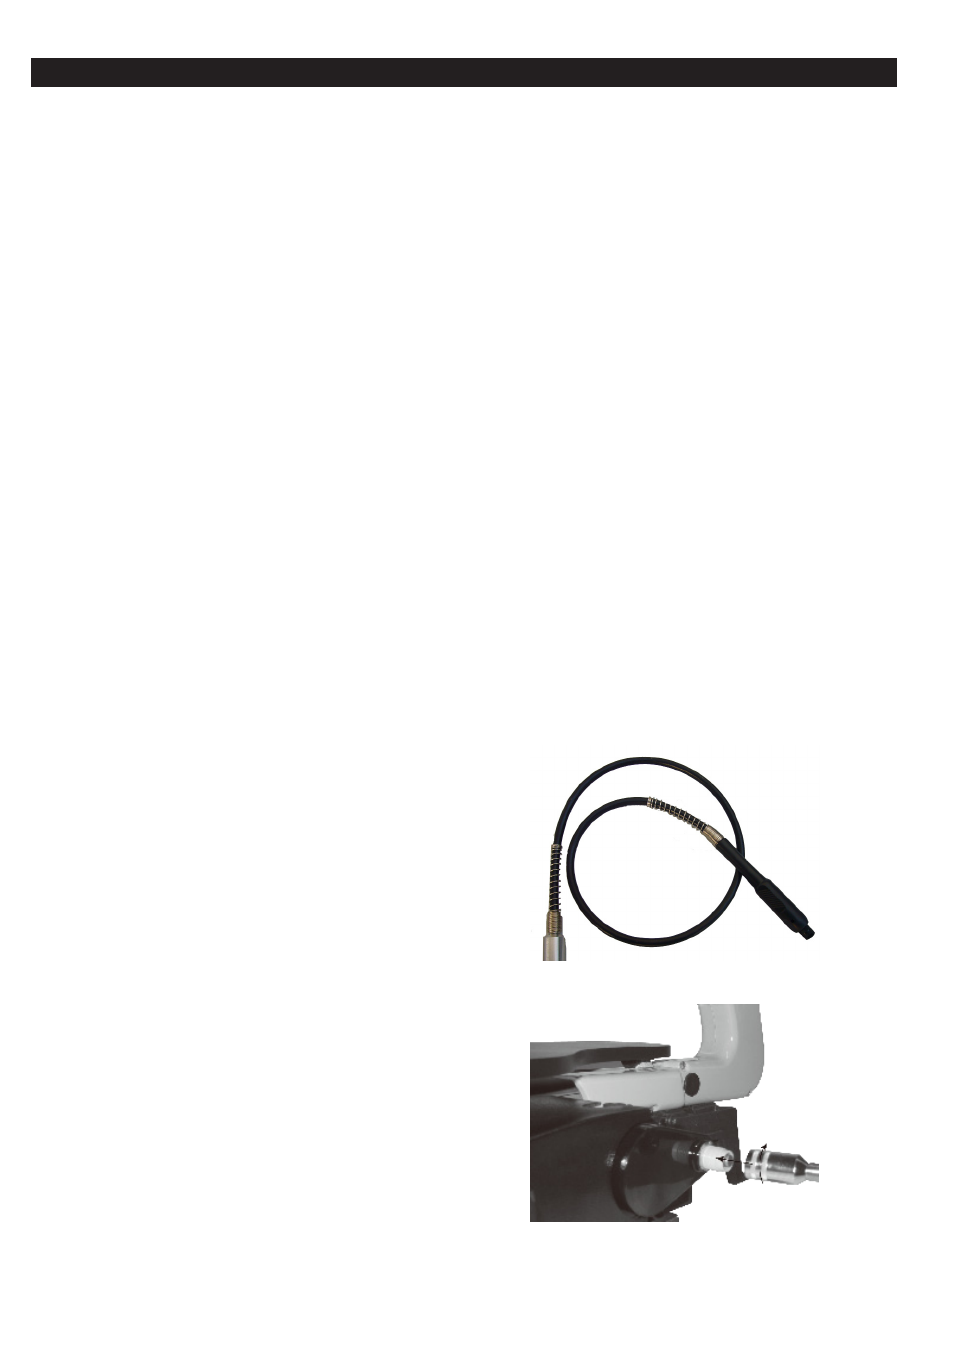
Attaching Flexible shaft (Optional )
General Usage and Maintenance
Fig. 10
Fig. 9
Optional Part
• Remove protective cap from the threaded bushing.(Fig.9)
• Place flexible shaft onto the threaded bushing.( Fig.10 )
• Clamp tool in the drill chuck 3.2mm (1/8’’) diameter.
• Firmly hold threaded shaft at the handle and switch on
the speed control.
• Having finished the work, remove the fl exible shaft and
place the protective cap in place.
Attention: When working with the flexible shaft,
cover the saw blade with the blade guard.