Self-check & fine calibration – Johnson Level & Tool Mfg. 40-6680 User Manual
Page 8

8. Self-Check & Fine Calibration
IMPORTANT: It is the responsibility of the user to verify the
calibration of the instrument before each use.
8
©2010 Johnson Level & Tool - Rev. 1
Self-Check Calibration
1. With the laser on its base and set on a flat platform inside a room,
turn the laser on.
2. Mark the down beam location and use this as your reference
point.
3. Locate the up beam and mark its point as position A.
4. Rotate the laser (not moving the base) 180º by swiveling the laser
on its base and mark the up beam location as position B.
5. Rotate the laser 90º and mark the up beam location as position C.
6. Rotate the laser 180º and mark the up beam location as
position D.
Note: Do not move the base and always have the down beam in the
same location.
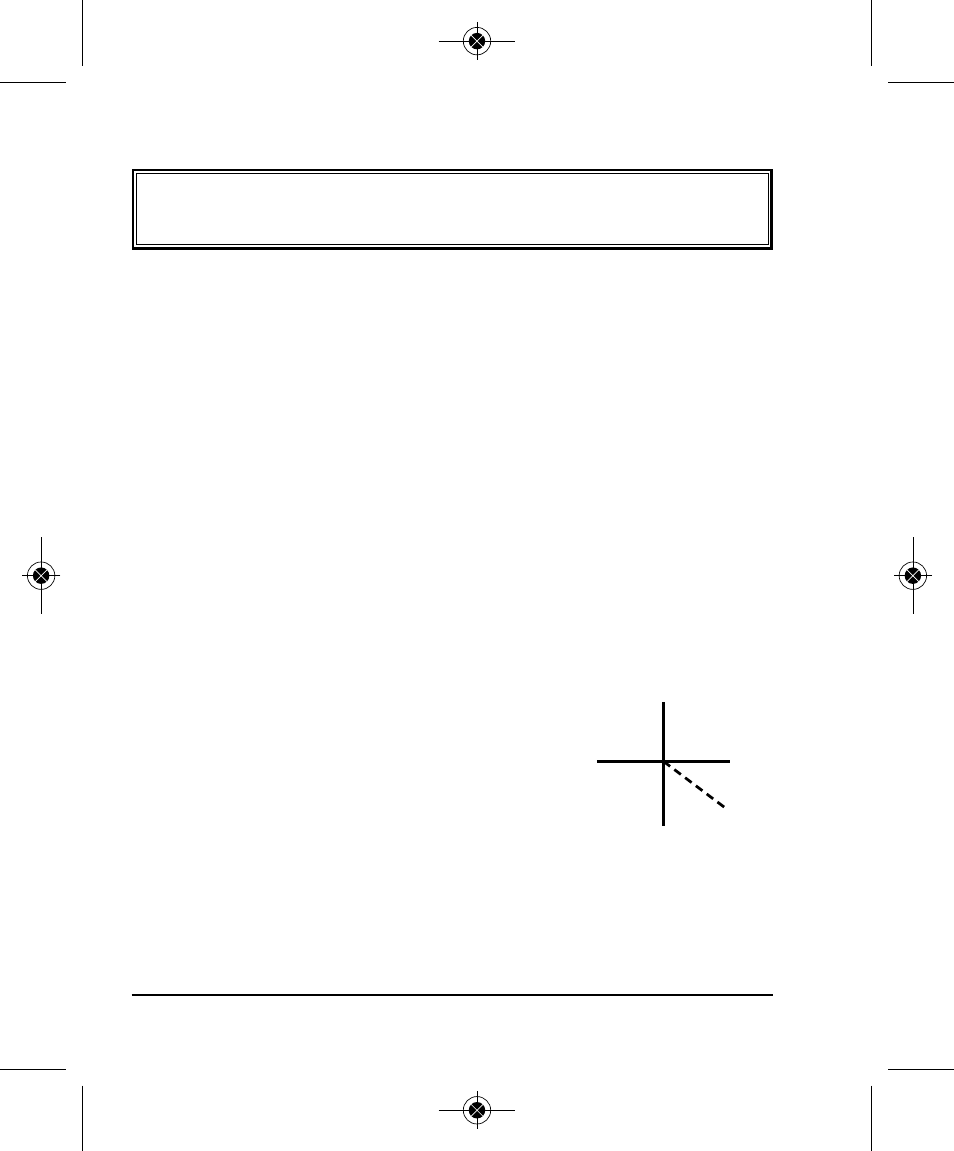
7. Connect the four dots. Connect A to B
and C to D.
8. If the center point (E) is more than
1/8” at 50’ or 1/32” at 12.5’ from
points A, B, C and D, the unit needs to
be recalibrated.
0º (A)
180º (B)
(E)
90º (C)
270º (D)
Fig. A
3589H-New_Manuals 7/8/10 9:39 AM Page 8
