Specifications, Preparation for operation, Operating – ATN WP-17 User Manual
Page 3
The information in this manual furnished for information use only, is subject to change without notice, is not to be
construed as a commitment by ATN Corp.
ATN Corp. assumes no responsibility or liability for any errors or inaccuracies that may appear in this book.
©2005 ATN Corp. All right reserved.
2
SPECIFICATIONS
Generation ...................................................................................................... 2nd, 2nd+, 3rd, 4th
Magnification................................................................................................... 2.5X (5X optional)
Lens system .................................................................................................... F1:1.2, F43mm
FOV ................................................................................................................. 20 deg.
Range of focus ............................................................................................... 1m to infinity
Reticle ............................................................................................................. Red On Green
Windage & elevation adjustments ................................................................. 1/2MOA
IR illuminator ................................................................................................... Super 450mw
Battery life....................................................................................................... 10-20 hours
Dimensions .................................................................................................... 9.8” x3.8” x3.3”
Weight ............................................................................................................ 1.5kg/3.3 Lbs
Diopter adjustment ........................................................................................ +/-5
Operating temperature ........................................................................................ -40°C to +40°C
PREPARATION FOR OPERATION
Before getting started make sure to follow these steps:
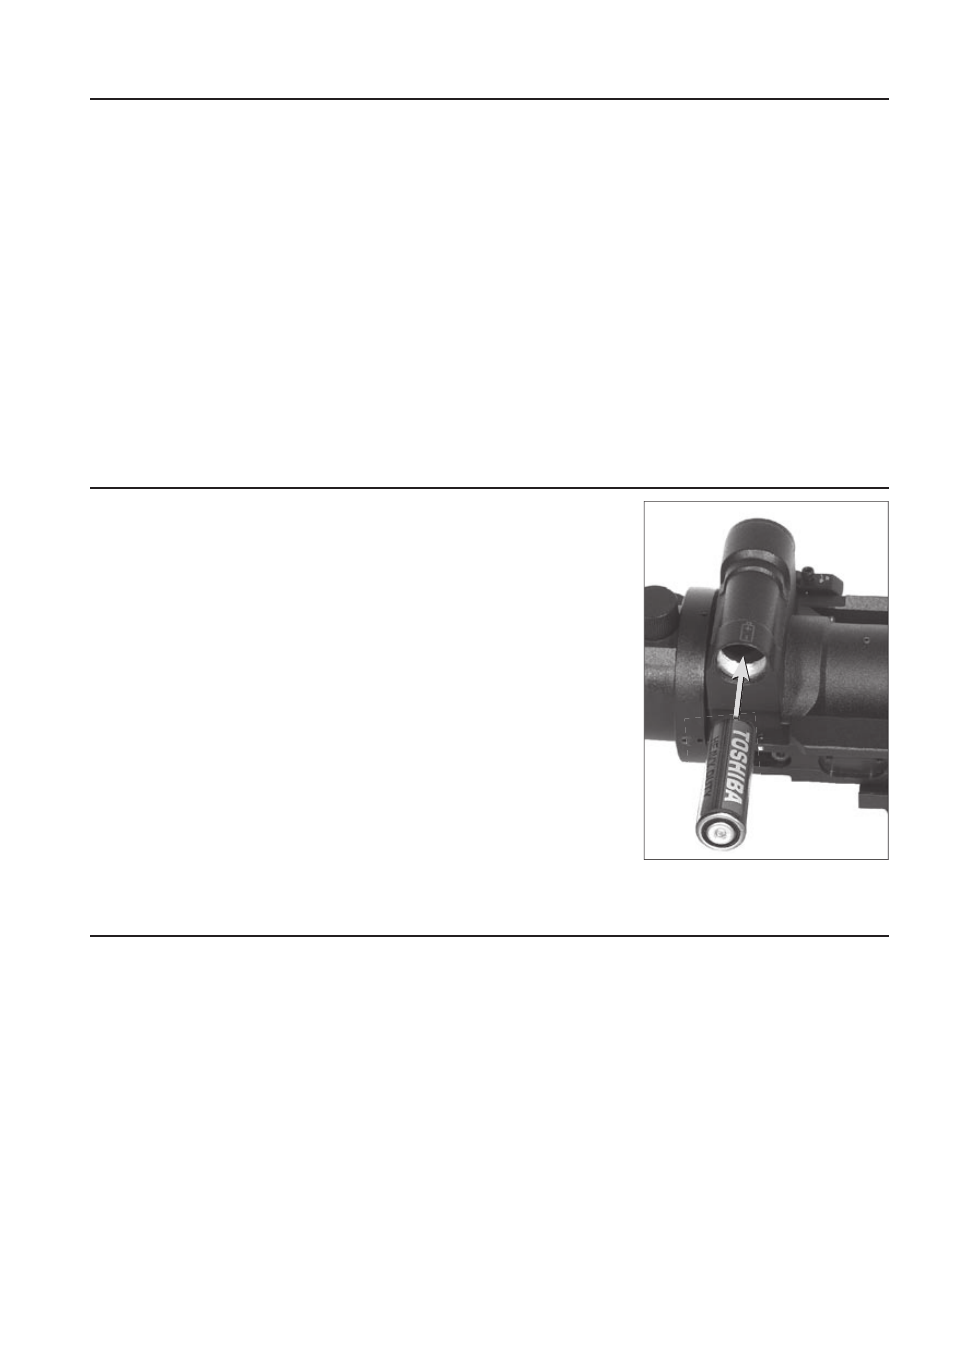
• Install the battery into its housing with the polarity order shown
on the main body of the unit.
• Switch on the Aries scope with the protective lens cover still
attached to the lens.
• Make sure that the green luminance of the light intensifier tube
is present.
• Observe the scene, and adjust the diopter and/or lens for opti-
mal image clarity.
• You may now enter a dark environment or simply shut the
lights off in order to darken the room.
• Next, remove the lens cap/daylight filter.
• Observe the scene, and adjust the front lens for ideal focus.
• Finally, you may want to turn the infra red (IR) illuminator on.
Notice the ability of the Aries scope to see in total darkness with
the aid of the IR illuminator.
Battery
installation
OPERATING
MOUNTING
1. Slightly loosen the fixing screws on the 7/8” weaver rail built into the scope.
2. Place the scope on the dovetail mount of the fire arm making certain that the mount aligns with the
receptor attachment screw groove. Adjust as necessary.
3. Tighten the fixing screws.
NOTE: Receptor attachment screws may need to be tightened after continuous shooting.
MOUNTING SYSTEM
The ATN Night Vision Riflescopes Mounting System allows to change the position of the rif-
lescope flexibly on the weapon in relation to a shooter in combination with the fixed positions
already available on the weaver rail. For this purpose in the base of the mounting bracket there
is a rail with a fixing projection. There are three grooves in the mounting bracket for mounting
this rail. Besides it is possible to change the position of the riflescope additionally by 1/3 of
inch. For doing this one needs to about-face the rail.