Skc limited warranty and return policy – SKC Replacing the Stack in an AirLite User Manual
Page 3
3. Use a small Allen wrench to tighten the setscrew on each side of the pump
housing.
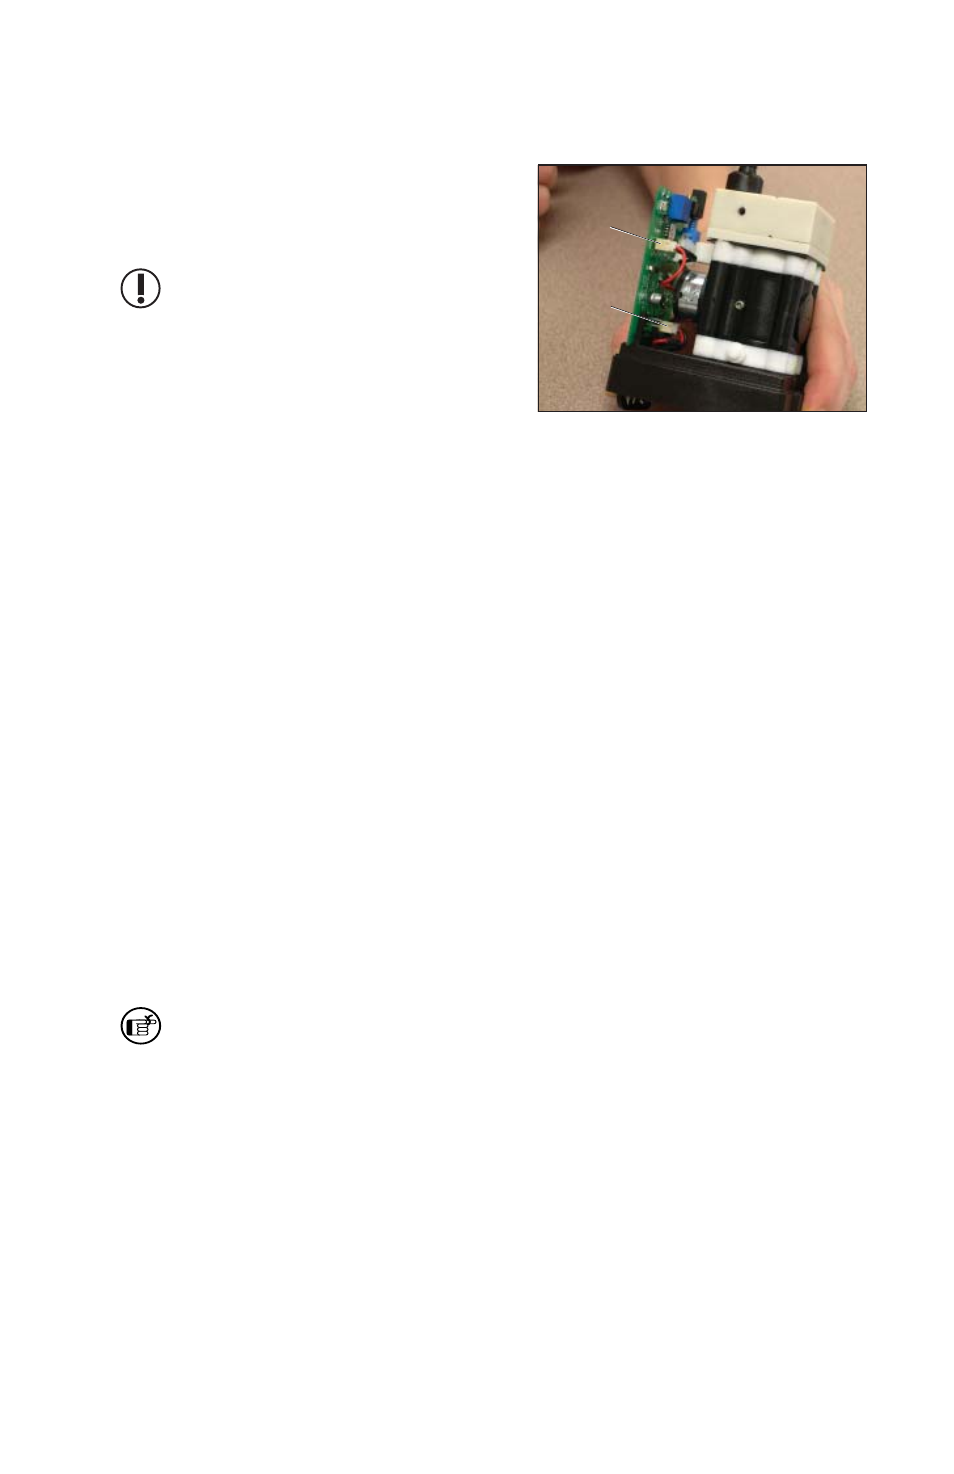
4. Reatt ach both wire harnesses to their
corresponding wire connectors on the
control board. Reinsert the control
board in its groove on the base plate.
Handle wiring gently.
5. Leak-check the stack before inserting the stack in the case.
a. Connect the pump inlet to a water column.
b. Block
off the exhaust port (located next to the inlet hose barb) using an
implement that is .187 inch in diameter.
c.
Apply 15 inches water pressure. If the stack has complete integrity, the
water column will not drop. If there is a leak, the column will drop and
the tester should troubleshoot the stack and eliminate the leak before
installing.
6. Place
batt eries in the batt ery compartment. Replace and secure the batt ery
case cover.
7. Run the pump to ensure that motor and stack are properly installed (i.e.,
yoke is not binding the eccentric). If operating properly, replace the butt on
plug on the side of the pump housing.
8. Align the inlet hose barb with the hole in the top of the pump case and
gently insert the pump up into the case. Ensure the control board is aligned
with the ribs on the inside of the case. Once the side tabs of the case are
aligned with the corresponding channels on the sides of the base plate, press
the case down until the tabs click into place.
If there is resistance, pull off the case and ensure the control board is seated in
its groove on the pump base plate. Repeat Step 8.
9. Replace the single retaining screw on the back of the pump case.
10. Align and replace the belt clip and two screws.
SKC Limited Warranty and Return Policy
SKC products are subject to the SKC Limited Warranty and Return Policy, which
provides SKC’s sole liability and the buyer’s exclusive remedy. To view the com-
Motor Wire
Connector
Battery
Wire
Connector