Iv - getting started, Symbols – MAC Allister MAC1700RMA User Manual
Page 5
4
5
IV - Getting started
1
UNPACKING
Due to modern mass production techniques, it
is unlikely that your power tool is faulty or that
a part is missing. If you find anything wrong, do
not operate the tool until the parts have been
replaced or the fault has been rectified. Failure
to do so could result in serious personal injury.
The mower is supplied partially disassembled.
The parts in the carton are:
• Mower body (with blade fitted)
• Upper handle (including switchbox, motor on/
off grips, handle joints with twist locks, motor
cable saddle clip and 15m power cable)
• Lower handle (including cable tidy, motor
cable saddle clip and blade spanner)
• Grass box
• 2 wing knobs and 2 lower handle fixing clips
ASSEMBLY
CAUTION. Never carry out any assembly
operations or adjustments with the power
connected to the mower. Always ensure that the
power button is in the off position and that the
power plug is disconnected from the supply.
2
Ensure that the handle is in the correct
orientation i.e. the cable tidy (10) must be on
the uppermost side of the lower handle (17)
as shown on the main photograph. Fit the two
tubes of the lower handle (17) into the slots in
the mower body (15).
3
Fix the ends of the lower handle in position with
the two lower handle fixing clips (18).
4
Using the two saddle clips (12), secure the
black-coloured motor cable (6) to the upper
handle (1) and lower handle (17).
5
Fit the handle joints (7) of the upper handle (1)
over the die-cast ends of the lower handle (17)
and secure them together with the wing knobs
(9).
NOTE. There are two spacers under the blade,
one coloured blue (24) and one coloured yellow
(25).
The blue spacer can be removed to increase the
incremental cutting heights by an extra 6mm
at all 5 settings of the height adjustment lever
(16).The mower must not be operated without
the yellow spacer (25) in position under the
blade. Instructions on how to remove the blue
spacer are given in the section on changing the
mower blade (Section VI).
CAUTION. Keep the two arms of the upper
handle (1) parallel and insert them into the
handle joints, both at the same time. If you
insert one arm and then the other, you may
damage the joints. When removing the handle,
keep the arms parallel and remove both arms at
the same time.
6
Ensure that each arm of the upper handle (1)
is properly seated in the handle joints (7) as
follows:
• Loosen the two handle twist locks (8).
• Keeping the two arms of the upper handle
parallel, make sure that the upper handle (1) is
fully inserted into the handle joints (7).
• Retighten the two handle twist locks (8)
turning them clockwise.
NOTE. Make sure that the switchbox is facing
upwards and that the orange-coloured power
cable (5) is not wrapped around the handle.
It must trail freely behind the switchbox on the
upper handle.
7
ADJUSTING THE CUTTING HEIGHT
CAUTION. Never carry out any assembly
operations or adjustments with the power
connected to the mower. Always ensure that
the power button is in the off position and
that the power plug is disconnected from the
supply. Choose a level area with a firm surface,
press the cover latch (14), lift the cover (13) and
remove the grass box (19).
8
Pull the height adjustment lever (16) towards you
then move it to the right to increase the cutting
height or to the left to decrease the cutting
height.
• Check regularly that the nuts, bolts, screws and other
fittings are tight and secure.
• Keep the mower free of grass, leaves and other
debris build-up.
• Do not tilt the appliance when switching on the motor,
except if the appliance has to be tilted for starting.
In this case, do not tilt it more than is absolutely
necessary and lift only the part which is away form
the operator. Always ensure that both hands are in the
operating position before returning the appliance to
the ground.
• Do not try to repair the machine or access internal
parts. Use authorised service centres only.
• Do not get distracted and always concentrate on what
you are doing. Use common sense. Never operate
the machine when you are tired, sick or under the
influence of alcohol or other drugs.
• Disconnect the unit from the power supply when not in
use, before servicing and when changing the blades.
• Keep these instructions. Refer to them frequently and
use them to instruct other users. If you loan someone
this unit, also loan them these instructions.
• The operator or user is responsible for accidents or
hazards occurring to other people or their property.
Failure to follow operating instructions and safety
precautions in this instruction manual can result in
serious injury. Read the manual before starting or
operating this unit.
Wear eye protection
Wear hearing protection
Wear respiratory protection
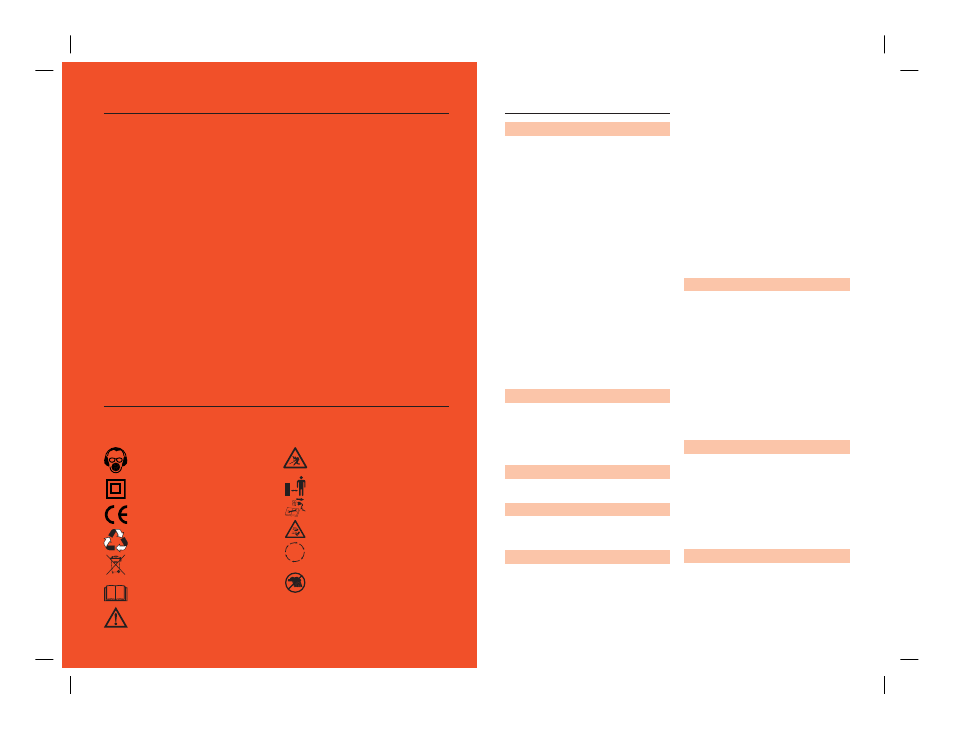
The rating plate on your tool may show symbols. These
represent important information about the product or
instructions on its use.
Wear hearing protection.
Wear eye protection.
Wear respiratory protection.
Double insulated for
additional protection.
Conforms to relevant
safety standards.
Waste electrical products should not be
disposed of with household waste. Please
recycle where facilities exist. Check with your
Local Authority or retailer for recycling advice.
Read the instruction manual.
Warning.
Do not run the mower over objects. They can
be thrown and cause severe injury.
Keep bystanders, especially children and pets
at a distance of greater than 5m.
Switch off and remove the plug before
adjusting, cleaning or if the cord is damaged.
Avoid injury, do not place hands or feet near
the rotating blade.
Blade continues to rotate after the mower
is switched off. Wait until all parts are
stationary before touching them.
Do not use in the rain or leave the mower
outdoors whilst it is raining.
Symbols