Drop box mounting options – PASCO ME-6853 Shoot-the-target Accessory User Manual
Page 3
®
M o d e l N o . M E - 6 8 5 3
D r o p B o x M o u n t i n g O p t i o n s
3
Substituting equation 6 into the first term on the right side of equation 2 yields
(eq. 7)
By comparing equations 1 and 7 it is evident that at time t' the target and projectile
will be in the same place.
The formula for the height of collision (measured relative to the launcher) is
(eq. 8)
Note that increasing h (the initial height of the target) while holding the other param-
eters constant may increase or decrease y', depending on the values of g, D and
V0
.
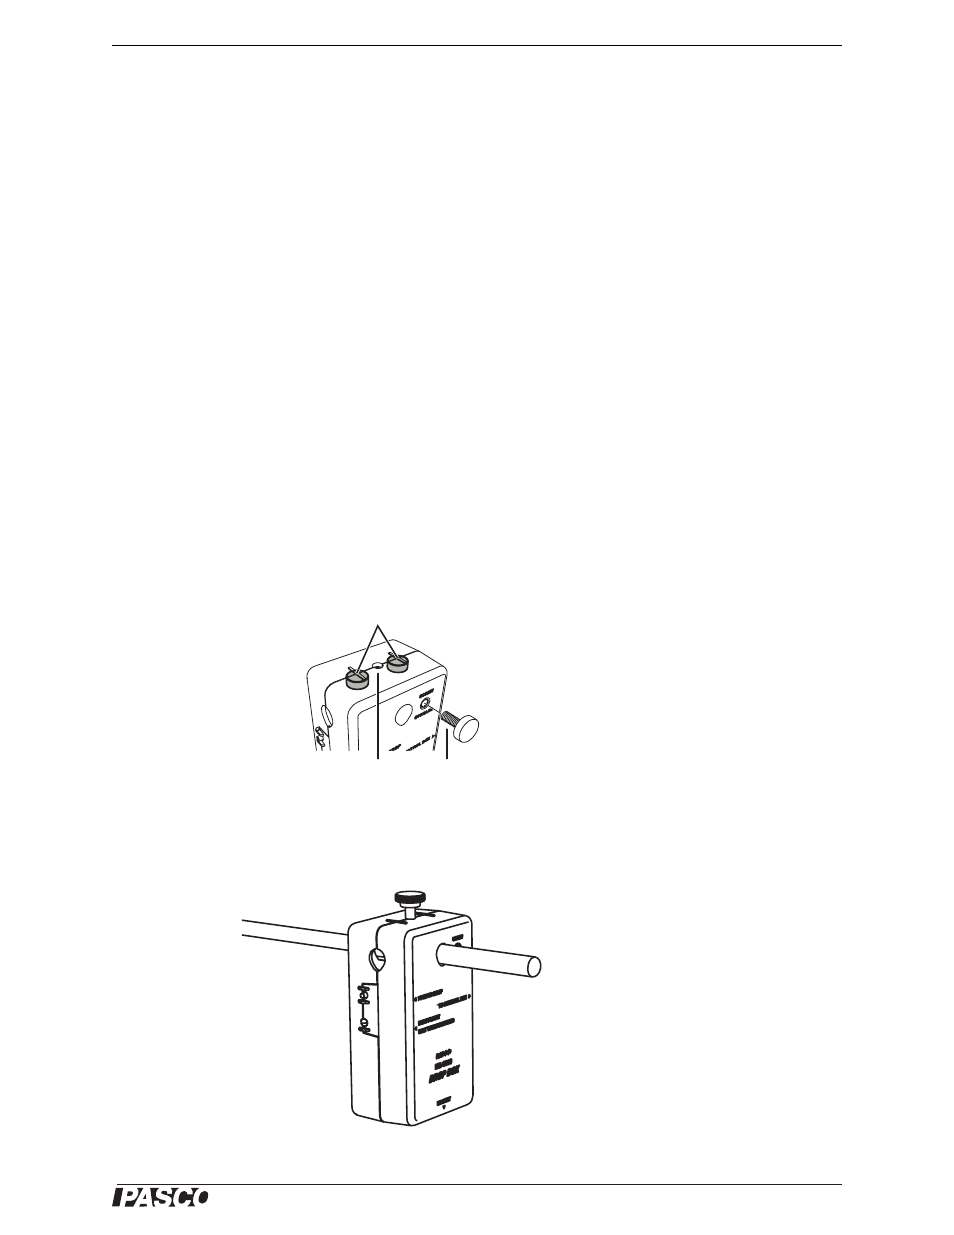
Drop Box Mounting Options
Typically, the drop box is mounted close to the ceiling with the launcher aimed at the
target from a lower position.
One option is to attach the drop box to a steel part of the ceiling using the magnets
embedded in the top of the drop box (see Figure 1). The suspension grid of a tile ceil-
ing, the top of a metal door frame, or a ceiling vent would work well for this purpose.
Figure 1: Magnets for attaching to ceiling
Alternatively, the drop box can be mounted on a horizontal rod attached to a wall or
tall vertical rod (see Figure 2).
Figure 2: Drop box mounted on horizontal rod
y
P
t
′
( )
h
1
2
---gt
′
2
–
=
y
′
h
1
2
--- g
D
2
h
2
+
V
0
2
------------------
⎝
⎠
⎜
⎟
⎛
⎞
–
=
Magnets for attaching
to ceiling
Remove
screw
Store
screw