Caution, Installing ceiling hardware, Exploded view installed view – Hunter 23855 52 Classic Original User Manual
Page 6
Hunter Fan Company
41532-01 • 10/22/13
6
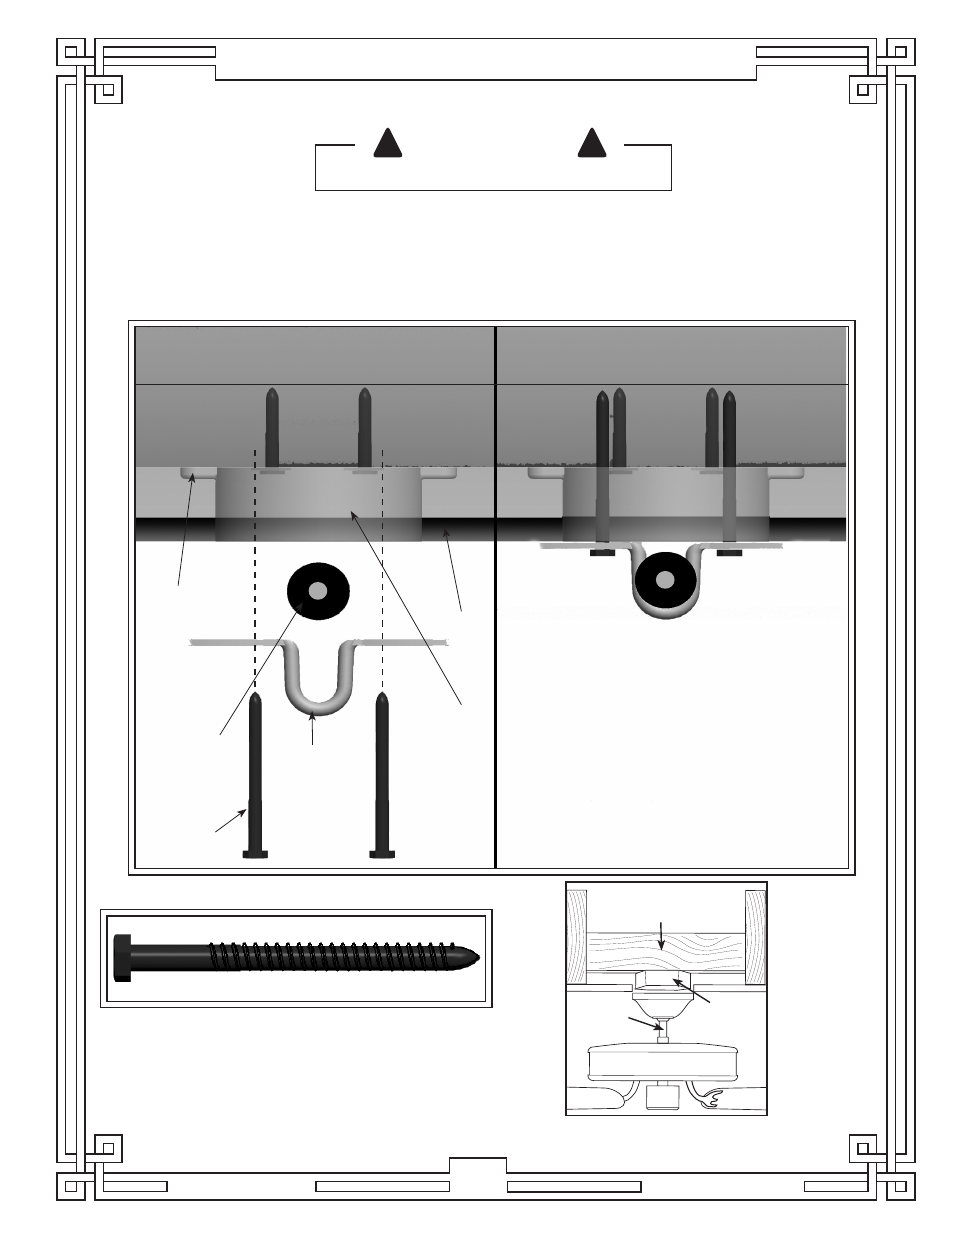
Installing Ceiling Hardware
Fig. 2
3 1/2” Lag Bolt
CAUTION
DO NOT USE LUBRICANT ON SCREWS
!
!
1. Drill two (2) 1/4” diameter holes 2-9/16” apart through the back of the outlet box into the cross
brace 2" deep. These holes are for the U-bracket bolts. Install rubber bushing and pin into the
u-bracket. Use a 3/8” wrench to install the (2) 3 1/2” lag bolts to secure the U-bracket to the joist
(see Fig. 2).
Lag Bolt
U-Bracket
Rubber
Bushing
and Pin
Exploded View
Installed View
Cross
Brace
Ceiling
Outlet
Box
Use Standard Mounting or Low-Profile Mounting to
hang the fan from a flat ceiling.
Standard
Mounting
Style
Support
Structure
Ceiling
Outlet Box
(required)
This manual is related to the following products: