4 loading the feed (punching bench application), 5 using a backup move – PA Industries Edge Sequential Servo Roll Feed SRF-100/125/200/300/400/500/600 - Installation Manual User Manual
Page 7
ULTRA EDGE SEQUENTIAL SERVO ROLL FEED 6/3/2002
7
the feed working.
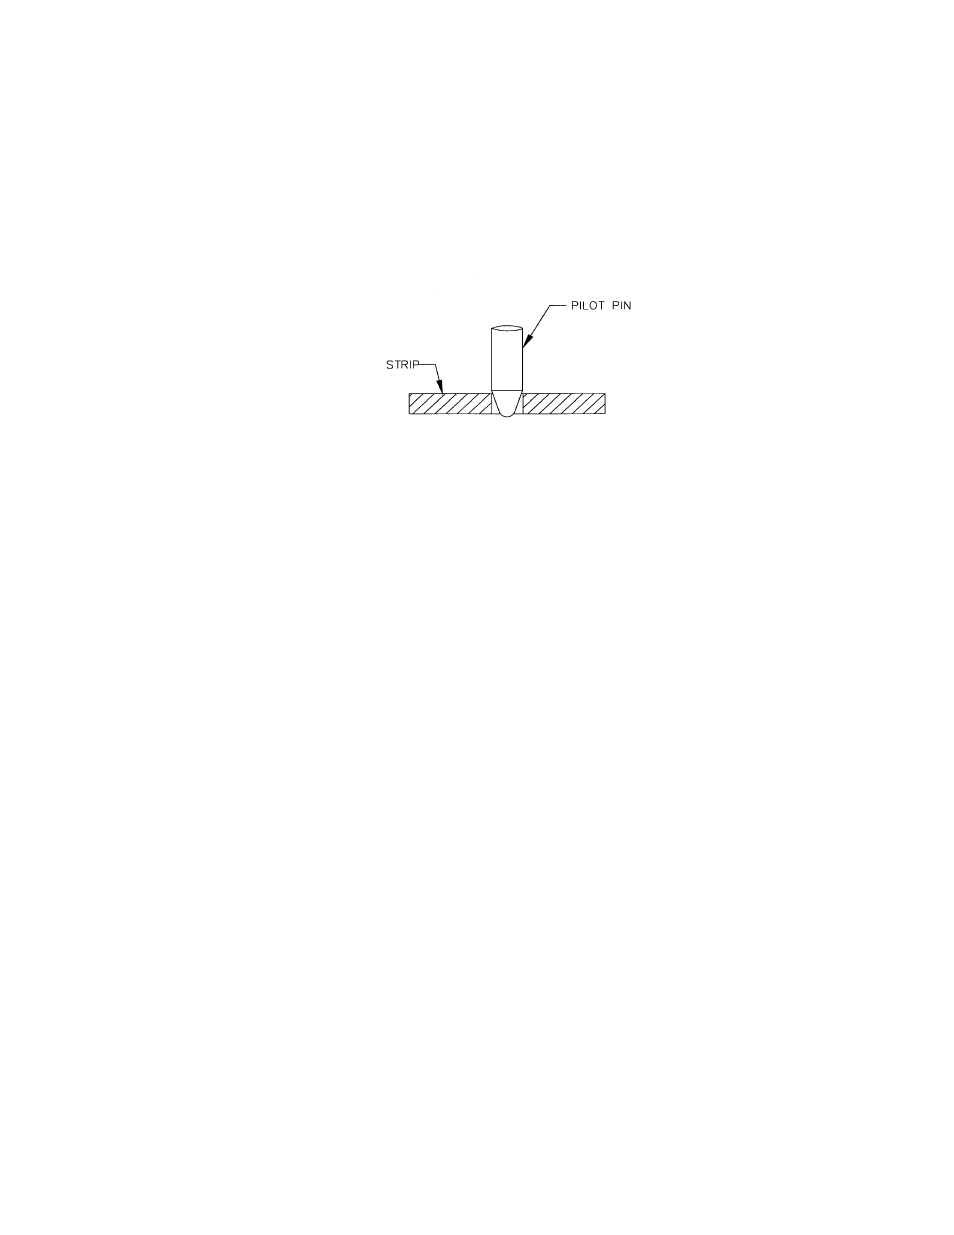
8. Jog the press down slowly observing when the longest pilot would engage the pilot hole in the material if the
material were there. (Refer to Figure 4.) Note the press positional readout and put this setting into your
Programmable Limit Switch (PLS) for the ‘Pilot Release On’ setting. The ‘Pilot Release Off’ setting, in
most cases, should be 180º. (See Figure 5.) Some drawing applications require the rolls to remain open past
180º.
FIGURE 4
9. Continue to jog the press slowly until the longest pilot just comes out of the material. Note the press positional
readout and put this setting into your PLS for the ‘Feed Cam On’ setting. Set the ‘Feed Cam Off’ point so
that there is enough time to complete the feed length and enough time to stop the press, if there is a feed fault.
(See Figure 5.)
10. Set the ‘Reset Cam On’ for 180 degrees and ‘Reset Cam Off’ for 200 degrees. This setting should never
need changing. (See Figure 5.)
1.4 LOADING THE FEED (PUNCHING BENCH APPLICATION)
Prior to this step, the electrical control must be powered up and all needed parameters are loaded.
(Refer to the Ultra Edge Sequential Servo Feed Operating Manual.)
1. Adjust the roll clamping force by pre-loading the two die springs located on top of the feed housing. Normal
setting for the roll force spring pre-load is two full turns clockwise from finger tight (factory preset). Be sure
to use the jam nut to lock the setting.
2. Open the feed rolls by pulling on the Roll Release Lever. Insert the material through the feed rolls and close
the feed rolls by releasing the Roll Release Lever.
3. Adjust the material thickness using the Material Thickness Adjustment Cam and Adjustable Lock Screw.
Refer to the FIGURE 3 for proper setting.
4. Using
the
Jog Forward button on the jog pendant, advance the material up to the exit of the last punch station.
5. Check the vertical alignment of the strip. If necessary, adjust the pass line of the feeder so that the material is
at the proper height.
6. Assuming that the punches are set up properly, fire the punches one by one manually, making sure they go all
the way down and up without any problem.
7. Using the jog pendant move the material forward, observing that it is moving trough the bench with no visible
difficulties.
1.5 USING A BACKUP MOVE
In some applications with a cutter the material needs to be moved backward, away from the blade, to prevent bending