Positioning the antenna – Antex Electronics XM-100 Commercial XM Satellite Radio User Manual
Page 7
XM-100 Commercial Satellite Audio Receiver
7
2. Power in – connect only the included AC adapter to a
suitable 120VAC power source.
3. Antenna – As of February 2012, all XM-100 radios now
have a female F-connector (not pictured) for the antenna
input. Connect the XM antenna to the female F-Connector
on the XM-100 and position antenna as described in the
next section. Custom lengths of 50 ohm RG58U or existing
RG-6 cable may be used with extension kits available from
third party sources (see enclosed flier).
4. RS232 – an RS232 control port is provided for optional
control of the XM-100 unit from 3
rd
party control systems.
Antex recommends that this connection be used only by
experienced professional installers. Do not connect this
RS232 port to a computer – this connection is NOT
compatible with personal computers. See
for more information about using the RS232 control port.
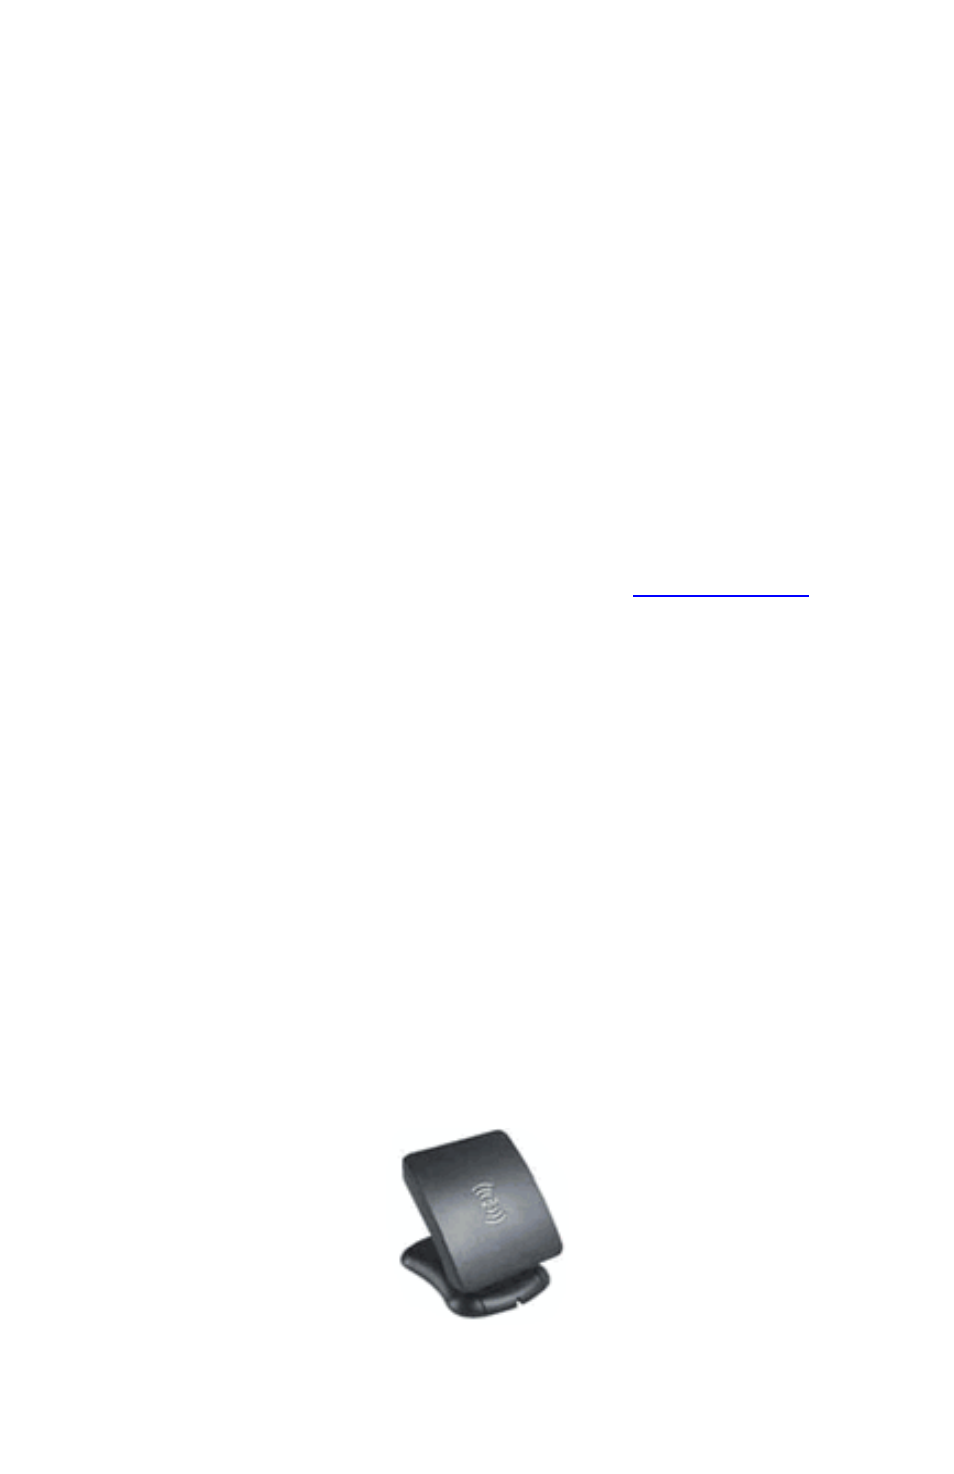
Positioning the Antenna
The provided XM antenna requires exposure to the
south/southeastern sky for proper signal reception. To position
your antenna, first connect the XM-100 to your audio system
as described above, then follow these instructions.
1. Power on the receiver, verify the power indicator is
illuminated and the display backlight is on. If the message
―CHECK ANTENNA‖ appears, check that the antenna
connector is fully engaged, an open circuit does not exist
between the receiver and antenna, and that no short
circuit exists in the antenna cable. If the antenna does not
have a clear path to the satellites, the front panel display
will read ―NO SIGNAL‖.
2. Align the Antenna as follows:
For Indoor installation on a flat surface: