Aeromotive, inc – Aeromotive 13217 - STACKABLE CARBURETED REGULATOR User Manual
Page 3
Thanks for purchasing another quality product designed, engineered and manufactured in
Kansas City, USA!
AEROMOTIVE, INC.
7805 Barton Street, Lenexa, KS 66214
913-647-7300 fax 913-647-7207
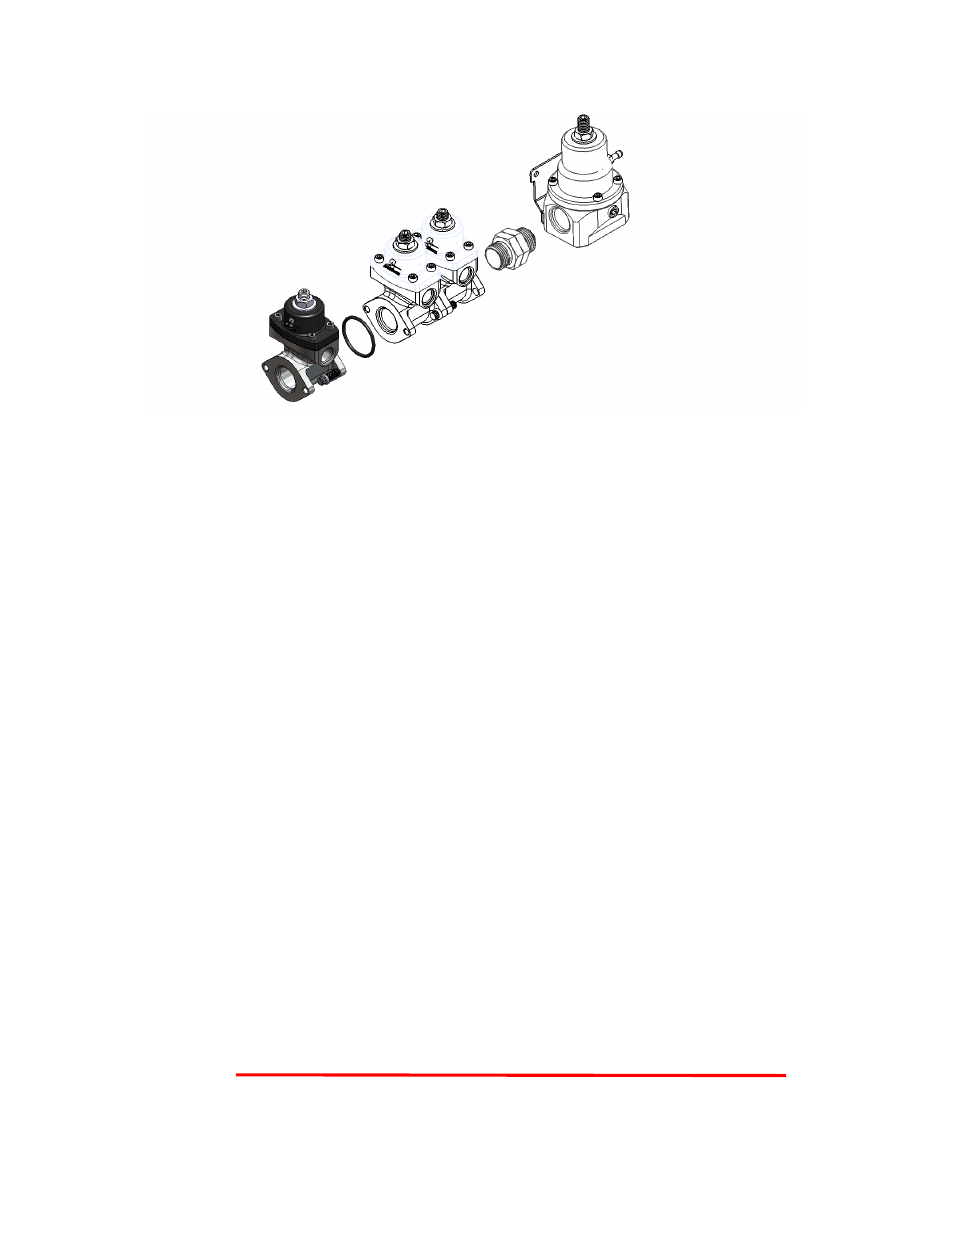
6. Using the supplied AN-10 port plug and o-ring, plug the unused inlet port.
7. Attach the nitrous solenoid or carburetor to the regulators AN-06 outlet ports using AN style fittings
and o-rings. Install AN-06 style plugs and o-rings into the regulator outlet ports not used.
AN-06 / AN-06 fitting, Aeromotive P/N 15606
AN-08 / AN-06 fitting, Aeromotive P/N 15649
8. Tighten all connections.
9. Once the regulator is installed, attach a suitable fuel pressure gauge to the system.
10. Ensure that any spilled gasoline and any gasoline soaked shop towels are cleaned up and
removed from the vicinity of the vehicle!
11. Reconnect the battery and turn the fuel pump ON WITHOUT starting the car. After several seconds,
check the fuel pressure. If there is no fuel pressure, turn the fuel pump OFF, wait one minute, return
the fuel pump ON, and recheck the fuel pressure. Repeat this OFF and ON procedure until the fuel
pressure gauge registers fuel pressure.
12. With the fuel pressure gauge registering fuel system pressure, check for fuel leaks from and
around the Aeromotive regulator and all fuel lines and connections near the regulator! If any
fuel leaks are found, turn the fuel pump OFF, remove any spilled fuel and repair the leak
before proceeding!
13. Once the fuel pressure gauge registers fuel system pressure and there are no fuel leaks, start the
engine and adjust the regulator to the desired fuel pressure. Turning the adjustment screw
clockwise will increase fuel pressure.
14. Once the desired fuel pressure is achieved, tighten the regulator adjustment jam nut.
15. Test drive the car to insure proper operation and re-check the fuel system for leaks. If any leaks
are found, immediately shut off the engine and repair the leak(s)!
By-pass Configuration