English – Acer P7203B User Manual
Page 17
7
English
Note: "#" Japan area is not supported.
11
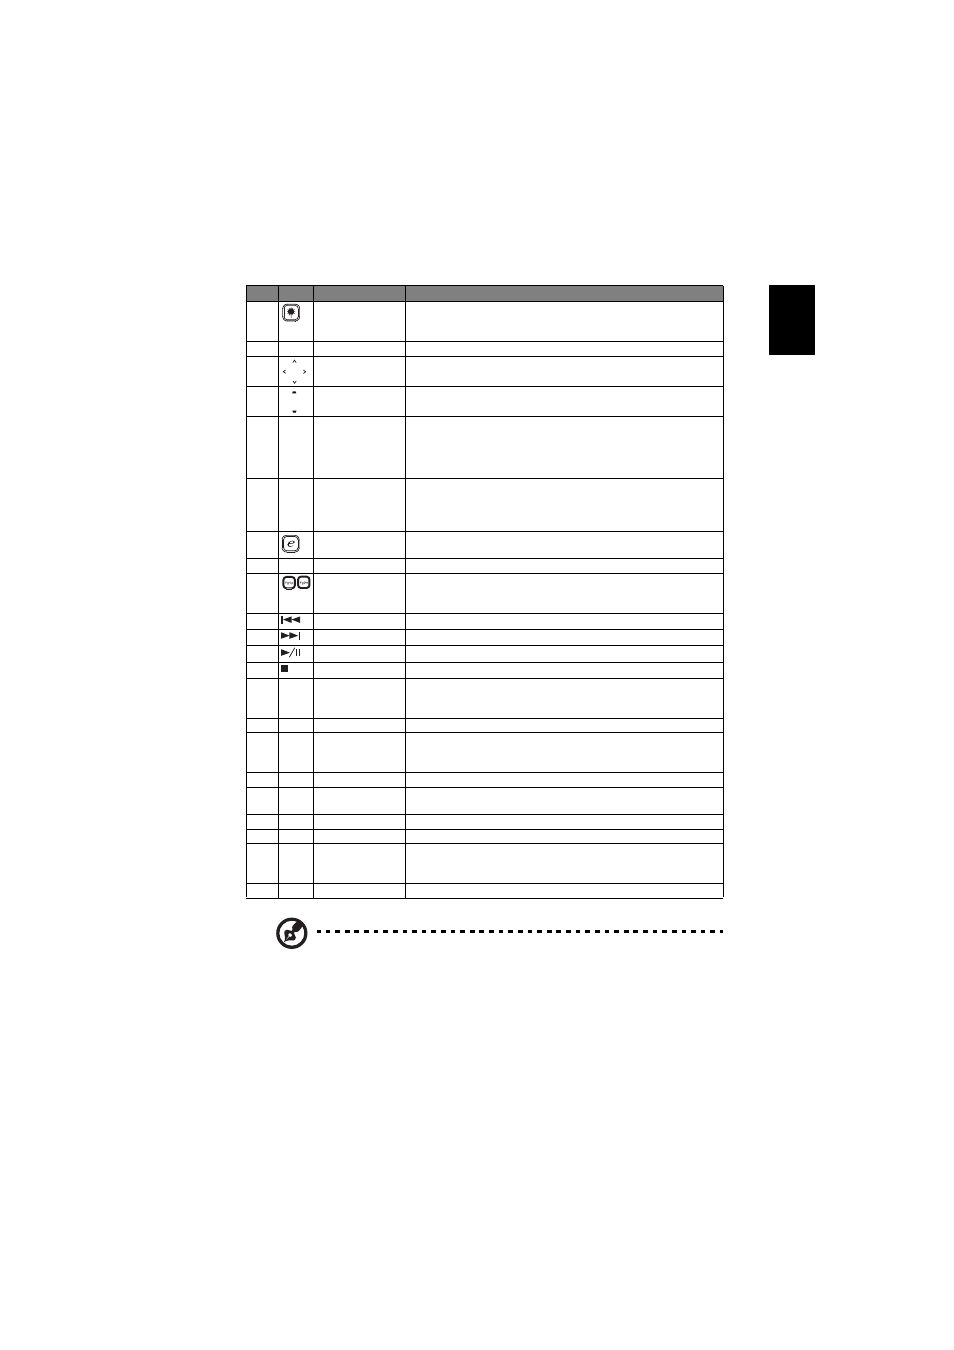
(#)
Laser button
Aim the remote at the viewing screen, press and hold this
button to activate the laser pointer.
This function is not supported in Japanese market.
12
Enter
Press "ENTER" to play media file.
13
Four directional
select keys
Use up, down, left, right buttons to select items or make
adjustments to your selection.
14
KEYSTONE
Adjusts the image to compensate for distortion caused by
tilting the projector (± 40 degrees).
15
MENU
•
Press "MENU" to launch the Onscreen display (OSD)
menu, back to the previous step for the OSD menu
operation or exit the OSD menu.
•
Confirm your selection of items.
16
MOUSE Left/
Right Click
Left-/right-click buttons are on the left and right,
respectively; the center button works as a multidirectional
pointer stick. To enable this function, an USB cable must be
connected to projector from your PC.
17
Empowering key Unique Acer functions: eOpening, eView, eTimer, ePower
Management.
18
VOLUME
Increases/decreases the volume.
19
PAGE
For computer mode only. Use this button to select the next
or previous page. This function is only available when
connected to a computer via a USB cable.
20
Prev
Press "Prev" to go to previous index or page in file list view.
21
Next
Press "Next" to go to next index or page in file list view.
22
Play/Pause
Press "Play/Pause" to play/pause media file.
23
Stop
Press "Stop" to stop playing media file.
24
VGA
Press "VGA" to change source to the VGA connector. This
connector supports analog RGB, YPbPr (480p/576p/720p/
1080i), YCbCr (480i/576i) and RGBsync.
25
S-VIDEO
To change source to S-Video.
26
COMPONENT
Press "COMPONENT" to change source to Component
video. This connection supports YPbPr (480p/576p/720p/
1080i) and YCbCr (480i/576i).
27
VIDEO
To change source to COMPOSITE VIDEO.
28
SD/USB A
Press "SD/USB A" to change source to USB A. (no SD
function)
29
USB B
Press "USB B" to change source to USB B.
30
HDMI™/DVI
Press "HDMI™/DVI" to change source to HDMI™/DVI.
31
LAN/WiFi
Press "LAN/WiFi" to display the image which is wire or
wirelessly transmitted from the PC to the projector via the
"Acer eProjection Management" utility.
32
KeyPad 0~9
Press "0~9" to input a password in the "Security".
#
Icon
Function
Description