Advanced instruments inc, Span calibration, Mounting the analyzer – Analytical Industries GPR-35 Oxygen Analyzer User Manual
Page 13

Advanced Instruments Inc.
13
Span Calibration
Span Calibration involves adjusting the transmitter electronics to the sensor’s signal output at a given oxygen standard.
Maximum drift from calibration temperature is approximately 0.11% of reading per °C. The frequency of calibration varies with
the application conditions, the degree of accuracy required by the application and the quality requirements of the user.
However, the interval between span calibrations should not exceed three (3) months.
Recommendations General:
¾ The interval between span calibrations should not exceed three (3) months.
¾ Caution: Prematurely initiating the SPAN CALIBRATION function before the analyzer reading has stabilized can result in
erroneous readings. This is especially true when installing a new sensor that must adjust to the difference in oxygen
concentrations. It should take about 2 minutes for the sensor to equilibrate in ambient air from storage packaging.
¾ Always calibrate at the same temperature and pressure of the sample gas stream.
¾ For 'optimum calibration accuracy' calibrate with a span gas approximating 80% of the full scale range one or a higher
range than the full scale range of interest (normal use) to achieve the effect of “narrowing the error” by moving downscale
as illustrated by Graph A in the Accuracy & Calibration section.
¾ Calibrating with a span gas approximating 5-10% of the full scale range near the expected oxygen concentration of the
sample gas is acceptable but less accurate than ‘optimum calibration accuracy’ method recommended – the method usually
depends on the gas available.
¾ Calibrating at the same 5-10% of the full scale range for measurements at the higher end of the range (example:
calibrating an Oxygen Purity Analyzer in air at 20.9% oxygen with the intention of measuring oxygen levels of 50-100%)
results in the effect of “expanding the error” by moving upscale as illustrated by Graph A and Example 1 in the Accuracy &
Calibration section above and is not recommended. Of course the user can always elect at his discretion to accept an
accuracy error of +2-3% of full scale range if no other span gas is available.
¾ Calibrate ambient area monitors with a certified span gas or clean source of instrument air.
Recommendations Air Calibration:
The inherent linearity of the galvanic fuel cell type oxygen sensor enables the user to calibrate any analyzer with ambient air
(20.9% oxygen) and operate the analyzer within the stated accuracy spec on the lowest most sensitive range available with the
analyzer – it is not necessary to recalibrate the analyzer with span gas containing a lower oxygen concentration.
¾ Avoid calibration of ambient area monitors with the surrounding atmosphere unless assured the oxygen content is 20.9%.
¾ When certified span gas is not available.
¾ When installing or replacing the oxygen sensor.
Mounting the Analyzer
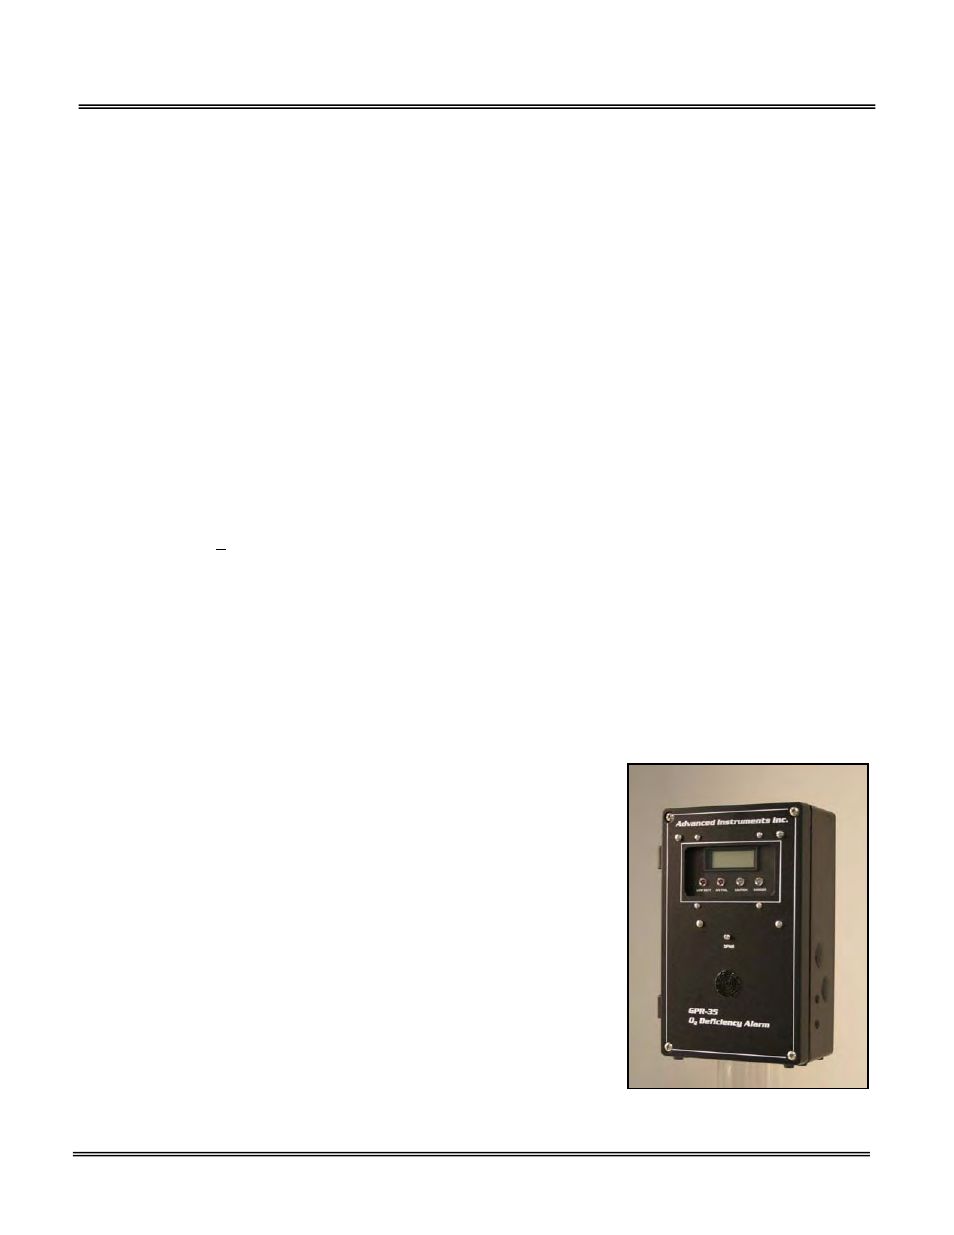
The GPR-35 Oxygen Analyzer has been calibrated at the factory prior to shipment and
is fully operational from the shipping container. The 4x9x3.5” configuration is
designed to be mounted directly to any flat vertical surface, wall or bulkhead plate
with the appropriate screws.
Procedure:
1. Remove the four (4) screws securing the top section of the enclosure, set them
aside for reinstallation and open the hinged top section as you would a door.
2. Locate the mounting holes cast into the bottom section of the enclosure and the
black sensor. Orient the enclosure by locating the sensor at six (6) o’clock.
3. To facilitate servicing the interior of the monitors, position it approximately 5 feet
off the floor.
4. Secure the bottom section of the enclosure to a vertical surface. This requires the
user to supply four (4) additional proper size screws and anchors.
5. Caution: Do not remove or discard the gasket from the front panel. Failure to
reinstall either gasket will void the NEMA 4 rating and RFI protection.
6. The design provides protection from RFI that is maintained by leaving specific
mating areas of the enclosure unpainted to maintain conductivity between the
gasket, top and bottom sections of the enclosure. These unpainted areas are
protected by gaskets and contribute to maintaining the NEMA 4 rating. Do not
paint these areas. Painting will negate the RFI protection.
7. As illustrate, the power connection is made through the right side of the enclosure.
