Advanced instruments inc – Analytical Industries GPR-2000 ATEX Portable Oxygen Analyzer User Manual
Page 14
Advanced Instruments Inc.
14
Establishing Power to the Electronics
The analyzer is fully operational from the shipping container with the oxygen sensor installed and calibrated at the factory prior
to shipment. Once installed, we recommend the user allow the analyzer to stabilize for 10-15 minutes and then recalibrate the
device as instructed below.
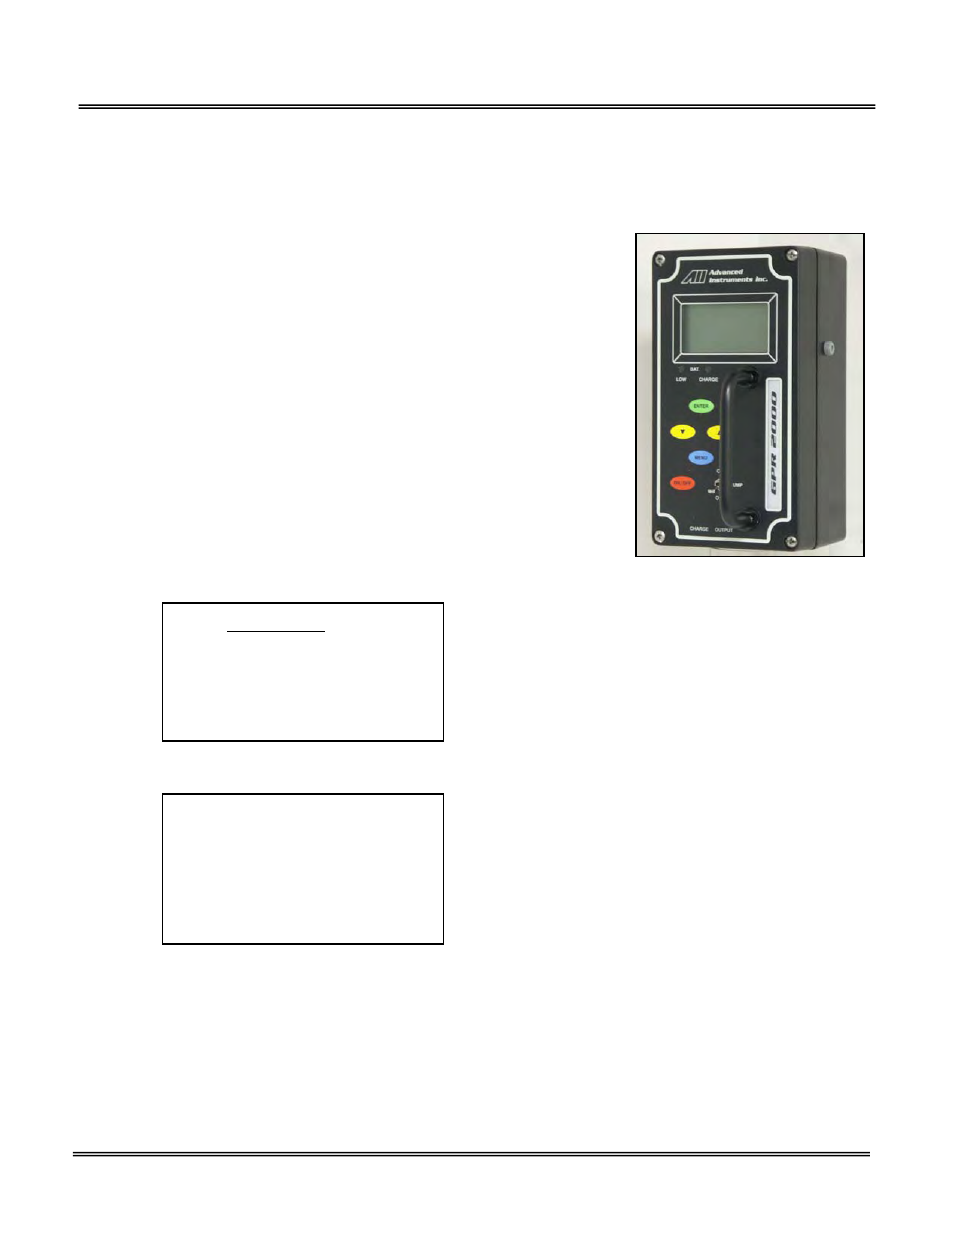
Establish power to the analyzer electronics by pushing the red ON/OFF key. The digital
display responds instantaneously. When power is applied, the analyzer performs
several diagnostic system status checks termed “START-UP TEST” as illustrated below.
If equipped with an optional integral sampling pump (GPR-2000P), it is operated by a
separate toggle switch located on the front of the analyzer.
Note: In the unlikely event the LED warning indicator LOW BATT comes on when the
analyzer is turned on – proceed immediately to section 6 Maintenance Battery.
The analyzer is supplied with an adapter for recharging the batteries or operating the
analyzer continuously. Charging the battery requires a common 9VDC adapter (positive
pole located inside the female connector) supplied with the analyzer and a convenience
outlet. The analyzer’s charging circuit accepts 9VDC from any standard AC 110V or
220V adapter. The electronic design enables the analyzer to remain fully operable
during the 8-10 hour charging cycle.
Once the power to the electronics is established, the digital display responds
instantaneously. When power is applied, the analyzer performs several diagnostic
system status checks termed “START-UP TEST” as illustrated below:
START-UP TEST
ELECTRONICS – PASS
TEMP SENSOR – PASS
REV. 1.61
Note: The analyzer display defaults to the sampling mode when 30 seconds elapses without user interface.
3.3%
AUTO SAMPLING
10 % RANGE
24.5 C
Menu Navigation
The five (5) pushbuttons located on the front of the analyzer operate the micro-processor:
1. Blue ENTER (select)
2. Yellow UP ARROW
3. Yellow DOWN ARROW
4. Green MENU (escape)
5. Red ON/OFF