Universal Audio Apollo Twin User Manual
Page 24
Apollo Twin Hardware Manual
Chapter 3: Controls & Connectors
24
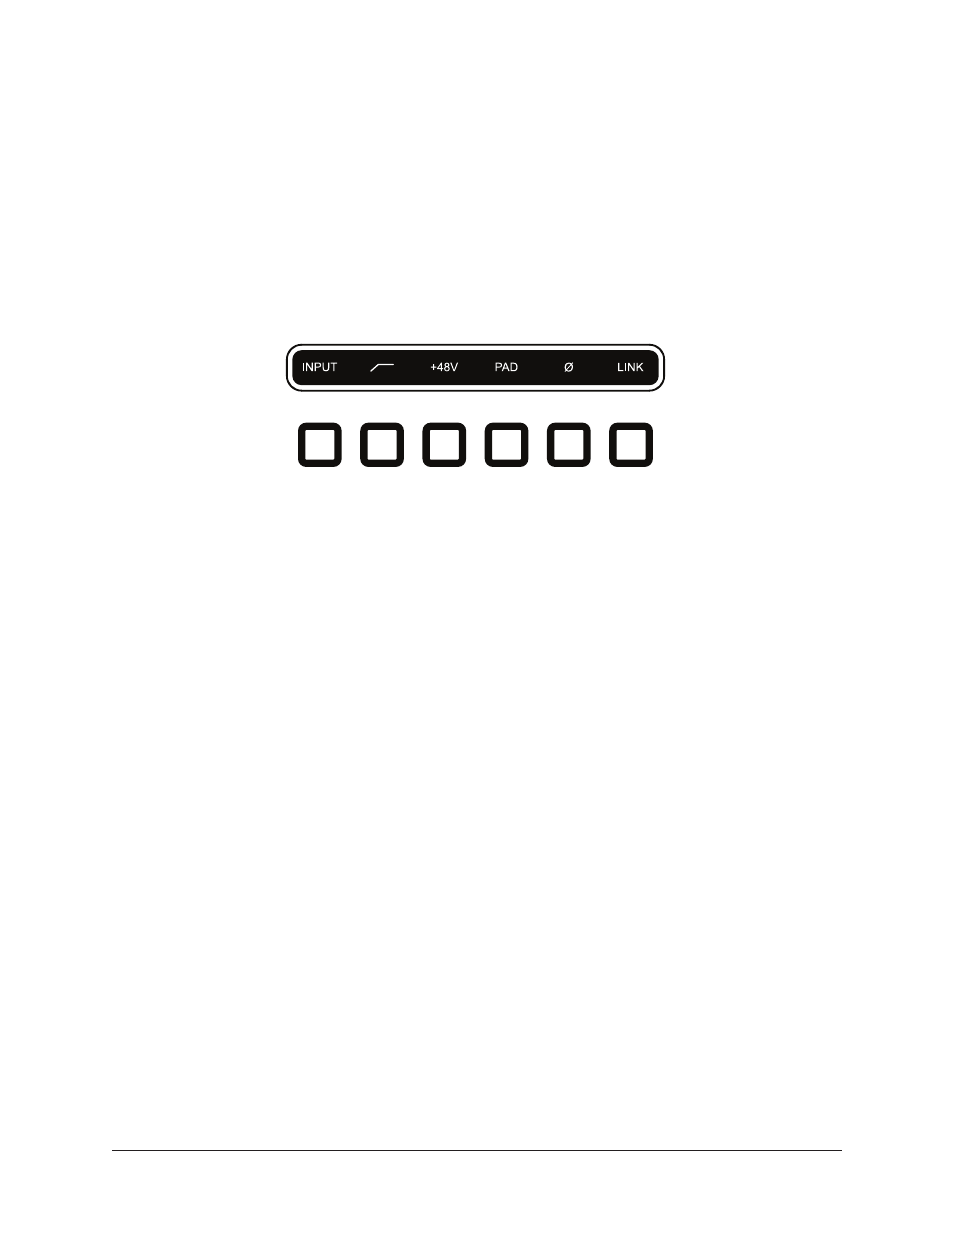
(11) Preamp Option Buttons
These six buttons control the preamp options (a – f below) when the input channel is
selected (3). The preamp option is active when its indicator is lit. When Monitor (6) or
Headphone (8) is selected, the preamp options cannot be modified and this portion of
the display is unlit.
Unison Integration: The Preamp Options can also be used to control Unison-en-
abled UAD preamp plug-ins. See the
details.
Refer to the illustration below for control descriptions in this section.
Apollo Twin’s preamp option buttons
(a) Input Select
Selects the active input jack for the channel. Press to alternate between the mic & line
inputs. The current selection is displayed by the input type indicators (5).
The Hi-Z input is selected automatically whenever a ¼” mono (tip-sleeve) plug is con-
nected to the front panel’s Hi-Z Instrument jack (12).
Note: Hi-Z input is available for channel 1 only.
(b) Low Cut Filter
Enables a low cut (high pass) rumble filter with a cutoff frequency of 75 Hz.
(c) +48V
Enables 48-volt phantom power for the mic input. Phantom power is typically needed for
condenser microphones. +48 is available for the microphone inputs only.
Caution:
To avoid potential microphone damage, do not enable phantom power
unless it is required by the mic.
(d) Pad
Attenuates (lowers) the input signal level by 20 dB. Pad is unavailable for the line inputs
and the Hi-Z instrument input.
(e) Polarity Ø
Inverts the polarity (aka “phase”) of the input signal.
(f) Link
Links inputs 1 & 2 so both channels are adjusted simultaneously as a stereo pair.
Note: Link cannot be activated when a plug is inserted in the Hi-Z jack (12).
1
2
9
10
3
4
a
b
c
d
e
f
6
7
8