Manhattan 158152 Serial PCI Express Card - Quick Install (Multi) User Manual
Serial pci express card instructions
MAN-158152-UM-ML1-0613-04-0
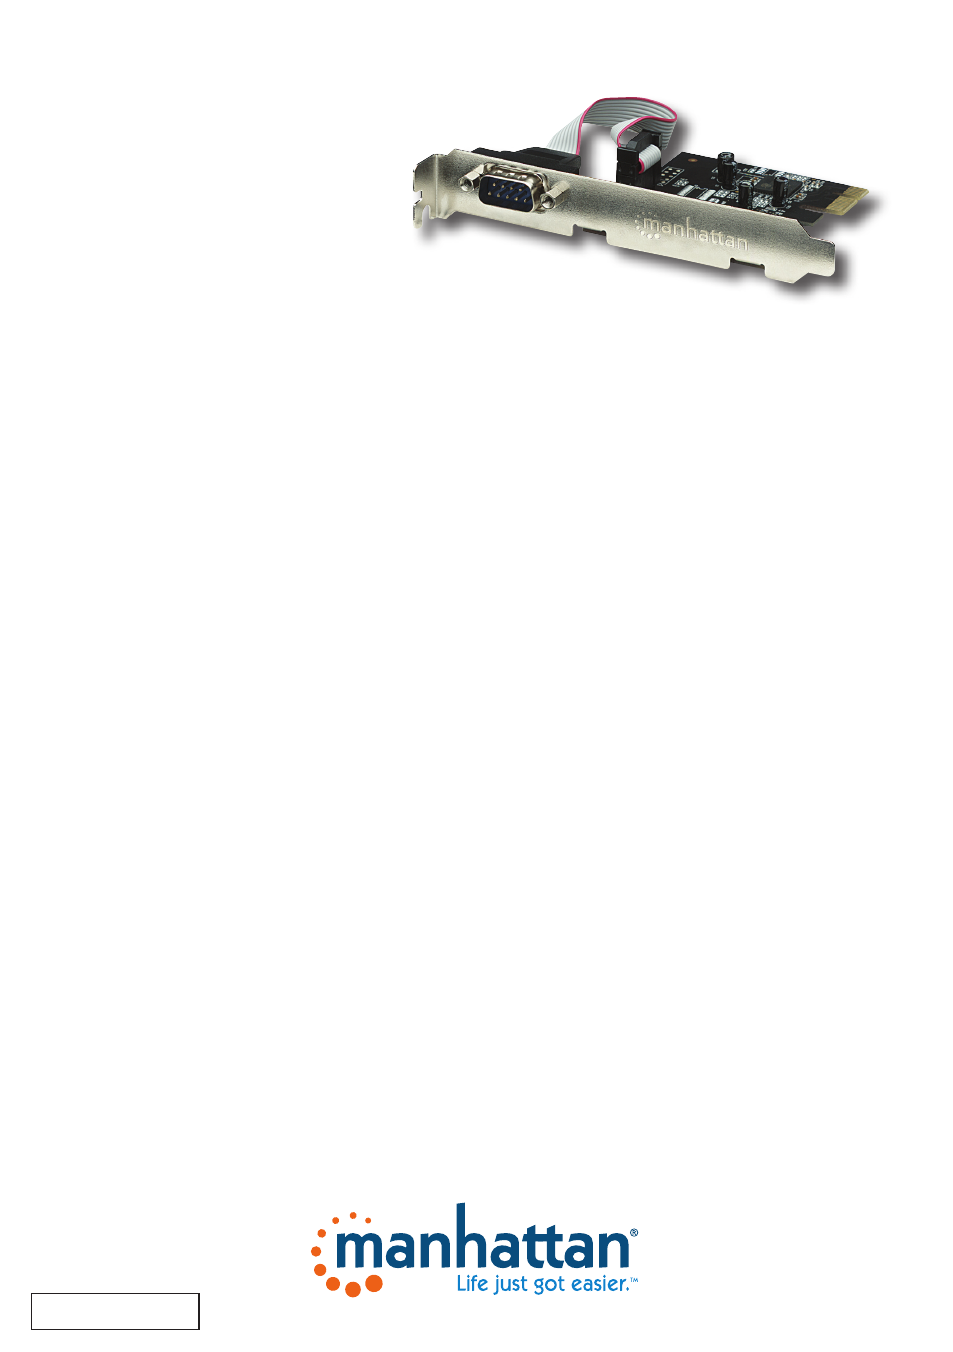
SERIAL PCI EXPRESS CARD
INSTRUCTIONS
MODEL 158152
Important: Read before use.
Importante: Leer antes de usar.
Einbau der Karte
1
Schalten Sie Ihren PC aus.
2
Ziehen Sie das Stromkabel und öffnen
Sie das Gehäuse Ihres PCs.
3
Entfernen Sie die Blende eines freien
PCIe-Slots.
4
Richten Sie die Steckkontakte vorsichtig
auf auf dem PCIe-Slot des Motherboards
aus. Drücken die Karte fest ein.
5
Setzen Sie die Schraube des Slotblechs
wieder ein und schrauben Sie sie fest.
6
Schließen Sie das PC-Gehäuse und
schließen Sie das Stromkabel wieder an.
Treiberinstallation unter Windows
XP/Vista/7/8 und 64-bit Versionen
Nach dem Einbau der Karte legen Sie die
beiliegende Treiber-CD in Ihr CD-Laufwerk.
1
Im Fenster “Neue Hardware gefunden”,
wählen Sie die empfohlene Option
“Installieren”, dann klicken Sie auf
Weiter.
2
Sofern vorhanden, wählen Sie im
nächsten Schritt die Standardeinstellung
und klicken Sie dann auf Weiter.
3
Klicken Sie auf Beenden oder Schließen,
um die Installation abzuschließen.
Überprüfung der Treiberinstallation
1
Rechtsklicken Sie auf “Arbeitsplatz”,
dann auf “Verwalten”.
2
Klicken Sie auf “Geräte-Manager”.
3
Prüfen Sie, dass “PC Express UART Port”
unter “Ports (COM & LPT)” und “PCI
Express Serieller Multiport Adapter”
unter “Serielle Multi-Port Adapter”
gelistet ist.
Die Spezifikationen finden Sie auf
manhattan-products.com.
Instalación de la Tarjeta
1
Apague su computadora.
2
Desconecte el cable de energía y retire la tapa
del gabinete.
3
Retire el soporte de la ranura PCIe disponible.
4
Alineé con cuidado el conector de la tarjeta
sobre la ranura PCIe seleccionada en la
tarjeta madre. Presione la tarjeta hacia abajo
con firmeza.
5
Coloque el tornillo del soporte de la ranura,
para fijar la tarjeta.
6
Coloque de nuevo la tapa del gabinete y
conecte el cable de alimentación.
Instalación del Controlador para
Windows XP/Vista/7/8 y de 64-bit
Después de instalar la tarjeta, inserte el CD
incluido en su unidad CD-ROM.
1
En la pantalla del asistente “Nuevo Hardware
Encontrado”, seleccione la opción
recomendada de “Instalación”, después haga
clic en Siguiente.
2
En la pantalla siguiente, acepte la entrada por
defecto (si se presenta), después haga clic en
Siguiente.
3
Haga clic en Finalizar o Cerrar para terminar
la instalación.
Verificación de la Instalación del
Controlador
1
En el Panel de Control, vaya a la opción
Propiedades del Sistema.
2
Haga clic en “Administrador de Dispositivos”.
3
Verifique que el “Puerto PC Express UART” se
lista debajo de “Puertos (COM & LPT)” y que
“Adaptador Serial PCI Express Multipuerto” se
lista debajo de “Adaptadores Serial Multi-
puerto”.
Para más especificaciones, visite
manhattan-products.com.
Montaż karty
1
Wyłącz komputer.
2
Odepnij kabel zasilający od komputera i zdejmij
pokrywę obudowy.
3
Usuń blaszkę zabezpieczającą wyjście portu PCI
Express z tylnego panelu obudowy.
4
Umieść kartę w szynie portu PCI Express. Upewnij się,
że karta włożona jest poprawnie.
5
Przymocuj śrubką blaszkę (śledzia) karty do tylnego
panelu obudowy.
6
Załóż pokrywę komputera i podłącz kabel zasilający.
Instalacja sterownika dla Windows XP/Vista/7/8
oraz wersji 64-bitowych
Po zamontowaniu karty w slocie i uruchomieniu
komputera umieść dołączoną płytę ze sterownikami w
napędzie CD/DVD komputera.
1
Po pojawieniu się systemowego Kreatora znajdowania
nowego sprzętu wybierz rekomendowaną opcję
„Instaluj”, a następnie wciśnij Dalej.
2
Potwierdź akceptację domyślnego wpisu (jeśli się
pojawi), następnie wciśnij Dalej.
3
Wciśnij Zakończ lub Zamknij w celu dokończenia
instalacji.
Weryfikacja instalacji sterownika
1
Przejdź do Panelu sterowania, wybierz ikonę „System”.
2
Otwórz „Menadżer urządzeń”.
3
Sprawdź, czy na liście pod pozycją „Porty (COM i LPT)”
widnieje „PCI Express UART”.
Pełną specyfikację produktu znajdziecie Państwo na
stronie manhattan-products.com.
Card Installation
1
Turn off your computer.
2
Unplug the power cord and remove your computer’s cover.
3
Remove the slot bracket from an available PCIe slot.
4
Carefully align the card’s bus connector with the selected
PCIe slot on the motherboard. Push the board down firmly.
5
Replace the slot bracket’s holding screw to secure the card.
6
Replace the computer cover and reconnect the power cord.
Driver Installation for Windows XP/Vista/7/8 and 64-bit
Versions:
After the card is installed, insert the included driver CD in the
CD-ROM drive.
1
On the Found New Hardware Wizard screen, select the
recommended “Install” option, then click Next.
2
On the next screen accept the default entry (if presented),
then click Next.
3
Click Finish or Close to complete the installation.
Verification of Driver Installation
1
In the Control Panel, go to System Properties.
2
Click on “Device Manager.”
3
Confirm that “PC Express UART Port” is listed under “Ports
(COM & LPT)” and that “PCI Express Multiport Serial
Adapter” is listed under “Multi-port serial adapters.”
For specifications, go to manhattan-products.com.
Deutsch:
Serielle PCI Express Karte
Español:
Tarjeta Serial PCI Express
Polski:
Kontroler PCI Express portu
szeregowego
Français:
Carte série PCI Express
Installation de la carte
1
Éteignez votre PC.
2
Débranchez le cordon d’alimentation et retirez le
capot de votre ordinateur.
3
Enlevez la plaque de recouvrement d’un emplacement
PCIe disponible.
4
Alignez les connecteurs de bus délicatement sur
l’emplacement sélectionné de la carte mère.
Appuyez fermement sur la carte.
5
Replacez la vis du support de fixation et enserrez-la.
6
Replacez le capot du PC et rebranchez le cordon
d’alimentation.
Installation du pilote sur Windows XP/Vista/7/8 et
les versions 64 bit
Après l’installation de la carte, insérez le CD de pilote
dans votre lecteur CD-ROM.
1
Dès que l’assistant d’installation s’affiche, sélectionnez
l’option recommandée “Installer”, puis cliquez sur
Prochain.
2
À la prochaine étape, acceptez l’entrée standard (si
affichée), puis cliquez sur Prochain.
3
Cliquez sur Terminer ou Fermer, pour compléter
l’installation.
Vérification de l’installation du pilote
1
Cliquez-droit sur “Poste de travail”, puis sur “Gestion.”
2
Cliquez sur “Gestionnaire de périphérique.”
3
Confirmez que “PC Express Port UART” est affiché
sous “Ports (COM & LPT)” et que “PCI Express
Adaptateur Série Multi-Port” est affiché sous
“Adaptateurs Série Multi-Port”.
Vous trouvez les spécifications sur manhattan-
products.com.
Installazione della scheda
1
Spegnere il computer.
2
Scollegare il cavo di alimentazione e rimuovere il
coperchio del computer.
3
Rimuovere la staffa di copertura dello slot PCIe
disponibile.
4
Allineare con precisione il connettore del bus della
scheda con lo slot PCIe selezionato sulla motherboard.
Premere la scheda.
5
Riposizionare le viti della staffa per fissare la scheda.
6
Riposizionare il coperchio del computer cover e
collegare nuovamente il cavo di alimentazione.
Installazione dei driver per Windows XP/Vista/7/8
e 64-bit
Dopo che la scheda è stata installata, inserire nel CD-
ROM il CD incluso contenente i driver.
1
Quando viene visualizzata la procedura guidata che
rileva un nuovo hardware, selezionare la consigliata
opzione “Installa”, quindi cliccare Next (successivo).
2
Sulla schermata successiva accettare la selezione
proposta (se presente), quindi cliccare Next
(successivo).
3
Cliccare Finish (termina) o Close (chiudi) per
completare l’installazione.
Verifica dell’installazione dei Driver
1
Nel Pannello di Controllo, andare alle Proprietà di
Sistema.
2
Cliccare su “Gestione periferica.”
3
Verificare che “PC Express UART Port” è elencata
sotto “Ports (COM & LPT)” (Porte (COM & LTP) e che
“PCI Express Multiport Serial Adapter” è elencata
sotto “Multi-port serial adapters.”
Per ulteriori specifiche, visita il sito
manhattan-products.com.
Italiano:
Scheda Seriale PCI Express