Using sight ‘n go, Taking a photo, Attaching the wrist strap – Garmin GPSMAP 62stc User Manual
Page 9
GPSMAP 62 Series Quick Start Manual
9
Using Sight ‘n Go
nOTe: Sight ‘N Go is available only
with the GPSMAP 62s, GPSMAP 62st,
GPSMAP 62sc, and GPSMAP 62stc.
You can point the device at an object
in the distance, such as a bridge, lock
in the direction, and then navigate to
the object.
1. From the main menu, select Sight
‘n Go.
2. Point the device at an object.
3. Select Lock Direction > Set
Course.
4. Use the compass to navigate to the
object.
Taking a Photo
You can take photos with the GPSMAP
62sc and GPSMAP 62stc.
1. From the main menu, select
Camera.
2. Turn the device horizontally or
vertically to change the orientation
of the photo.
3. If necessary, press in or OuT to
zoom in or out.
4. Hold the enTeR button to focus.
5. Release the enTeR button to take
a photo.
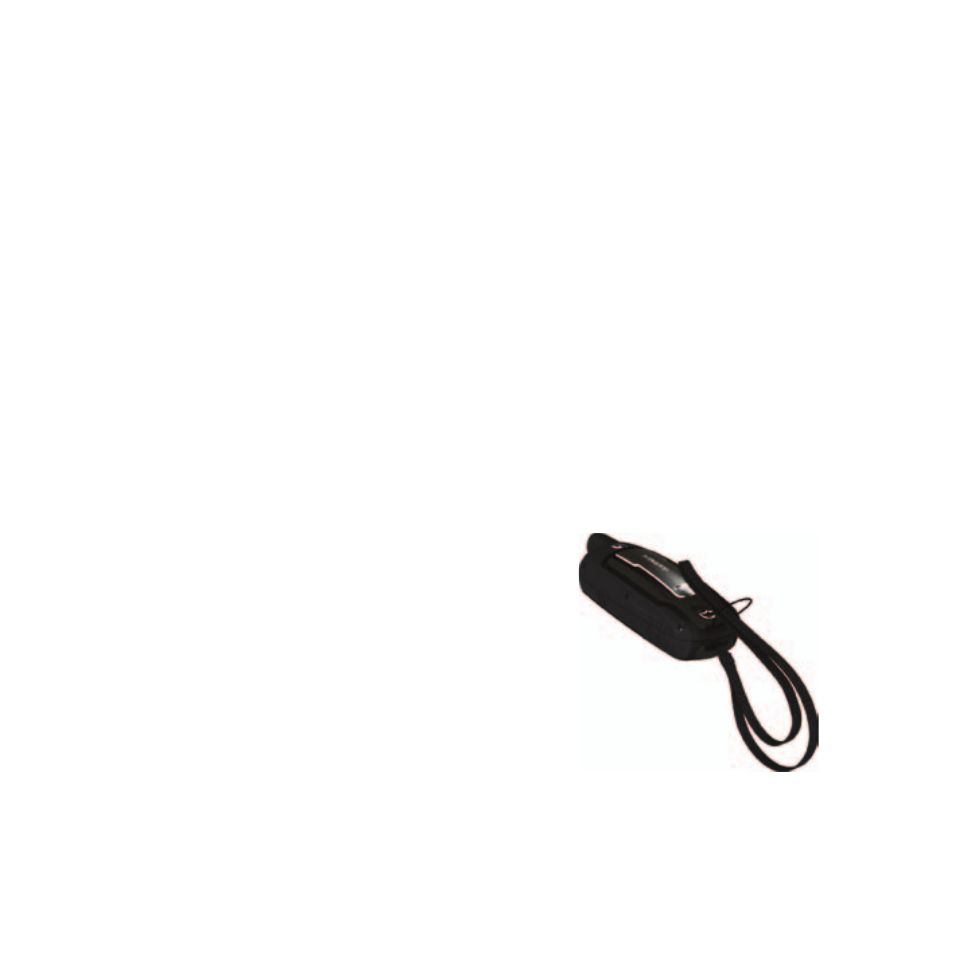
attaching the wrist Strap
1. Place the loop of the wrist strap
through the slot opening at the
bottom of the device.
2. Route the strap through the loop,
and pull it tight.