Synchro recording, Monaural recording, E-13 – Yamaha MDX-E100 User Manual
Page 13
E-13
English
SYNCHRO RECORDING
The synchronized recording function lets you set this
unit to start recording automatically when a sound signal
is input.
1
Load the sound source into the source
component.
If necessary, program, or select the track you want
to start recording from before proceeding to the
next step. (Refer to the operation manual supplied
with the source component for instructions
regarding its use.)
2
Press
INPUT
repeatedly to select the input
connected to the sound source you want to
record.
3
Press
SYNC
to set this unit to record pause
mode.
The REC
* indicators light up.
“Synchro REC” and the amount of time available for
recording flash alternately in the display.
During synchronized recording, analog input sources are
recorded at the current
ANALOG REC LEVEL
setting,
digital sources are recorded at the 0 dB level.
The MD starts recording automatically when a sound
signal is input. When the sound signal stops, the unit
switches back to record pause mode and “Synchro REC”
blinks in the display. The next time a sound signal is
detected, recording starts again. In this manner, the
presence of a sound signal automatically switches the unit
between record and record pause modes.
4
Start playing the sound source.
To cancel the synchronized recording mode
Press
&.
Note
When the signals at the beginning of a track are lower than the
level required to start synchronized recording, they are not
recorded. Should this occur, perform manual recording.
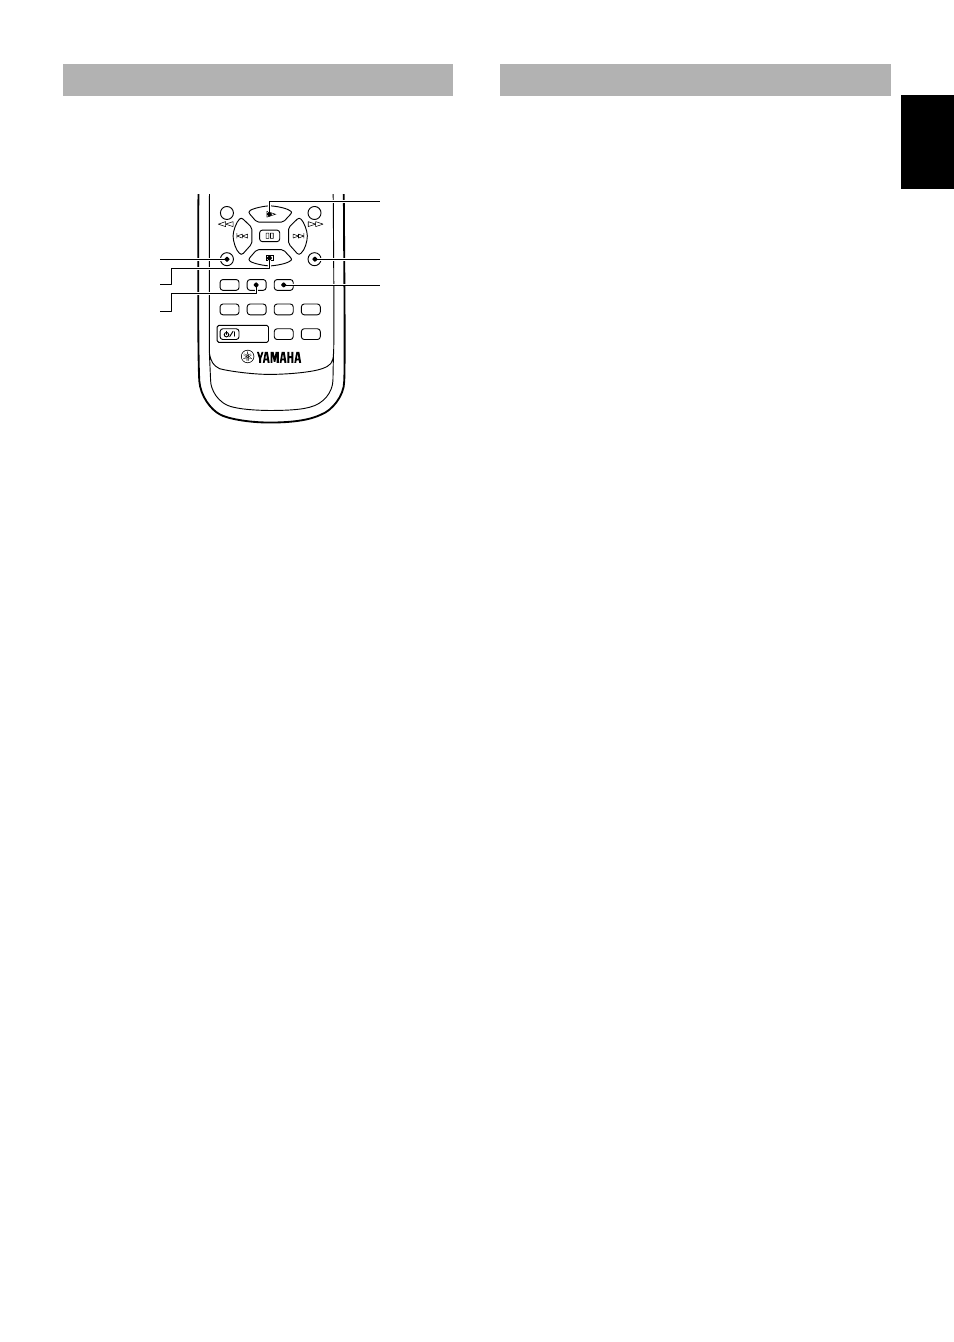
&
A-B
S/F
DISPLAY
POWER
SCROLL
REC/
PAUSE
SYNC
M-MARK MONO/ST INPUT
RANDOM PROGRAM
REPEAT
REC/PAUSE
SYNC
INPUT
#
MONO/ST
MONAURAL RECORDING
Recording in monaural (mono) allows you to record up
to 148 minutes of sound on one 74 minute MD.
1
Follow steps 1, 2, and 3, of the recording
procedure described on page 11.
2
Press
MONO/ST
to light the MONO
indicator.
3
Press
REC/PAUSE
.
The REC
* indicators light up.
“REC Standby” and the amount of time available for
recording flash alternately in the display.
To adjust the recording level of digital or analog input
sources, see “Adjusting Recording Levels” on page 12.
4
Press
# to start recording.