Yamaha MOX6 User Manual
Page 4
Operation flow from starting the application to closing it
MOX6/MOX8 Remote Editor Owner’s Manual
4
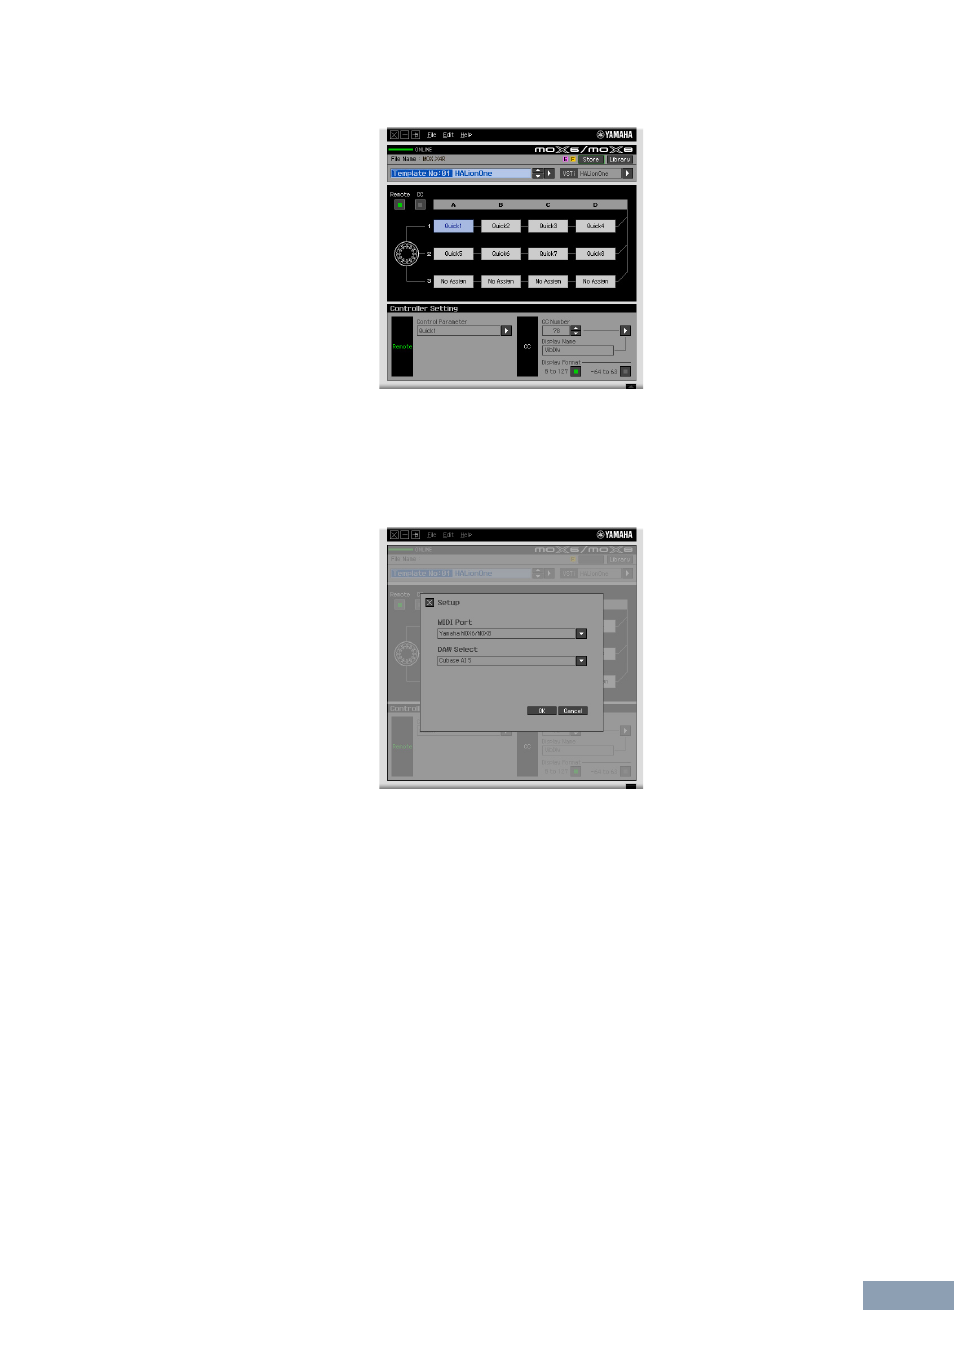
After transfer has been successfully completed, the Edit window appears.
n
If data transfer in the Auto Sync window fails even when the MOX6/MOX8 and computer are connected
properly, make sure to set the MIDI In/Out parameter to “USB” and the Device Number parameter to “1” or “All”
in the Utility MIDI display on the MOX6/MOX8.
2.
Select “Setup” from the [File] menu to call up the Setup window.
3.
Confirm that the MIDI Port is set to “Yamaha MOX6/MOX8,” then select the desired DAW
software from the DAW Select column.
If the MOX6/MOX8 and the MOX6/MOX8 Remote Editor are connected properly via USB, you can
confirm that the MIDI Port is set to “Yamaha MOX6/MOX8” when the above window appears. The DAW
selection is necessary for performing the Scan operation (“VSTi Database” menu in the [File] menu) and
obtaining the VSTi-related information.