Displaying clock/calendar – VIEWSONIC VS13442 User Manual
Page 25
20
3. Use
or
key on the remote to select Photo icon and press ENTER to go to the thumbnail mode
4. Press
COPY/DEL key on the remote to pop up a window “Delete Files? Delete selected, Delete all, Cancel”. Use or
on the remote to select the desired option, and then press
ENTER.
5.
The thumbnails will be displayed with a small white square in the upper left coner of each. Use
or key on
the remote to select the photo to be deleted. Then press
ENTER to confirm with a tick mark for each photo you select.
(If you choose “Delete all”, all the white squares show a tick mark.)
6. Press
COPY/DEL key on the remote again to pop up a window “Delete Files? Yes/ No”. Use or on the remote
to select “Yes”, and then press
ENTER. Your photos are deleted from the internal memory.
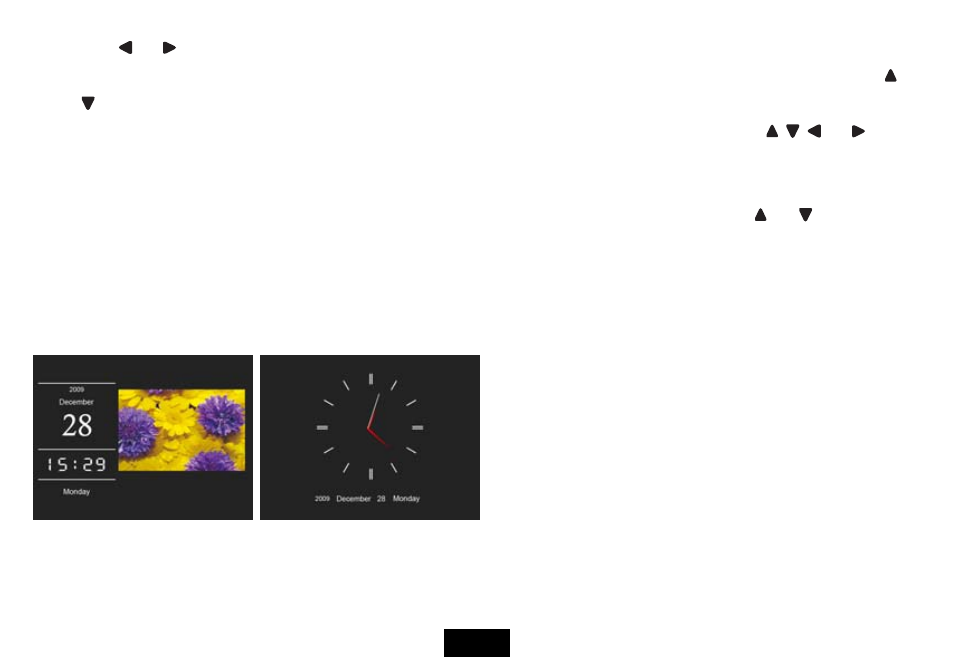
Displaying Clock/Calendar
You can switch your Digital Photo Frame to
Clock/Calendar mode that the current date and time is
displayed on the screen with a slide show in thumbnail.
1. Select
the
Calendar icon on the main menu and
press the
ENTER key.
The Calendar, Clock or Monthly Calendar is
displayed on the screen and all photos in the
memory source start slide show in thumbnail.
2. Press
the
ENTER key to toggle through Calendar,
Clock or Monthly Calendar mode.
ViewSonic
VFM842/VFM1042