Setting the clock, 25 en 25 en, Clock setting – Toshiba DR420KU User Manual
Page 25
25
EN
25
EN
Disc
Management
Recording
Playback
Introduction
Connections
Basic Setup
Editing
Function Setup
Others
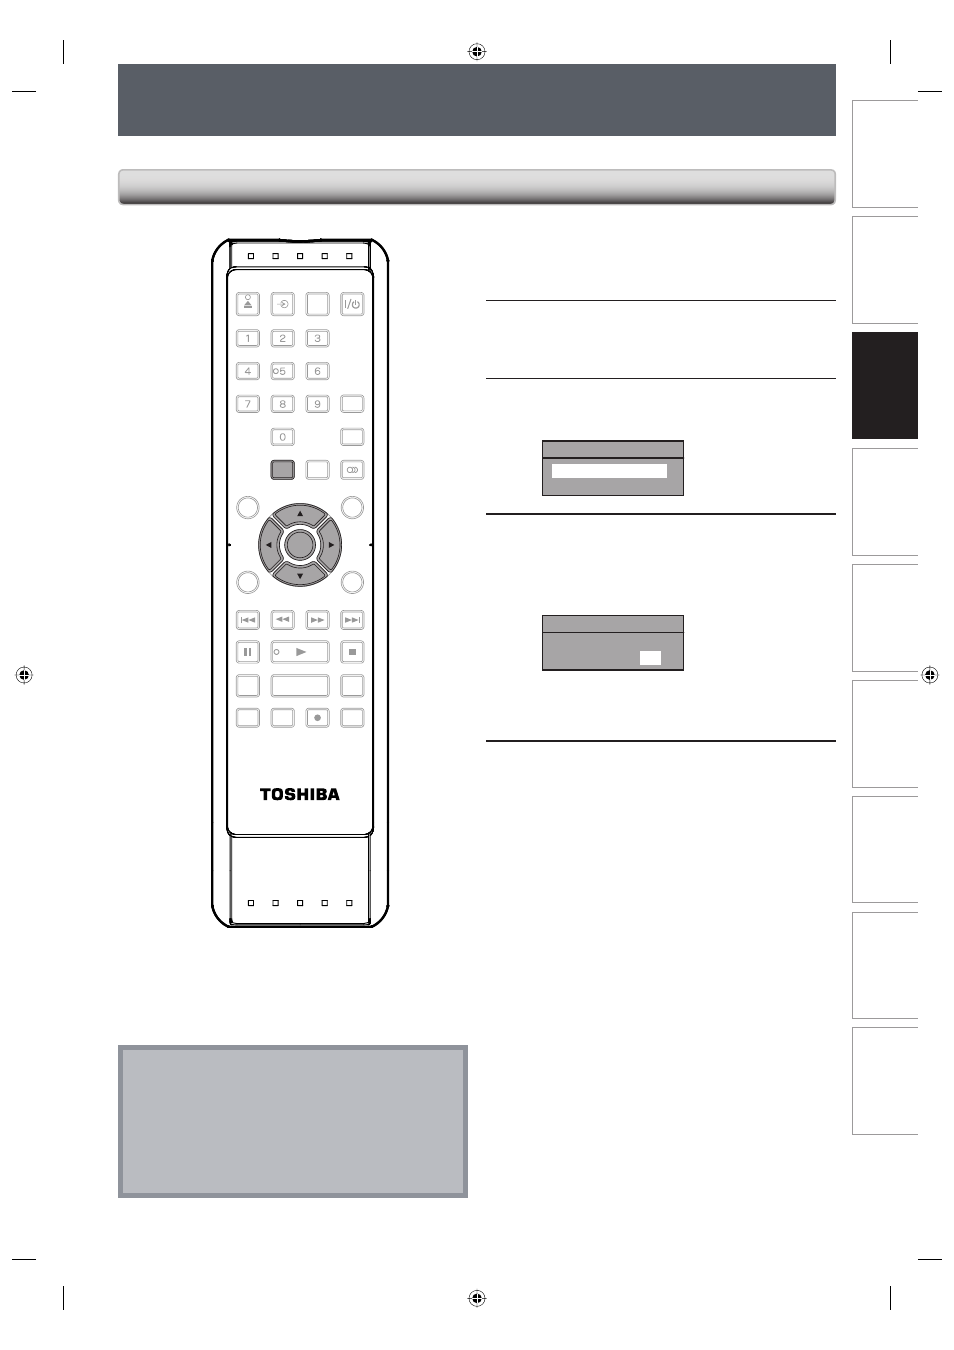
SETTING THE CLOCK
Set the clock before you try the timer programming.
1
Press [SETUP] and use [K / L] to
select “General Setting”, then press
[ENTER].
2
Use [K / L] to select “Clock”, then
press [ENTER].
“Clock” menu will appear.
3
Use [K / L] to select calendar or time,
then press [ENTER].
Clock Setting
JAN / 01 / 2009 ( THU )
12 : 00 AM
4
Use [{ / B] to select an item to set,
and use [K / L] to select the contents
to suit your preference, then press
[ENTER].
Clock Setting
JAN / 01 / 2009 ( THU )
12 : 00 AM
Your setting will be activated.
The clock start counting when you press
[ENTER].
5
Press [SETUP] to exit.
Note
• Your clock setting will be lost if either there is a power
failure or this unit has been unplugged for more than
30 seconds.
• For setting the day, year, hour and minute,
[the Number buttons] can also be used.
• You can set the built-in calendar from the year 2008
up to 2058.
Clock Setting
SE-R0265
OPEN/
CLOSE
INPUT
SELECT
HDMI
.@/:
ABC
GHI
PQRS
TUV
SPACE
SETUP
DISPLAY
AUDIO
TOP MENU
CLEAR
RETURN
MENU/LIST
WXYZ
JKL
MNO
DEF
ENTER
SKIP
REV
PLAY
REC MODE
ZOOM
REC
REPEAT
PAUSE
TIME SLIP
1.3x / 0.8x PLAY
INSTANT SKIP
STOP
FWD
SKIP
TIMER
PROG.
SATELLITE
LINK
ENTER
SETUP
E7PCAUD_DR420KU_EN.indd 25
E7PCAUD_DR420KU_EN.indd 25
2/6/2009 10:55:28 AM
2/6/2009 10:55:28 AM