Reconnecting to your pc – Toshiba e750 User Manual
Page 11
TOSHIBA Pocket PC Flash Update Tool for e750 User's Guide
11
6
When the update completes, your e750 will automatically re-boot
7
Remove the device from the cradle.
8
And click Exit on the Flash Update Tool.
9
Install the Kernel ROM image file by repeating steps 2-8.
10
When you complete the installation of both the Boot ROM and Kernel ROM,
cold boot your e750 again and then proceed to next section.
When you update the ROM image and an error occurs, finish
the update and then reset the PDA.
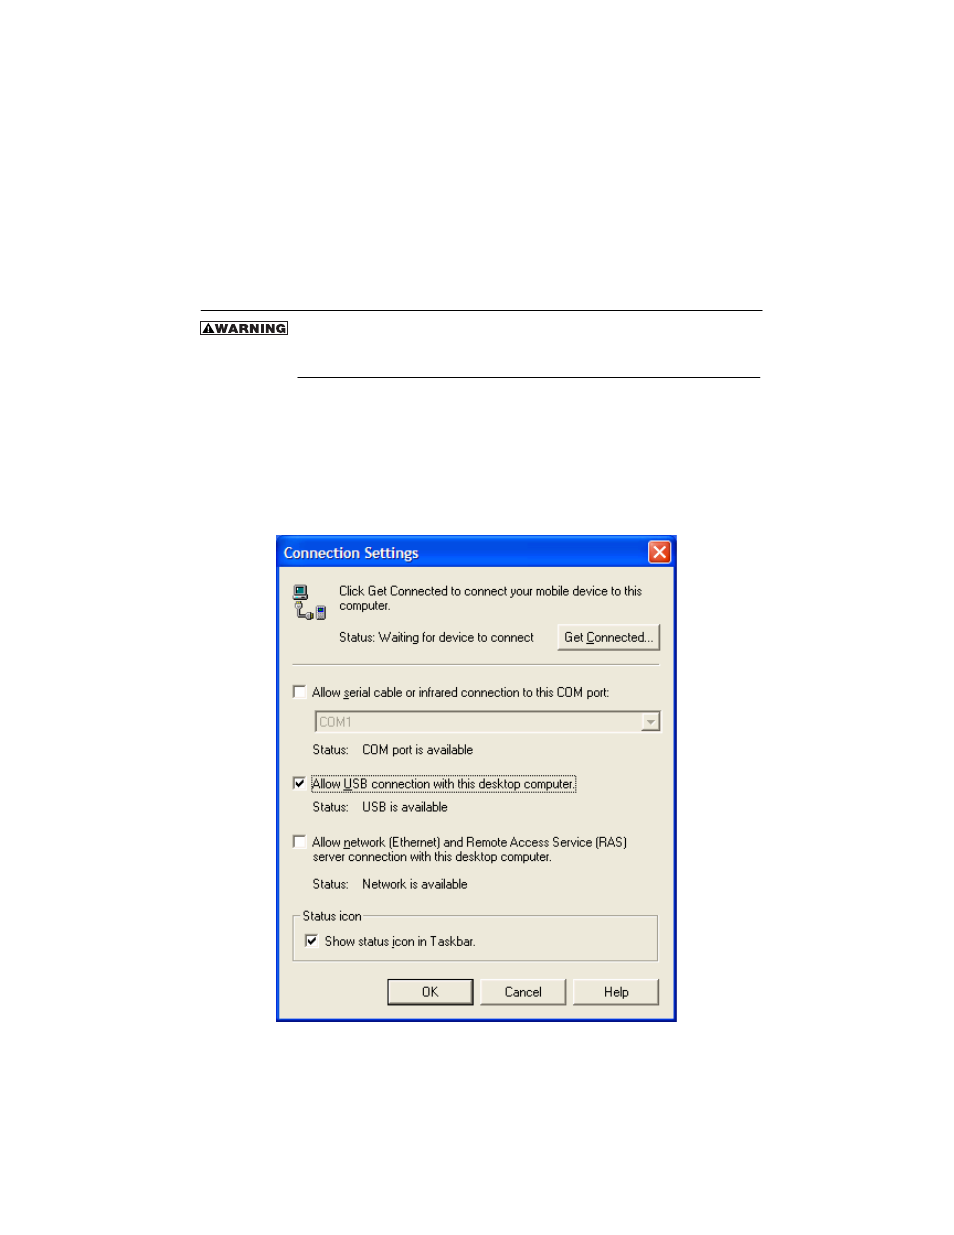
Reconnecting to your PC
To reconnect the device to your PC:
1
On your PC, open ActiveSync, and then choose File, and then
Connection Settings,
2
Click the Allow USB connection checkbox, and then click OK.
Getting connected window
Insert the e750 into the cradle and make sure here is a good connection to
- e310 (1 page)
- e750 (1 page)
- NB100 (127 pages)
- NB305 (143 pages)
- NB305 (149 pages)
- NB305 (153 pages)
- Libretto U100 (250 pages)
- Satellite Pro L20 (178 pages)
- Tecra A7 (186 pages)
- Satellite Pro S200 (224 pages)
- Tecra A3 (182 pages)
- M5 (240 pages)
- Satellite Pro L40 (126 pages)
- Satellite Pro L40 (127 pages)
- NB200 (191 pages)
- Tecra M9 (212 pages)
- Tecra M4 (237 pages)
- Tecra A8 (220 pages)
- Satellite Pro M40X (170 pages)
- Satellite Pro P200 (175 pages)
- Equium U300 (147 pages)
- Tecra S3 (250 pages)
- Tecra A2 (198 pages)
- Satellite Pro M40 (190 pages)
- Tecra M7 (244 pages)
- A215-S4767 (2 pages)
- A215-S7422 (2 pages)
- U200 (2 pages)
- 2550CDT (2 pages)
- A210-EZ2202X (2 pages)
- A120 (4 pages)
- A210 (276 pages)
- Satellite Pro A300 (204 pages)
- A205 (237 pages)
- A20-S259 (12 pages)
- 4600 (2 pages)
- A215-S6804 (2 pages)
- A2 (2 pages)
- A210-EZ2203X (2 pages)
- Satellite Pro L310 (224 pages)
- A45 (277 pages)
- X500-S1801 (4 pages)
- A200 (244 pages)
- A200 (154 pages)