Customizing the function settings, Display setting – Toshiba BDX3000KU User Manual
Page 29
29
FUNCTION SETUP
Customizing the Function Settings
BD-Live Internet Access:
• Limit Access — Allows Internet access with valid “BD-
Live” network access approval.
• Always Allow Access — Always allows BD-Live Internet
access.
• Prohibit Access — Never allows BD-Live Internet
access.
In order to set the player up for BD-Live Internet Access,
perform the following steps:
1. In the main menu of Settings, press button, then use
/ to select BD-Live, then press OK.
2. Press / to select “BD-Live Internet Access”, and
then press OK.
3. Use / to select the desired setting, and then press
OK to confi rm.
4. Make sure that “Limit Access” or “Always Allow
Access” is checked.
5. Once the USB device or SD card has been inserted, if
there is not at least 100Mbyte of free space on the device,
you should choose “Erase Blu-ray Storage” from the
BD-Live setup menu.
6. Press to return to the main menu of Settings, then
use / to highlight Network, and then press OK. (For
details, please refer to “Network Connection Setting” on
Page 36.)
Notes:
• Depending on your connection environment, it may take
time to connect to the Internet or the Internet may not be
connected.
• When BD-Live function are used and the unit is
connected to the Internet, you may be charged for this
communication.
• Do not remove the USB device or SD card when using
the BD-Live function.
BD-Live Storage:
This option is used to tell the BD player whether or not to
use an inserted SD card or USB device to store BD-Live
content (movie trailers, additional scenes, etc.).
In order to add BD-Live memory for BD-Live Internet Access,
insert an USB device or SD card (1GB is recommended)
into the USB slot or SD card slot on the player.
Erase Blu-ray Storage:
If you choose OK to erase Blu-ray storage, all bookmarks
and BD-Live content saved in memory are deleted.
1. In the main menu of Settings, press button to select
Display, and then press OK to confi rm.
2. Press / to select an option, and then press OK.
3. Use / to select the desired option, and then press
OK to confi rm your selection.
4. Press to go to the previous menu.
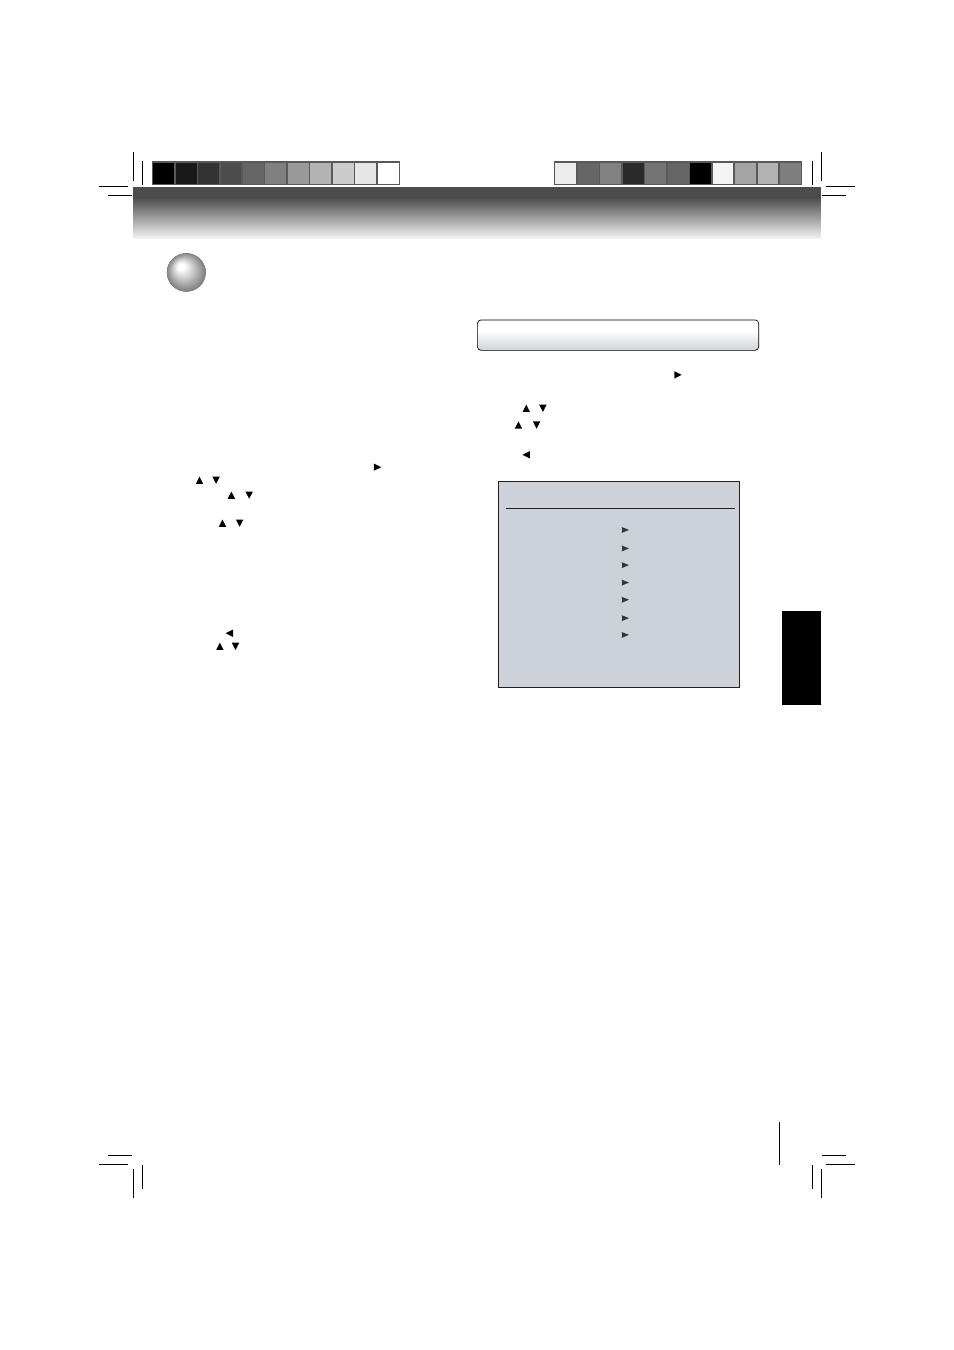
Display Setting
Display
HDMI Status Connected
HDMI Preferred Format 1080p
Resolution HDMI Auto
TV Aspect 16:9 Pillarbox
Film Mode Off
Deep Color On
Bluray 3D Mode Automatic
HDMI Status:
This option displays the HDMI status. If an HDMI TV is
connected, Connected appears. If an HDMI TV is not
connected, Disconnected appears.
HDMI Preferred Format:
This option shows the best HDMI format for the connected
TV.
Resolution:
You can defi ne the video output resolution in this option. In
case that the menu of “Resolution” setting disappears, make
composite video (yellow) connection to restore it, then select
the resolution which is compatible with the connected TV.
Notes:
Selecting a resolution the TV does not support could
•
result in an unstable picture or loss of the picture. See
the documentation that came with the TV to fi nd the
resolutions the TV supports.
Only the HDMI output on your player supports 1080p
•
video output at any frame rate. If the TV is connected
to the component output, the video output is limited to
1080i or lower.