Motor, Permanent agitator, Candy dispenser canisters – Taylor BC10 User Manual
Page 24
20
Models BC10/BW11
Important: To the Operator
030103
Motor
The motor features a heavy duty, ball bearing induction
motor and does not use brushes, belts, couplings, or
gears. This design reduces power consumption, heat,
noise, and wear. The motor maintains an optimal
speed of 3,485 RPM to maintain product consistency.
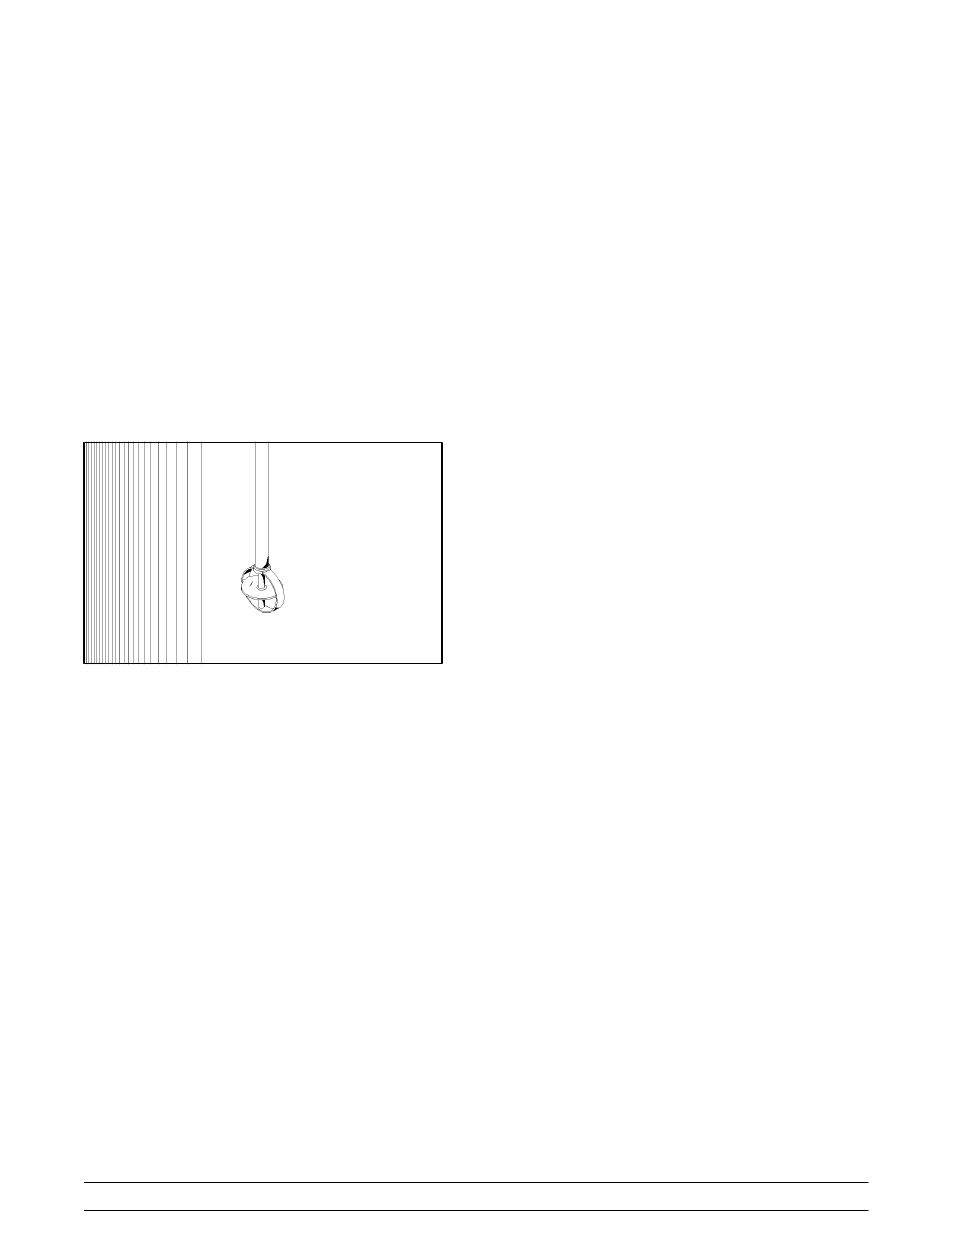
Permanent Agitator
The permanent agitator is manufactured from FDA
and NSF approved, food safe material. The shaft
must be cleaned between servings as product
carryover will occur. (See page 23.)
Figure 5
Candy Dispenser Canisters
The canisters contain the candy toppings. The
operator dispenses the toppings by use of the
dispenser handle.
Candy Care
Most candies have a tendency to “lump” or “cluster”
under various conditions. This can lead to broken
dispensing pucks if excessive pressure is required to
move the handle.
S
Store candies in the proper ambient
conditions according to the manufacturer’s
directions. Avoid excessively hot and humid
locations.
S
Avoid opening a bag of candy if the entire
contents cannot be poured into the canister.
If this cannot be avoided, be sure to fold the
bag opening over and reseal it with a bag
clip. Store it in a cool, dry place until needed
again.
S
Rotate the candy stock to use the oldest
candy first (First in--First--out).
S
Before opening a new bag of candy, check
to see if it contains large lumps by slightly
squeezing the bag. If lumps exist, gently
break them apart with your fingers prior to
opening the bag.
Canister Care and Location
S
Avoid mounting canisters near heat,
humidity, or hot air discharges. These
conditions can promote lumping and difficult
dispensing of candies.
S
Always keep candies protected from the
open ambience by having the lids properly
installed on top of the canisters when
candies are present.
S
When canisters are not cleaned daily, candy
dust and powers begin to congeal and will
cause excessive pressure to be exerted in
order to dispense candies. This additional
pressure can cause the pucks to break.
S
Avoid “slamming” the dispensing handle
back and forth when dispensing candies.
This can cause the puck to break.
S
Do not apply undue force on the handle to
make the puck move. If a “lock up” condition
occurs, empty the dispenser of candies.
Disassemble, clean and thoroughly dry the
dispenser according to cleaning instructions.
Eliminate clusters and lumps before refilling
the canister.
S
When reassembling the canister, take care
not to over--tighten the handle into the “puck
bushing”. After the handle has been
screwed into the puck bushing, check
tightness by unscrewing it slightly to be sure
it requires little effort to unscrew. Then
reseat it.