2 general setup via web pages, 3 basic ethernet setup screen – Telex NEO-10 User Manual
Page 8
8
3.2 General Setup via Web Pages
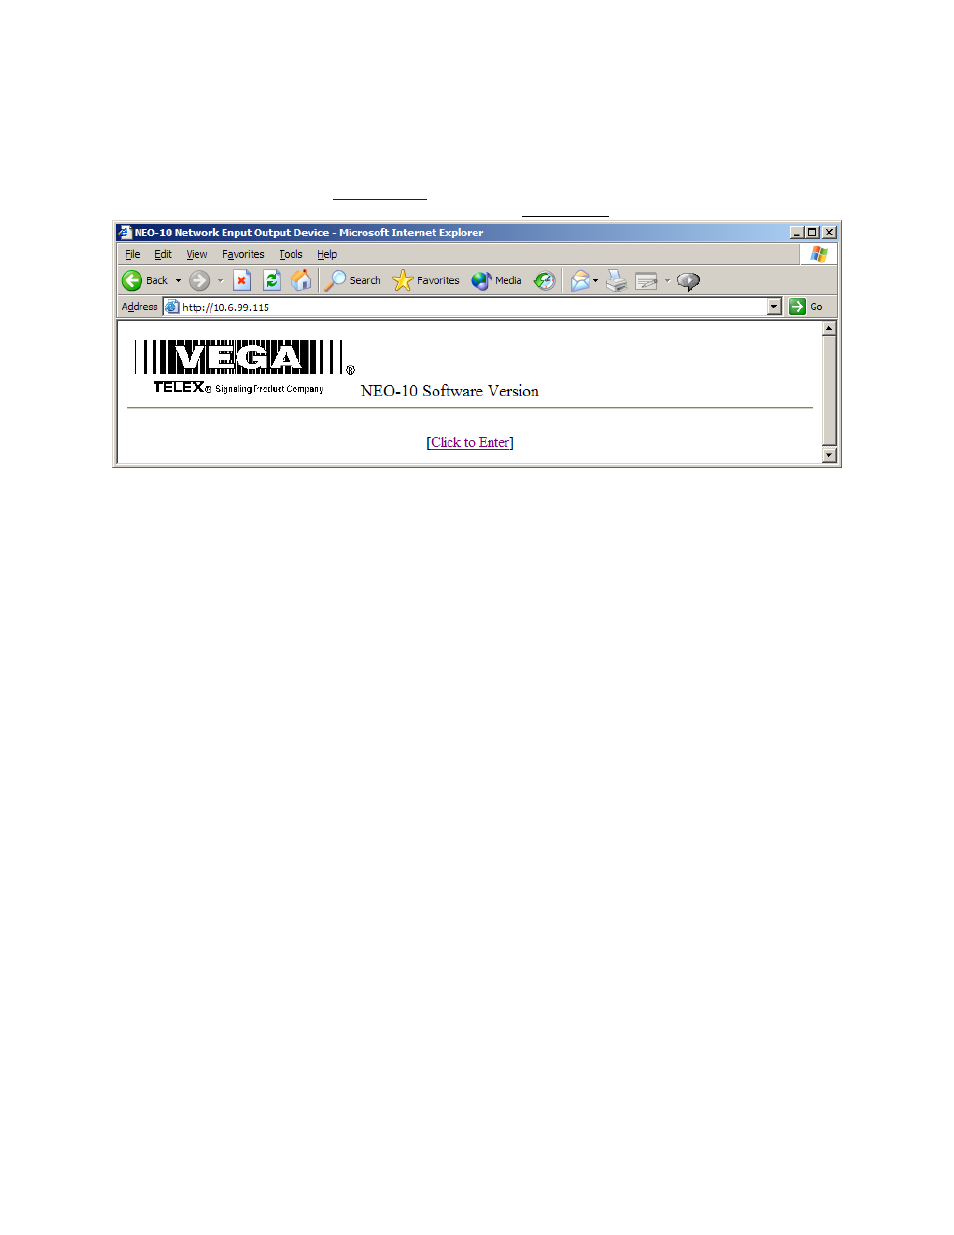
The majority of the setup of the NEO is completed through the Ethernet port. Once the steps of 3.1 have been
completed, a PC on the network can be used to gain access to the web page based setup of the NEO. In the URL
window of Internet Explorer, type
http://X.X.X.X
where X.X.X.X is the IP address set in the previous section. An
opening page will appear as shown in Figure 2. Clicking on the [Click to Enter] hyperlink will open the Basic Setup
page shown in Figure 3.
3.3 Basic Ethernet Setup Screen
The parameters that can be set on the Basic Ethernet Setup Screen are as follows:
3.3.1 Use
DHCP
Server
This option, when checked will force the NEO to request a dynamic IP address when it is first turned on. Since it is
important that the NEO always be located in a known location for all consoles utilizing it on the network, this should
not be used as the normal operating mode. It is useful sometimes to determine the settings that might be used for a
particular network or testing.
3.3.2 Unit IP Address
In addition to the method outlined in section 3.1, the base IP address can be changed from this screen.
3.3.3 Subnet
Mask
Enter the subnet mask into this field. Obtain this information from your network administrator.
3.3.4 Gateway
Address
The Gateway Address is the address to which packets are sent when the destination address of the packet is not on
the same subnet as the NEO itself. Obtain this information from your network administrator.
3.3.5 DNS
Addresses
1-3
Enter the DNS addresses provided by your network administrator. These are optional and not currently used.
Figure 2-Opening Screen for web page setup