Turning the tiller – Troy-Bilt series 650 User Manual
Page 11
To Engage Drive & Tines
NOTE: The tiller pictured on the following pages is used to
demonstrate the operation of the tiller and may not look exactly
like your tiller.
For forward motion of the wheels and power to the tines
1.
pull the Forward Clutch Bail up against the handlebar.
Release the bail to stop the forward motion of the wheels
and tines.
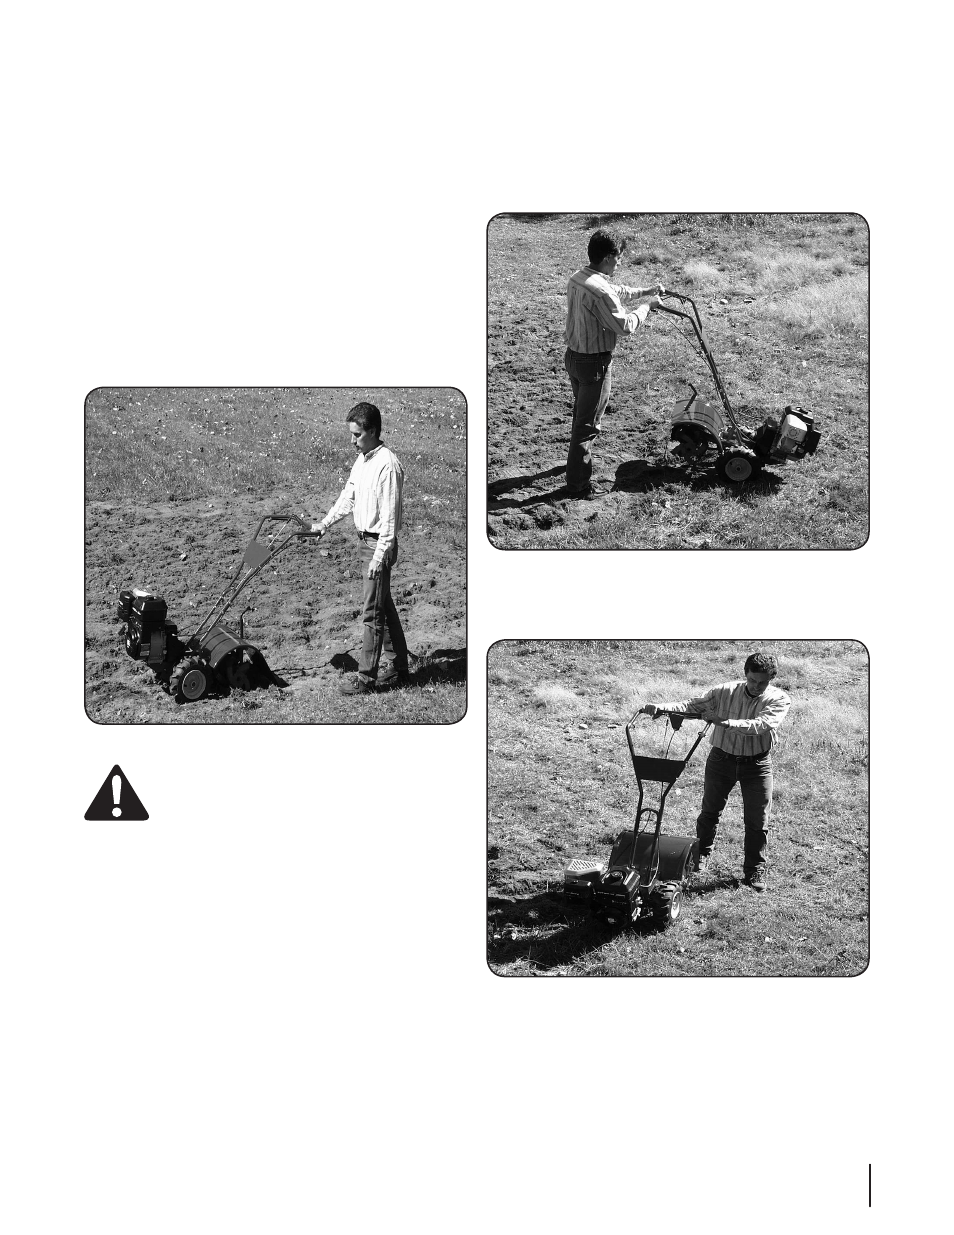
When tilling, relax and let the wheels pull the machine
2.
while the tines dig. Walk behind and a little to one side
of the tiller. Use one hand, yet keep a light — but secure
— grip on the handlebar (while keeping your arm loose).
See Fig. 5-1. Let the tiller move at its own pace and do not
push down on the handlebars to try and force the tines to
dig deeper — this takes weight off the wheels and reduces
traction.
WARNING!
Do not push down on the handlebars
to try to make the tiller till more deeply. This
prevents the wheels from holding the tiller back and
can allow the tines to rapidly propel the tiller
forward, which could result in loss of control,
property damage, or personal injury.
To move in reverse:
1.
Look behind and exercise caution when operating in
a.
reverse. Do not till while in reverse.
Stop all forward motion. Lift the handlebar with one
b.
hand until the tines are off the ground and then pull
the Reverse Clutch Control Lever towards you. To
stop reversing, release the lever.
If longer distances need to be covered in reverse,
c.
shut off the engine, then place the two wheels in
FREEWHEEL.
Turning the Tiller
Practice turning the tiller in a level, open area. Be very
1.
careful to keep your feet and legs away from the tines.
To begin a turn, lift the handlebars until the tines are out of
2.
the ground and the engine and tines are balanced over the
wheels (Fig. 5-2).
With the tiller balanced, push sideways on the handlebar to
3.
steer in the direction of the turn. After turning, slowly lower
the tines into the soil to resume tilling. See Fig. 5-3.
Figure 5-2
Figure 5-3
Figure 5-1
11
s
ectiOn
5 — O
peratiOn