Setup menu, Vm8113 r setup menu – CHALLENGER VM8113R User Manual
Page 19
15
VM8113R
SETUP MENU
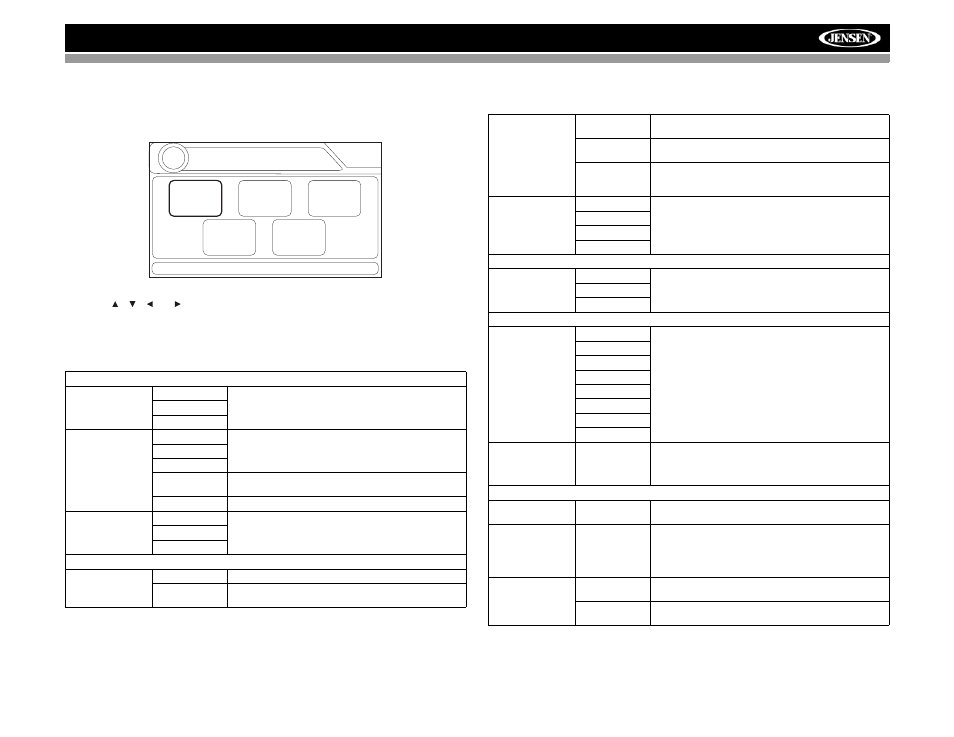
During disc play, press the SETUP button (4) on the remote control to
access the SYSTEM SETUP menu.
Use the , , or cursor buttons to choose between LANGUAGE,
VIDEO, AUDIO, RATING or MISC setup options.
Table 2: System Setup Menu
LANGUAGE MENU
OSD language
English
Select the appropriate on-screen language for the
DVD.
Francais
Espanol
Subtitle
English
Choose the language you would like subtitles to
appear in (if available).
French
Spanish
Auto
Select subtitle language automatically based on OSD
language.
Off
Turn subtitles off
DVD menu
English
Choose the language you would like DVD menu to
appear in (if available).
French
Spanish
VIDEO MENU
Aspect Ratio
4:3
Image is presented with 4:3 aspect ratio.
16:9
Image is presented in wide view with a 16:9 aspect
ratio.
SETUP MENU
01:02
AM
Language Menu
LANGUAGE
VIDEO
AUDIO
RATING
MISC
Video Format
NTSC
The color signals are output in the standard NTSC for-
mat.
PAL
The color signals are output in the standard PAL for-
mat.
AUTO
The color signal output is switched automatically
based on the current video input signal - NTSC or
PAL.
Smart Picture
Standard
Select preferred display setting.
Bright
Soft
Dynamic
AUDIO MENU
Audio Menu
English
Select the appropriate audio language for the DVD.
French
Spanish
RATING MENU
Parental CTR
1 KID SAFE
Select the appropriate rating level for the intended
audience.
You may override higher ratings by using your pass-
word.
2 G
3 PG
4 PG13
5 PG-R
6 R
7 NC-17
8 ADULT
Set Password
_ _ _ _
Enter a 4-digit password to activate the “Rating” fea-
ture. The original password is “0000” and must be
entered before you can change the password to a dif-
ferent 4-digit code.
MISC MENU
Use Default
Settings
Yes/No
Select “Yes” to restore the factory default settings for
the Rating system only.
Demo
DemoRun
Demo Mode scrolls through the various source
screens, simulating activity on the display. “Demo
Mode” is discreetly displayed in yellow text (below the
clock), to indicate the unit is in Demo Mode. To stop
Demo Mode, press and hold the SRC button.
Demo Auto
On
When “Demo Auto” is On, the unit will automatically
display Demo Mode when powered on.
Off
When "Auto Auto" is Off, you can select "Demo >
DemoRun" to start Demo Mode.
Table 2: System Setup Menu