Oregon Scientific PROFESSIONAL WEATHER CENTER WMR200A User Manual
Page 9
9
EN
HOURLY RECORDS
Display
Hourly readings of up to
Barometer
24 hours back
Hourly Rainfall
24 hours back
UV
10 hours back
To view hourly records:
1. Press desired area to activate.
2. Press UP / DWN to view current (0) / hourly reading.
When MAX / MIN reading is displayed, the corresponding timestamp will be
displayed in the clock area
.
DATA LOGGER
To set DATA LOGGER:
1. Press clock area
until DATA LOGGER mode is displayed.
2. Press SET.
3. Press UP / DWN to select frequency of data recording (1 / 2 / 5 / 10 /15).
4. Press SET.
5. The number of days memory will allow for records will be displayed.
Frequency in minutes
No. of days available for data logging with Memory
available*
1
29
2
58
5
145
10
291
15
436
* based only on all provided sensors in this package being used, and after all memory
has been cleared.
To view remaining days for records:
Press clock area
until DATA LOGGER mode is displayed.
NOTE When DATA LOGGER is full, i.e., no more records can be stored on unit,
‘DATA LOGGER’ and ‘O Days’ will flash.
SET UP SOFTWARE (FIRST TIME USE)
The weather station is capable of connecting to a PC computer using the USB
connection. The software can read the latest weather data collected from the base
station.
PC system requirements
The minimum system requirements for use of the software is:
• Operating system: Microsoft Windows XP SP2 or Vista
• Processor: Pentium 4 or above
• RAM: Min. 512 MB
• Hard disk free space: Min. 512 MB
• Screen Display Area:1024 x 768 pixels (recommended)
WINDOWS XP
To install software:
1. Run CD software provided.
2. Setup wizard dialogue box will appear and guide you through the installation
process.
3. After successful installation, double click on desktop shortcut.
4. Click DISPLAY in Oregon Weather Station dialogue box.
WINDOWS VISTA
To disable User Access Control (UAC):
1. From the desktop, My Computer > Control Panel > User Accounts and Family
Safety > Change your Windows password > Turn User Account Control On
or Off.
2. Deselect the UAC option by un-ticking.
3. Follow steps 1-4 from above section.
DISABLE SLEEP MODE
To allow for continuous update of data, ensure Sleep Mode on computer is
disabled.
TO DISABLE SLEEP MODE ON COMPUTER (WINDOWS XP)
1. Right click on Desktop.
2. Choose “Properties”.
3. Click on “Screen Saver” Tab in the Display Properties window.
4. Click on “Power” located at the bottom half of window.
5. A new window “Power Options Properties” will open.
6. Under “System standby” option, choose “Never” in drop down menu.
7. Click “Apply” and then click “OK”.
8. Previous window will return. Click “OK” to confirm and exit.
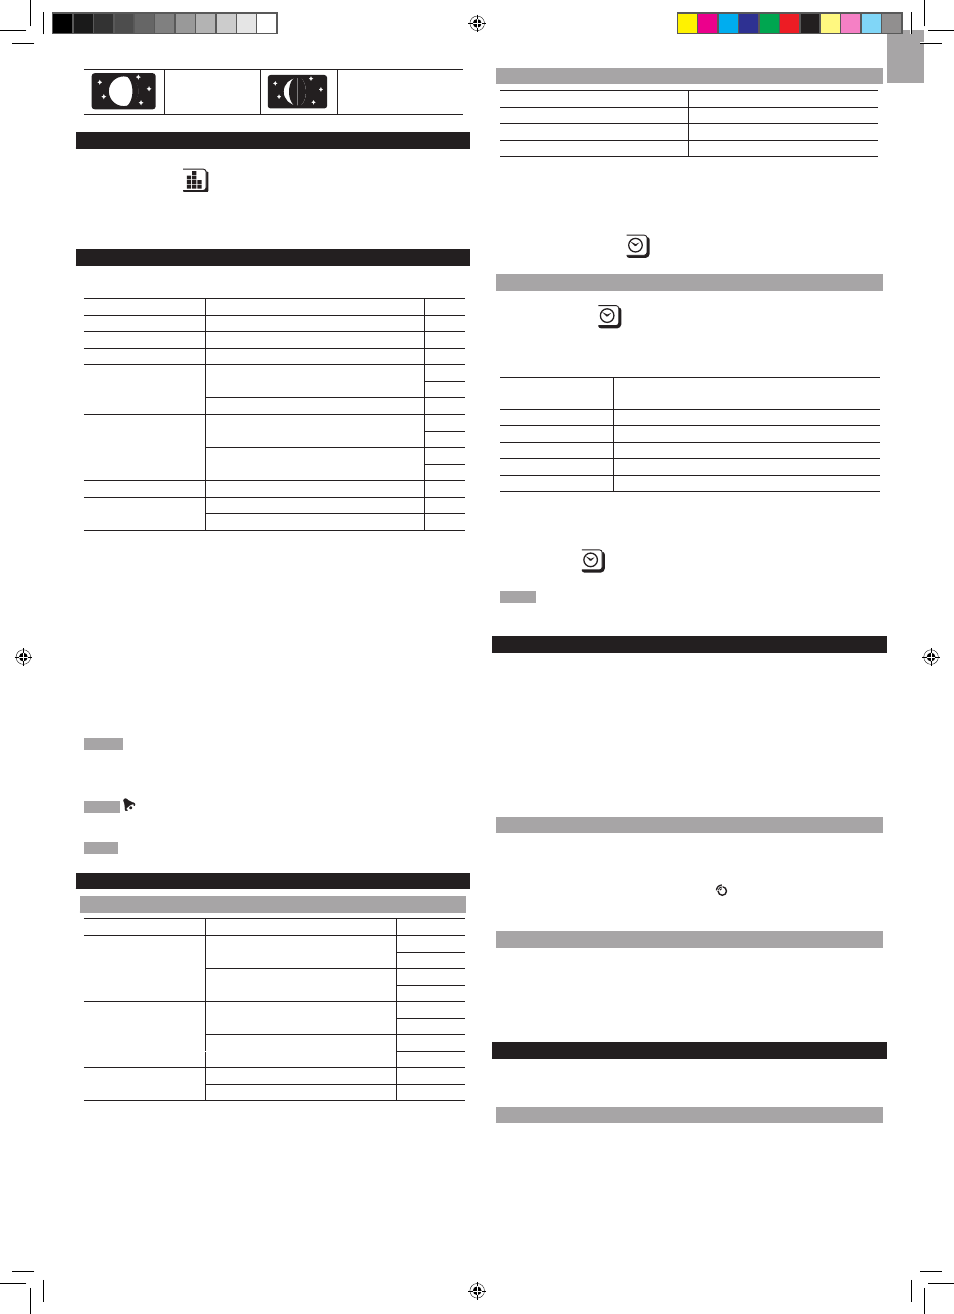
Waxing Gibbous
Waning Crescent
BAR CHART
To select chart display mode:
Press bar chart area
to toggle between these chart displays:
• Barometer
• Rain
• UV
ALARM
Weather alarms are used to alert you of certain weather conditions. Once activated,
the alarm will turn off when a certain criterion is met.
Area
Type of alarm
Barometer
Barometer
HI
Rain
Rain rate
HI
UV
UV
HI
Temperature
Current Temperature
HI
LO
Heat Index
HI
Humidity
Current Humidity
HI
LO
Dew Point
HI
LO
Clock
Daily Alarm
Wind
Gust Wind Speed
HI
Low Wind Chill
LO
To set the alarm:
1. Press desired area to activate.
2. Press AL to display Time and HI / LO alarm.
3. Press and hold AL
4. Press UP / DWN to set the desired values.
5. Press
• AL to confirm and continue to next setting OR
• touch anywhere on the screen (except tool bar / weather forecast area) to
confirm and exit.
To enable / disable alarms:
1. Press desired area to activate.
2. Press AL to display set Time and HI / LO alarm.
3. Press AL ON/OFF to turn alarm ON / OFF.
“- -“ indicates alarm is not set / disabled.
NOTE Clock alarm sound is different from weather alarms to allow for easy
differentiation by user.
To silence any alarm: Press anywhere on the screen.
NOTE
will continue flashing, despite silenced alarm, for at least 2 minutes or
until condition ceases.
NOTE When alarm is on, the channel of triggered alarm will be displayed.
MEMORY
MAX / MIN RECORDS
Area
Type of Memory
Temperature
Current Temperature
MAX
MIN
Heat Index
MAX
MIN
Humidity
Current Humidity
MAX
MIN
Dew Point
MAX
MIN
Wind
Gust Wind Speed
MAX
Wind Chill
MIN
To view MAX / MIN records:
1. Press desired area to activate.
2. Press MEM to toggle between MIN / MAX recorded values.
To clear individual area records:
1. Press desired area to activate.
2. Press and hold MEM.
3. Delete process is complete when display shows current reading.