Adjusting the listening modes, Using the late night function (dolbydigital only), Using the cinemafilter – Onkyo TX-SR403 User Manual
Page 44: Using the audio adjust functions, Advanced operation, Utton (44), Using the late night function (dolby digital only)
44
Adjusting the Listening Modes
With the Late Night function, you can reduce the
dynamic range of Dolby Digital material so that you can
still hear quiet parts even when listening at low volume
levels—ideal for watching movies late at night when you
don’t want to disturb anyone.
Notes:
• The effect of the Late Night function depends on the
Dolby Digital material that you are playing, and with
some material there will be little or no effect.
• The Late Night function is set to Off when the AV
receiver is set to Standby.
With the CinemaFILTER, you can soften overly bright
movie soundtracks, which are typically mixed for repro-
duction in a movie theater.
CinemaFILTER can be used with the following listening
modes: Dolby Digital, Dolby Digital EX, Dolby Pro
Logic II Movie, Dolby Pro Logic IIx Movie, DTS,
DTS-ES, DTS Neo:6 Cinema, DTS+Neo:6, and
DTS+Dolby EX.
These functions only work with speaker set A.
Audio Adjust provides various functions for adjusting
the sound.
Using the Late Night Function
(Dolby Digital only)
1
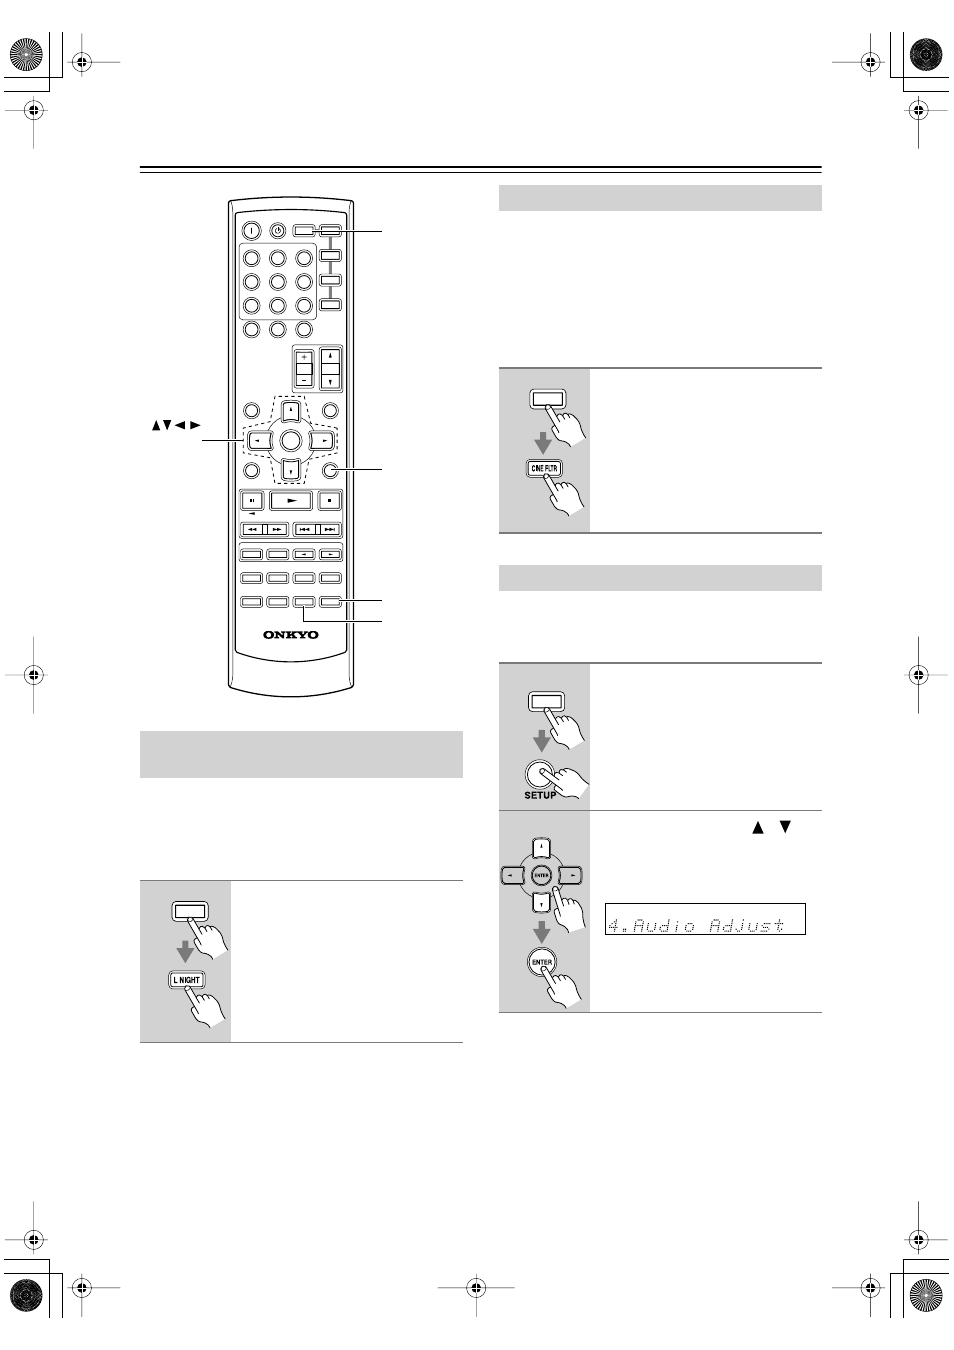
Press the [RECEIVER] button,
and then press the [L NIGHT] but-
ton repeatedly to select:
Off:
Late Night function off.
Low:
Small reduction in dynamic
range.
High:
Big reduction in dynamic
range.
MUTING
MENU
TOP MENU
SP A / B
SETUP
RETURN
RANDOM
SUBTITLE
PLAY MODE
AUDIO
REPEAT
RC-
605S
--/---
TAPE/AMP
ON
STANDBY
DIMMER
SLEEP
INPUT SELECTOR
REMOTE MODE
V
1
V
2
V
3
C D
TAPE
TUNER
DVD
MULTI CH
LISTENING MODE
DISPLAY
TEST TONE
CH SEL
SURROUND
STEREO
CINE FLTR
LEVEL+
LEVEL-
L NIGHT
VOL
CDR
MD
DVD
RECEIVER
C D
+10
0
CLR
1
2
3
4
5
6
7
8
9
ENTER
CH
DISC
SETUP
RECEIVER
L NIGHT
CINE FLTR
ENTER
RECEIVER
Using the CinemaFILTER
1
Press the [RECEIVER] button,
and then press the [CINE FLTR]
button repeatedly to select:
On:
CinemaFILTER on.
Off:
CinemaFILTER off.
Using the Audio Adjust Functions
1
Press the [RECEIVER] button fol-
lowed by the [SETUP] button.
2
Use the Up and Down [
]/[
]
buttons to select “4. Audio
Adjust,” and then press the
[ENTER] button.
RECEIVER
RECEIVER