Oregon Scientific Radio-Controlled Projection Clock with FM Radio RRM310P User Manual
Page 4
4
EN
CLOCK RECEPTION
This product is designed to synchronize its calendar
clock automatically once it is brought within 1500km
(932 miles) of a radio signal (DCF-77 generated from
Frankfurt, Germany).
NOTE For best results, place the clock away from metal
or electrical objects, and near a window with a clear
view to the sky.
To turn the radio reception ON / OFF:
• Press
and hold for 2 seconds.
•
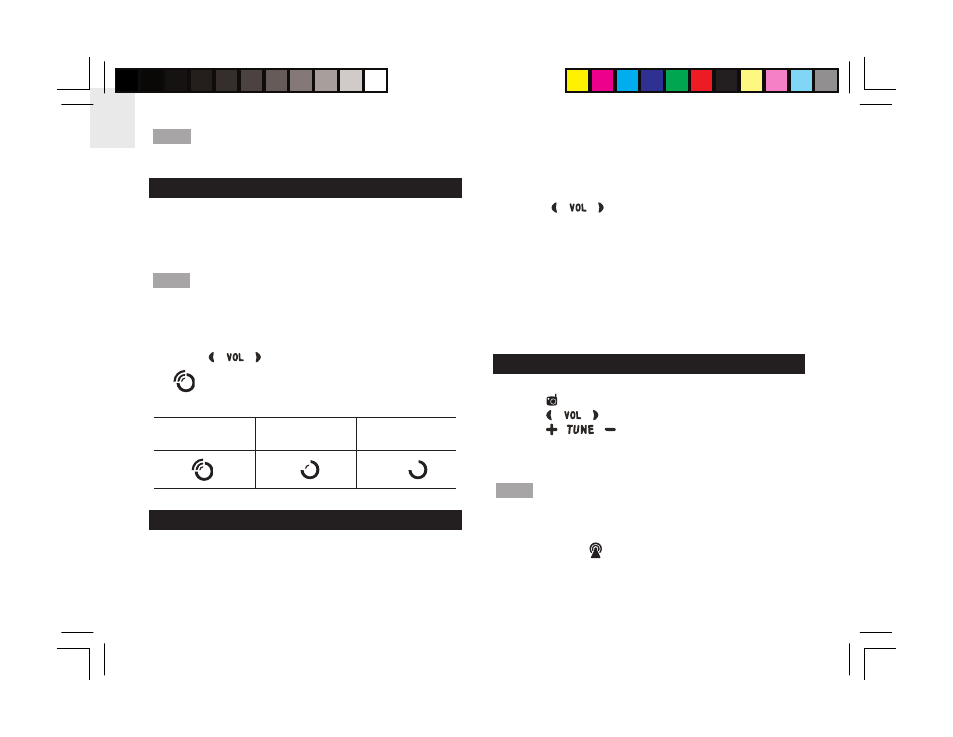
flashes when it is searching for a signal. No
icon appears when the radio reception is OFF.
NOTE To help conserve energy, turn the PROJ. ON
switch to OFF when you do not wish to use it.
STRONG WEAK NO
SIGNAL SIGNAL
SIGNAL
CLOCK
Press MODE to toggle between:
• Clock with seconds
• Clock with day
• Clock with time zone offset
To set the clock:
1. Press and hold MODE for 2 seconds. The time zone
offset hour digits will flash. When an offset hour has
been set (e.g. +1), the time displayed will be the
radio-controlled clock time plus 1 hour.
2. Press
to change the setting.
3. Press MODE to confirm the setting and move onto
the next one.
4. The setting sequence is: Time zone hour offset, 12 /
24 hour format, hour, minute, year, MM / DD or DD /
MM format, month, day and language for day of the
week.
5. Press any key except SNOOZE / LIGHT to exit the
setting mode.
FM RADIO
To play the radio:
1. Press to switch the radio on.
2. Press
to change the radio volume.
3. Press
to change radio frequency, press
and hold for 2 seconds to enable auto-search for an
available frequency.
NOTE In order to conserve power, the FM radio only
works when the adapter is plugged in.
To save a radio station:
Press and hold
while on a frequency. A total of 8
stations can be stored.