Installation, Trouble shooting, Tools for the trade – Orion Car Audio DEQ 30 User Manual
Page 8: Out in, An alo g/ dig ita l to s/ co ax, Re m g nd 1 2v
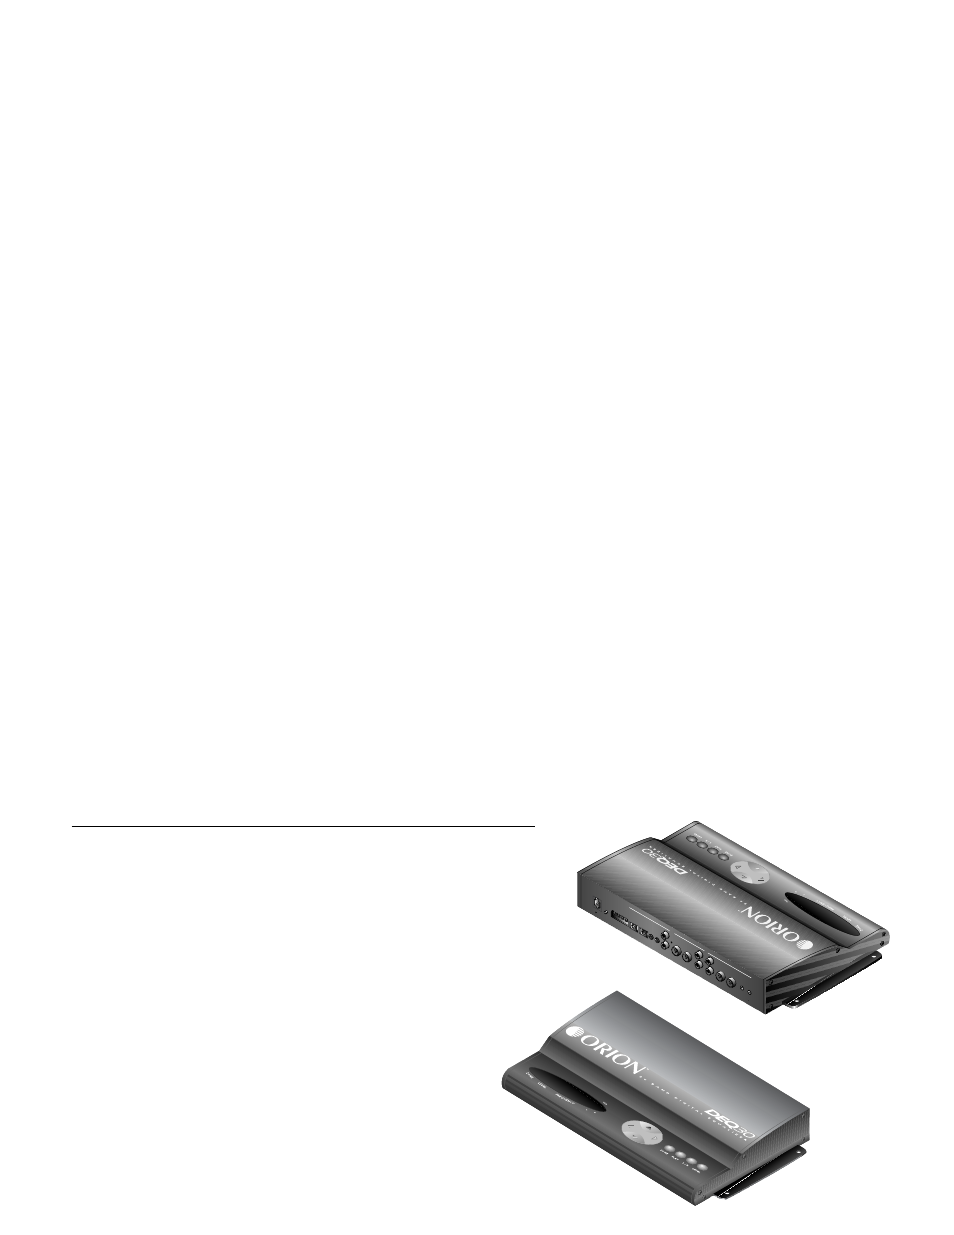
INSTALLATION
The installation of all ORION components will determine the overall performance result. Improper installation
will not only limit the performance of your ORION system but also potentially compromise the reliability of this
digital processor. To ensure proper sonic results and component reliability, please refer to your Authorized ORION
dealer for installation assistance and advice. If you decide to perform the installation yourself, read the entire
installation section of this manual before beginning the installation.
TOOLS FOR THE TRADE
Listed are tools required to perform the installation. Having
the proper tools will make the installation that much easier.
Some of these tools are necessities. Some make the job much
easier.
• marking pen
• electric drill with assorted drill bits
• utility knife
• Phillips and flat blade screwdrivers
• pliers (standard and needle nose)
• wire brush or sandpaper for chassis grounding
• solder iron and solder
• grommets
• heat shrink tubing
• nylon tie straps
• volt/ohm meter (optional)
• wire cutters
• wire crimpers
• wire strippers
• RTA (real time analyzer)
• Reference CD with 1 kHz Sine Wave at 0dB level (all
bits high)
TROUBLE SHOOTING
Symptom
Probable Cause
Action to take
No output
Low or no remote turn-on input
Check remote turn-on voltage output at amplifier
and fix as needed.
Fuse blown
Check power wire integrity and check for speakers
shorts. Fix as needed and replace fuse.
Power wire not connected
Check power wire and ground connection and fix or
replace as needed.
Audio input not connected
Check input connections and fix or replace as needed.
Audio output not connected
Check output connections and fix or replace as
needed.
Speakers are blown
Check system with known working speaker and fix
or replace speakers as needed.
Amplifier not working
Test with known working amplifier and repair or
replace amplifier as needed.
No output
Analog/Digital input selector
Reconfigure analog/digital input selector
improperly configured.
to its proper setting.
TOSLINK/COAX input selector
Reconfigure TOSLINK/COAX input selector
improperly configured.
to its proper setting.
Analog input gains set to low
Reset input gains. Refer to the section”Setting
Analog Input Levels“ (Page 12) in this manual
for details
Audio cycles on / off
Thermal protection engage when
Make sure there is proper ventilation for unit
unit temperature exceeds 90ÞC
and improve ventilation as needed.
Loose or poor audio input
Check RCA connections and fix or replace as
needed.
Loose power connections
Check power wire and ground connections and fix
or replace as needed.
46
O
UT
IN
CO
AX
DIG
IT
AL
AN
ALO
G/
DIG
ITA
L
TO
S/
CO
AX
TO
SLI
NK
RC
A
RC
A
AN
AL
O
G O
UT
PU
T
L
R
L
R
R
L
CO
M
P
O
RT
RE
SE
T
PO
W
ER
RE
M
G
ND
1
2V
AN
AL
O
G IN
PU
T
BA
LA
NC
ED
IN
PU
T
AD
JU
ST
L
R
L
R
7