Ch parameter list – Omega Vehicle Security wall mount Multi-Channel DPS3300 User Manual
Page 11
Page 10
To get into SETUP mode, push the SETUP key twice. The first push displays elapsed time and the second push brings
the unit into the SETUP mode. SETUP mode is indicated by 'SETUP' in the display window (the SETUP LED indicator
will also be illuminated) followed by 'ENtR PC' (for ENteR PassCode). The passcode feature has been provided to
keep unauthorized personnel from changing any parameters. Each of the five keys on the front panel are labeled with a
number in the lower right corner. The pass-code is a four digit combination of these numbers. Enter the pass-code when
the displays reads 'ENTR PC' . Passcode for DPS3300 Series is 3254.
Once the correct pass-code has been entered, the display shows 'SYS CH', with 'CH' blinking. At this point the
operator may choose between making channel settings (CH), or system settings (SYS). Use SDIGT key to toggle
between CH and SYS modes. When the desired mode is blinking, press SETUP key to begin setup of parameters for that
mode.
'SYS' Parameter List
Following parameters can be setup when blinking 'SYS' is selected:
1) Display Options
3) Relay Latch/Non-latch
a)
Elapsed
Time
4) Calibration/Range setting
b)
SCAN a)
Cold
Junction
Reference
Temperature
c)
High
Channel
b)
Thermocouple/voltage/current
calibration
d) Low Channel
c) Voltage Range
e)
Deviation
d)
Current
Range
f)
Channel
Difference
2) Display Elapsed Time
For more details, refer to the SYSTEM CONFIGURATION section.
CH Parameter List
Following parameters can be setup when blinking 'CH' is selected:
CURRENT OR VOLTAGE INPUT
THERMOCOUPLE, RTD, THERMISTOR INPUT
1) Select Channel
1) Select Channel
2)
Input
Type
2)
Input
type
3)
Channel
ON/OFF
3)
Channel
ON/OFF
4) Decimal Point Position
4) Temperature units (C or F)
5)
High
Scale
5)
Setpoint
6) Low Scale
6) Limit
7) Offset
7) Deadband
8)
Tare
8)
Relay
normally
open/closed
9)
Setpoint
9)
Engineering
units
10) Limit
11) Deadband
12) Relay Normally Open/Closed
13) Display Units
For more details, refer to the CHANNEL CONFIGURATION section.
Three attempts at entering correct pass-code are allowed. 'HELP' shows up in the
display window if attempted pass-code is wrong. If a person fails in three
attempts, the system will go back to normal display mode. To make another
attempt at this point one has to get into SETUP mode again.
Three keys are used during setup --- SETUP, WDIGX and SDIGT. If, at any
point during SETUP, it is desired to get out of SETUP and back to normal display
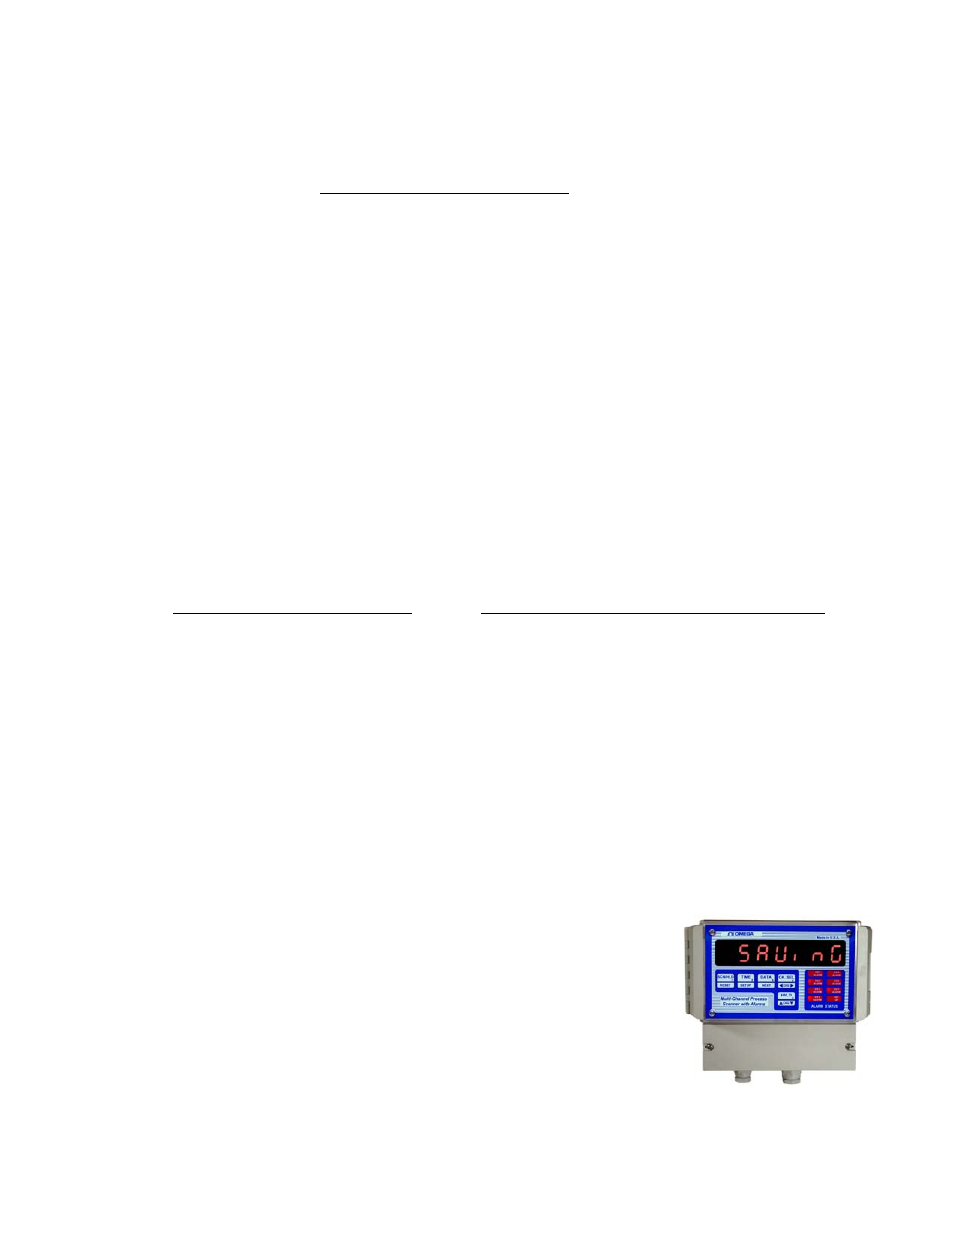
mode, push and hold the RESET key until the display reads 'SAVING'. The
SETUP key takes you from one parameter to the next e.g. if you are setting up
Channel ON/OFF, then after getting the desired value push SETUP key to setup
for Degrees C/F. WDIGX and SDIGT keys are used for programming values of
parameters such as limits, setpoints, etc.