Figure 4-6 . keystone correction, Hd format, Triggers – Runco VX-40d User Manual
Page 83: Pre l iminar y
Runco VX-40d/-50d/-60d/-80d Owner’s Operating Manual
71
PRE
IMINAR
Y
• Configure: Select Configure from the Display Device menu to change the picture
orientation, correct a “keystoned” (trapezoidal) image, access the lamp timer, perform
lens adjustments and quickly optimize various display settings.
• Installation - Orientation: Refer to
Adjusting the Picture Orientation on
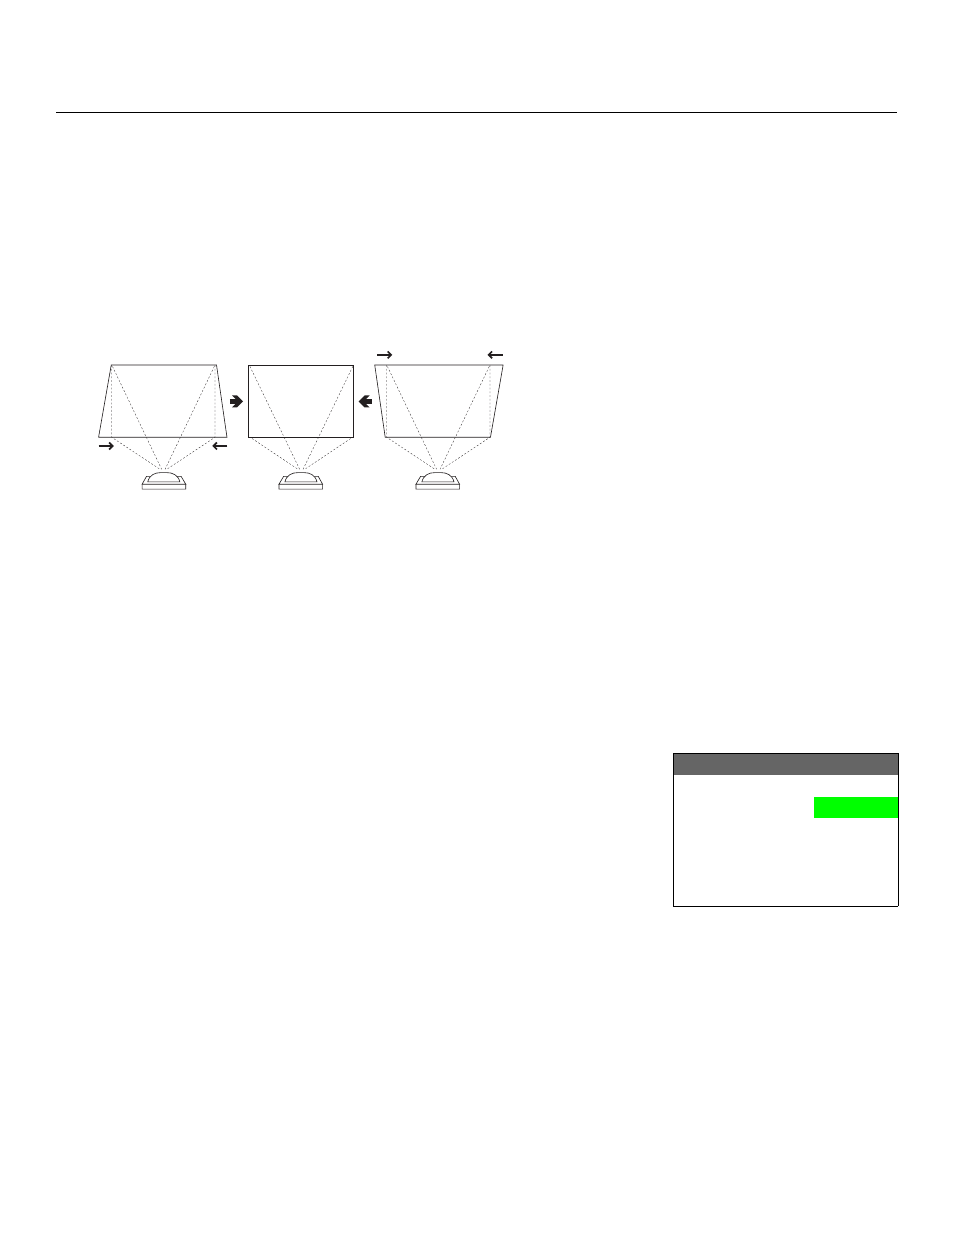
• Installation - Keystone: If the projector and screen are not installed perpendicular
to each other, the image may become distorted in a trapezoidal shape, as shown in
Figure 4-6. Select Keystone from the Configure menu to compensate for this.
Figure 4-6. Keystone Correction
• Installation - Lamp Hours: This menu page also displays the number of hours that
the lamp has been in service. To reset the counter (which is recommended after you
replace the lamp), refer to
Lamp and Filter Replacement on page 73.
• Lens: Select Lens from the Display Device menu to access the motorized lens
controls. Refer to
Primary Lens Adjustments on page 37.
• Auto Setup: Refer to
HD Format: If the characteristics of the incoming signal on the HD1 or HD2 inputs are
known, select HD Format from the Service menu and set them as described below. Doing
so can reduce the time it takes the DHD Controller to switch from HD to 480i signals or
vice versa.
This is generally not necessary unless the DHD Controller – for whatever reason – has
difficulty determining the color space (RGB or YUV), bandwidth or resolution of the
incoming HD signal. In most situations, the Auto settings work well.
• HD/RGB 1 and HD/RGB 2 (Color Space): Select Auto, RGB or YUV.
• ADC Bandwidth: Select Auto, 75 MHz, 150 MHz or 300 MHz.
• YPbPr Input Resolution: Select Auto or specify the input resolution, if known: 480i,
480p, 576i, 576p, 720p or 1080i.
Triggers: Select Triggers from the Service menu to configure the 12-volt trigger outputs.
You can assign one or more trigger outputs to each aspect ratio. Those triggers are then
activated by selecting that aspect ratio.
If your projector is equipped with the Runco CineWide with AutoScope system, assign at
least one trigger output (the same one to which the lens motor is connected) to the
Cinema and Virtualwide 2.35 aspect ratios.
Vertical Keystone Correction
Positive values
compress top.
Negative values
compress bottom.
-
+
HD Format
HD/RGB 1
Auto
HD/RGB 2
Auto
ADC Bandwidth
Auto
YPbPr Input Resolution