Unplug the saw, To remove insert, A. make sure saw is off and unplugged – RIDGID AC1030 User Manual
Page 4: B. loosen flathead screw, C. lift insert from front end, and pull, Using the dado and molding insert, Rëáåö=íüé=a~зз=~ез=jçäçáåö=fåëéêí
4
t^okfkdW
For your own safety, turn
switch “OFF” and remove plug from
power source outlet before removing
insert.
1. Unplug the saw.
2. Remove the blade guard, the saw
blade insert, and the saw blade.
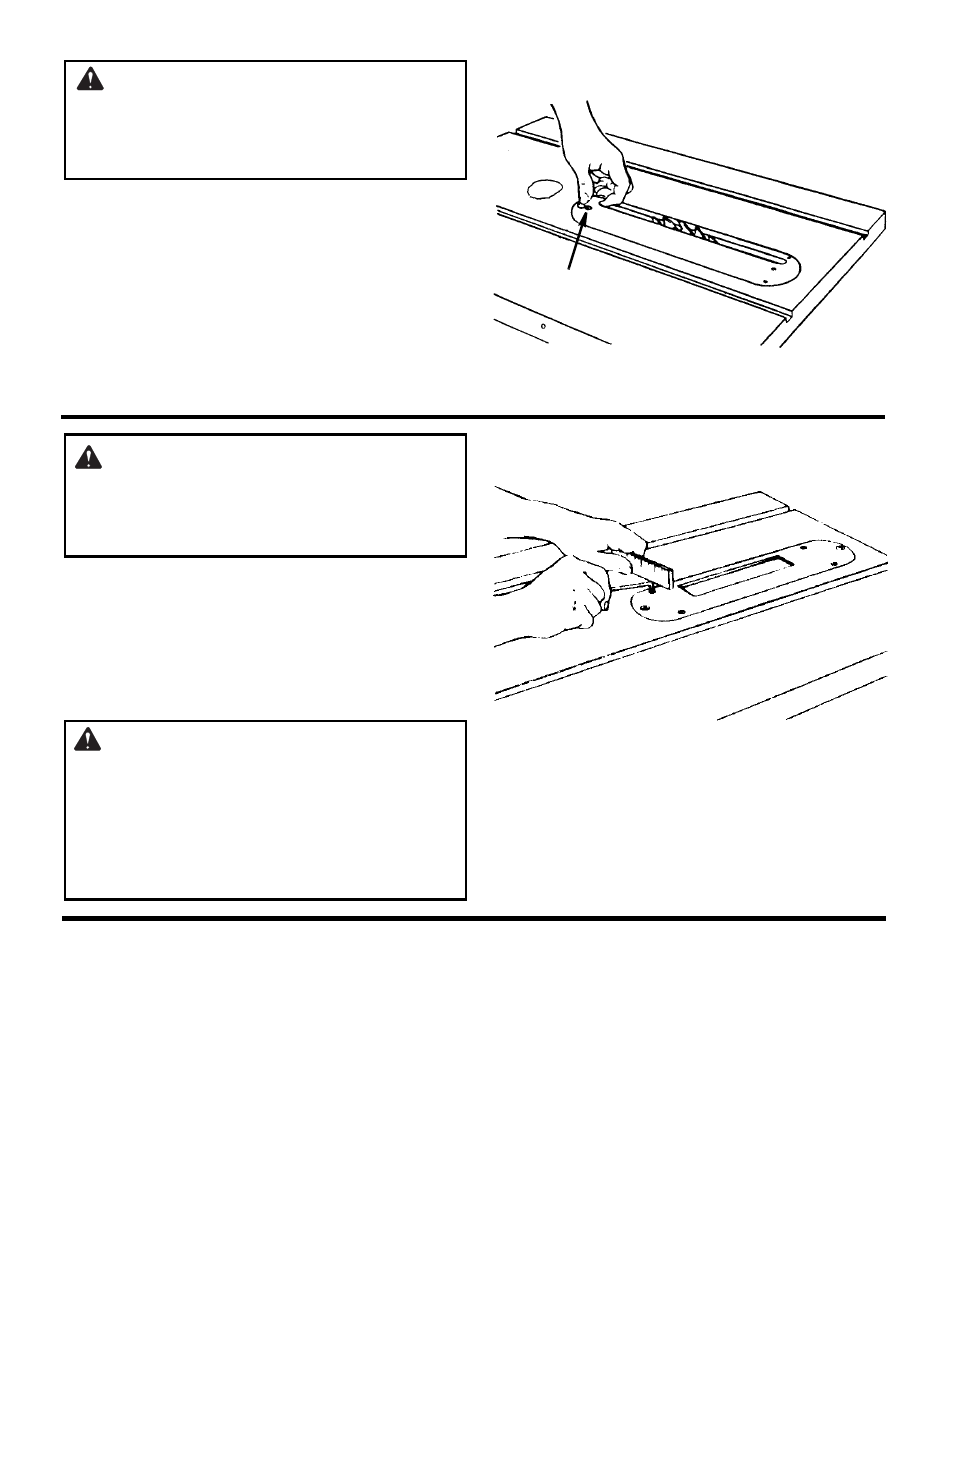
3. To remove insert:
a. Make sure saw is off and unplugged.
b. Loosen flathead screw.
c. Lift insert from front end, and pull
t^okfkdW=
To reduce the risk of
injury from accidental start, make sure
switch is “OFF” and plug is not con-
nected to power source outlet.
1. Insert should be flush with table top.
Check as shown. Loosen flathead
screw that holds insert and adjust the
four set screws as necessary. Tighten
flathead screw. Do not tighten screw to
the point where it bends the insert.
t^okfkdW=
Insert must be even with
the table surface. Inserts too high or low
can let the workpiece “snag” or catch on
uneven edges. Workpiece could twist
and kick back and could result in serious
personal injury.
2. Remove the dado/molding insert and
install the dado or molding head...
replace the insert.
rëáåÖ=íÜÉ=a~Зз=~еЗ=jçäÇáåÖ=fåëÉêí
klqbW=
Do not install the outer loose collar
(the one next to the arbor nut) when
installing the dado or the dado set or
molding head.
1. Before using the dado or the molding
head...or the insert, read and under-
stand the Safety and Operating instruc-
tions contained in the Operator’s
Manual furnished with your table saw
and the instructions furnished with your
dado head or molding head.
2. The dado or molding head can be used
with the saw arbor tilted BUT NOT IN
ALL POSITIONS... NEVER TILT THE
ARBOR WHILE THE SAW IS RUN-
NING.
cд~нЬЙ~З=pÅêÉï
rëÉ=pÉí=pÅêÉï=têÉåÅÜ
cìêåáëÜÉÇ=пбнЬ=p~ï
toward front of saw.