Connecting your xlr cable, Nt55 controls – RODE Microphones NT55 User Manual
Page 5
NT55
NT55
NT55
NT55
fig. 4
fig. 6
fig. 2
fig. 3
��
����������
����������������������
�����������������
fig. 5
You will notice the holder is quite
firm. This is intended to stop the
mic from coming loose. Ensure
you leave the high-pass filter and
Pad controls facing upwards to
enable quick access (see fig. 3).
As with any recording set-up it
is best to explore the options
you have available and use the
product within these constraints.
Connecting your XLR cable
The NT55 offers a balanced
microphone level output and is
wired as follows: Pin 1 “earth”, Pin
2 “+” and Pin 3 “-”.
Make sure you use a high quality
low loss XLR cable that is as short
as practical to avoid losses and
distortion.
To connect the XLR to the back
of the NT55, align the slot on
the XLR connector to the groove
on the inside of NT55 body and
insert (see fig 4). Ensure that the
connector can not be removed
without depressing the release
button. (See fig. 5).
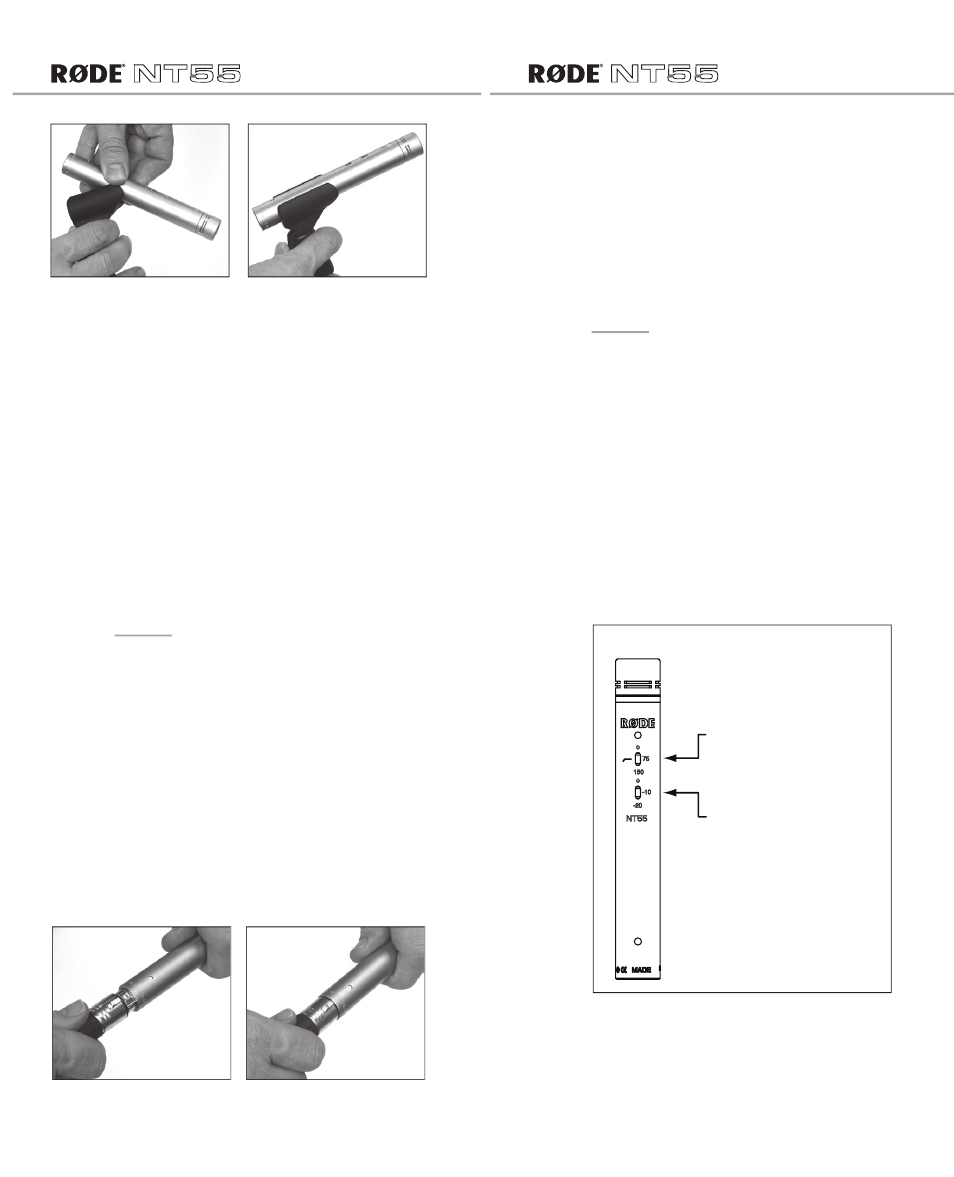
NT55 Controls
Now that you have the NT55
securely fastened to a mic stand
or tripod etc., and the audio
output XLR connected, you are
ready to fine tune your setup.
The NT55 incorporates 2
3-position switches for varying
both the low end frequency
response (HPF) and sensitivity
(Pad) (see fig. 6).
The Pad setting provides a 10
or 20 dB reduction in sensitivity
and is commonly referred to