Assembling your xmods® custom rc – Radio Shack XMODS 60-483 User Manual
Page 3
4
www.xmodsRC.com
www.xmodsRC.com
5
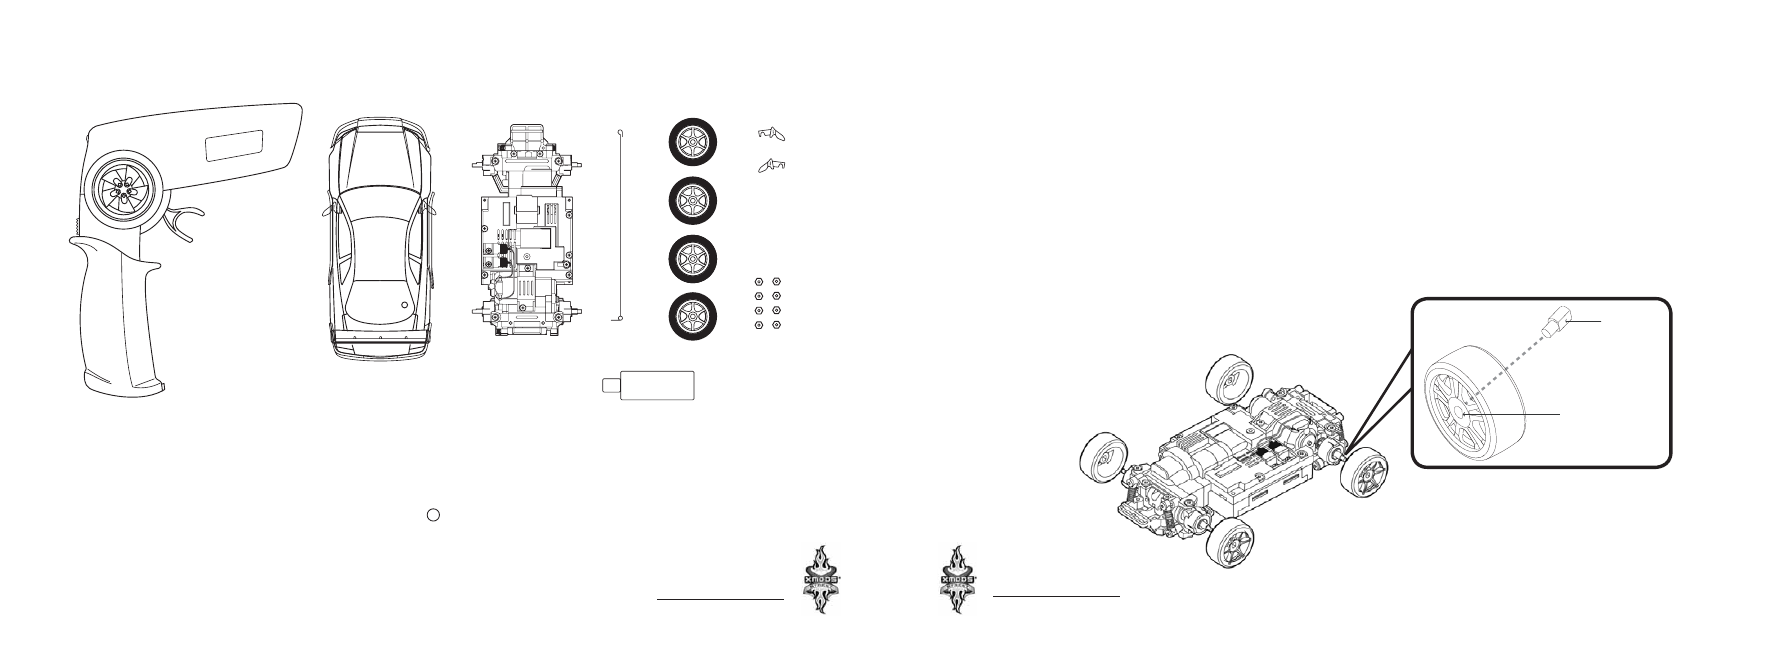
Your Starter Kit Includes
Assembling Your XMODS® Custom RC
Assembling the Wheels
Wheels with tires are included with your XMODS Street starter kit. Follow the steps below to
attach them to your car:
{
/LQHXSWKHÁDWVLGHRIWKHZKHHO·VFHQWHUZLWKWKHÁDWVLGHRIWKHD[OH
|
Gently press the tire onto the chassis.
}
Using the supplied Lug Wrench, screw the supplied wheel nut onto the axle and tighten
gently. Do not overtighten.
~
Repeat steps 1–3 for each wheel.
{ Controller with Antenna
| Car Body Assembly
} Car Chassis
~ Car Antenna
Wheels with Tires (4)
Lug Wrench
Wheel Nuts (16)
Spare Left/Right Side Mirrors
Screwdriver (not shown)
Decal sheet (not shown)
11
Spare screws (not shown)
Flat side
of axle
Flat side of
wheel’s center
{
|
}
~
Note: Only a spare left side mirror is supplied for ‘65 Mustang, ‘67 Camaro, and Firebird.