Vi. apple and sun keyboard emulation, Reset the product, Led display – Raritan Computer SW4-USB User Manual
Page 2: Iv. selecting ports: hot key mode, Switchman operations quick reference table, V. selecting ports: push button mode
There are two methods of selecting ports using
SwitchMan:
1. Use preconfigured Hot Key Commands.
2. Use Manual Port Selectors - the PC and
HUB push buttons on the front panel of the
SwitchMan unit.
SwitchMan’s default control mode is
KVM and
Audio only; but both port selection methods
above allow you to control port switching in five
different modes:
>
KVM only
>
USB Devices only
>
Audio only
>
KVM and Audio only
>
KVM and Audio and USB devices
Hot Key Commands
Activate Hot Key mode by pressing the SCROLL
LOCK key twice rapidly. A beep will sound, indi-
cating that you have entered Hot Key mode.
The Hot Keys: Z, S, C, H, A, T, L, U, and M are
not case sensitive. When an invalid Hot Key
command is attempted, three short beeps will
sound.
You must complete a Hot Key command within
five (5) seconds from the time you press the
SCROLL LOCK + SCROLL LOCK combination.
If you do not complete the command within this
time, start the combination from the beginning.
Three short beeps will sound if you must re-enter
the Hot Key command from the beginning.
Go to previous active port
SCROLL LOCK + SCROLL LOCK +
↑
Go to next active port
SCROLL LOCK + SCROLL LOCK +
↓
Activate AutoScan mode
SCROLL LOCK + SCROLL LOCK + Z
Turn buzzer ON or OFF
SCROLL LOCK + SCROLL LOCK + S
Go to a specific port
SCROLL LOCK + SCROLL LOCK + C + X
(where C indicates “select port” and X = port
number 1,2,3, or 4 - When KVM switch and
Audio switch are set to operate separately, this
Hot Key command switches KVM devices only.)
Toggle PC button to link/unlink KVM+Audio+USB
SCROLL LOCK + SCROLL LOCK + T
Link KVM switch and Audio to switch together
SCROLL LOCK + SCROLL LOCK + L
Separate KVM switch and Audio from switching
together
SCROLL LOCK + SCROLL LOCK + U
Selecting USB Hub Devices and
Connected Computers
SwitchMan’s built-in 2-port or 4-port USB 2.0
hub allows you to connect additional shared
peripherals. Please refer to the SwitchMan
Operations Quick Reference Table, below right,
for more information.
Buzzer Alert
During Hot Key operation, a beep sound indi-
cates errors or mode changes. When SwitchMan
is first powered ON, one short beep will sound.
After you press
SCROLL LOCK + SCROLL
LOCK to start Hot Key combinations: one short
beep sounds.
1.
SCROLL LOCK + SCROLL LOCK + S
- enabling / disabling buzzer: one short beep
(buzzer enabled) / two short beeps (buzzer dis-
abled).
2.
SCROLL LOCK + SCROLL LOCK +
↑
-
go to previous port: one short beep.
3.
SCROLL LOCK + SCROLL LOCK +
↓
-
go to next port: one short beep.
4.
SCROLL LOCK + SCROLL LOCK + T -
toggle PC button: one short beep.
5.
SCROLL LOCK + SCROLL LOCK + L -
link KVM switch and Audio to switch together:
one short beep.
6.
SCROLL LOCK + SCROLL LOCK + U -
separate KVM switch and Audio from switching
together: one short beep.
7.
SCROLL LOCK + SCROLL LOCK + 'C',
'H', 'A', or 'M', plus port number: one short
beep.
8. If no Hot Key is pressed 5 seconds after
SCROLL LOCK + SCROLL LOCK is pressed:
three short beeps.
9. If a non-Hot Key is pressed after
SCROLL
LOCK + SCROLL LOCK is pressed: three short
beeps.
10.
SCROLL LOCK + SCROLL LOCK + Z +
port - enable scan mode: one long beep, then
two short beeps.
11. During AutoScan, when switching from one
port to another: one short beep.
12. Pressing any keystroke except
CTRL, ALT,
SHIFT, and Window Key to abort from scan
mode: one short beep.
AutoScan
SwitchMan’s AutoScan feature allows you to
monitor the activity of your connected comput-
ers at regular intervals. Use AutoScan to scan
through the computers without having to manu-
ally switch the channels or use Hot key combi-
nations to view each port.
Activate AutoScan mode by pressing
SCROLL
LOCK + SCROLL LOCK + Z. Only active chan-
nels will be scanned. The default scan time is
three (3) seconds.
Exit AutoScan by pressing any key (except
CTRL, ALT, SHIFT, and Window Key). No other
keyboard or mouse control will function until you
exit AutoScan mode.
SCROLL LOCK + SCROLL LOCK + Z: Starts
to scan automatically after 5 seconds; scan rate
is the scan rate set in the last AutoScan session.
SCROLL LOCK + SCROLL LOCK + Z + 1: Sets
scan rate of 3 seconds for each active port.
SCROLL LOCK + SCROLL LOCK + Z + 2: Sets
scan rate of 6 seconds for each active port.
SCROLL LOCK + SCROLL LOCK + Z + 3: Sets
scan rate of 9 seconds for each active port.
SCROLL LOCK + SCROLL LOCK + Z + 4: Sets
scan rate of 12 seconds for each active port.
Manual Port Selectors
When the "link" between the KVM + Audio switch
and the USB devices switch is disabled, KVM +
Audio, and USB devices are switched indepen-
dently (
SCROLL LOCK + SCROLL LOCK + T).
When using the PC or HUB buttons, only active
ports can be switched; inactive ports will be
skipped in the switching sequence. Please refer
to the SwitchMan Operations Quick Reference
Table, below, for more information.
HUB Switch Button
The HUB button is disabled when "link" is
enabled. If you press the HUB button when “link”
is enabled, you will hear three short beeps.
VI. Apple and SUN Keyboard
Emulation
You can use a regular Windows USB keyboard
to control Apple or SUN servers. To use this fea-
ture, you must enter the appropriate keyboard
emulation mode by pressing
SCROLL LOCK
twice, and then pressing '-' (minus) and a spe-
cific function key one after another within 3 sec-
onds. Note that all combination keys in the emu-
lation mode must be pressed in sequence within
3 seconds instead of being pressed simultane-
ously. For example, "CTRL + ALT + F2" means
you first press and release CTRL, then ALT, and
finally F2.
Apple Keyboard Emulation Mode
Press
SCROLL LOCK + SCROLL LOCK + '-'
(minus)
+ F2 to enter the emulation mode. Then
press the following keys or key combinations for
performing specific Apple keyboard functions.
Apple Keyboard
Function
USB Keyboard Keys
SHIFT (left or right) SHIFT (left or right)
CTRL (left or right) CTRL (left or right)
Command
Window (left or right)
ALT (left or right)
ALT (left or right)
F13
PRINT SCREEN
F14
SCROLL LOCK
F15
CTRL (left or right) +
Window
=
Application
Mute
CTRL (left or right) + 1
Volume down
CTRL (left or right) + 2
Volume up
CTRL (left or right) + 3
Eject
CTRL (left or right) + 4
Return
ENTER
Delete
BACKSPACE
Help
INSERT
SUN Keyboard Emulation Mode
Press
SCROLL LOCK + SCROLL LOCK + '-'
(minus)
+ F3 to enter the emulation mode. Then
press the following keys or key combinations for
performing specific SUN keyboard functions.
SUN Keyboard
Function
USB Keyboard Keys
Again
CTRL + ALT + F2
Props
CTRL + ALT + F3
Undo
CTRL + ALT + F4
Front
CTRL + ALT + F5
SUN Keyboard
Function
USB Keyboard Keys
Copy
CTRL + ALT + F6
Open
CTRL + ALT + F7
Paste
CTRL + ALT + F8
Find
CTRL + ALT + F9
Cut
CTRL + ALT + F10
Help
CTRL + ALT + F11
Mute
CTRL + ALT + F12
Compose
CTRL + ALT + * (the one
on the keypad)
Volume up
CTRL + ALT + '+' (plus)
Volume down
CTRL + ALT + '-' (minus)
Stop
PAUSE/BREAK
Stop + A
PAUSE/BREAK + A
Exit the Keyboard Emulation Mode
To quit the Apple or SUN keyboard emulation
mode, press
SCROLL LOCK + SCROLL LOCK
+ '-' (minus) + F10.
Reset the Product
To restore the product to factory defaults, press
SCROLL LOCK + SCROLL LOCK + R +
ENTER (R is not case sensitive).
LED Display
The LEDs on SwitchMan’s front panel indicate
the status of each PC channel:
Blue LED (KVM + Audio selection)
OFF: channel is not selected.
ON (solid): channel is selected, and this selected
PC is active.
ON (blinking): channel is selected, but this
selected PC is inactive.
Blue LED (Audio selection)
ON: Press and hold the PC Push Button for two
seconds. The port to which Audio is connected
will blink once.
ON: To change the port to which Audio is con-
nected, continue to hold the PC Push Button,
and press the HUB Push Button. The new port
to which Audio is connected will blink once.
After these two buttons are released, the blue
LED will return to its original state to indicate that
KVM is connected to the PC channel.
Green LED (USB devices selection)
OFF: channel is not selected.
ON (solid): channel is selected.
IV. Selecting Ports: Hot Key Mode
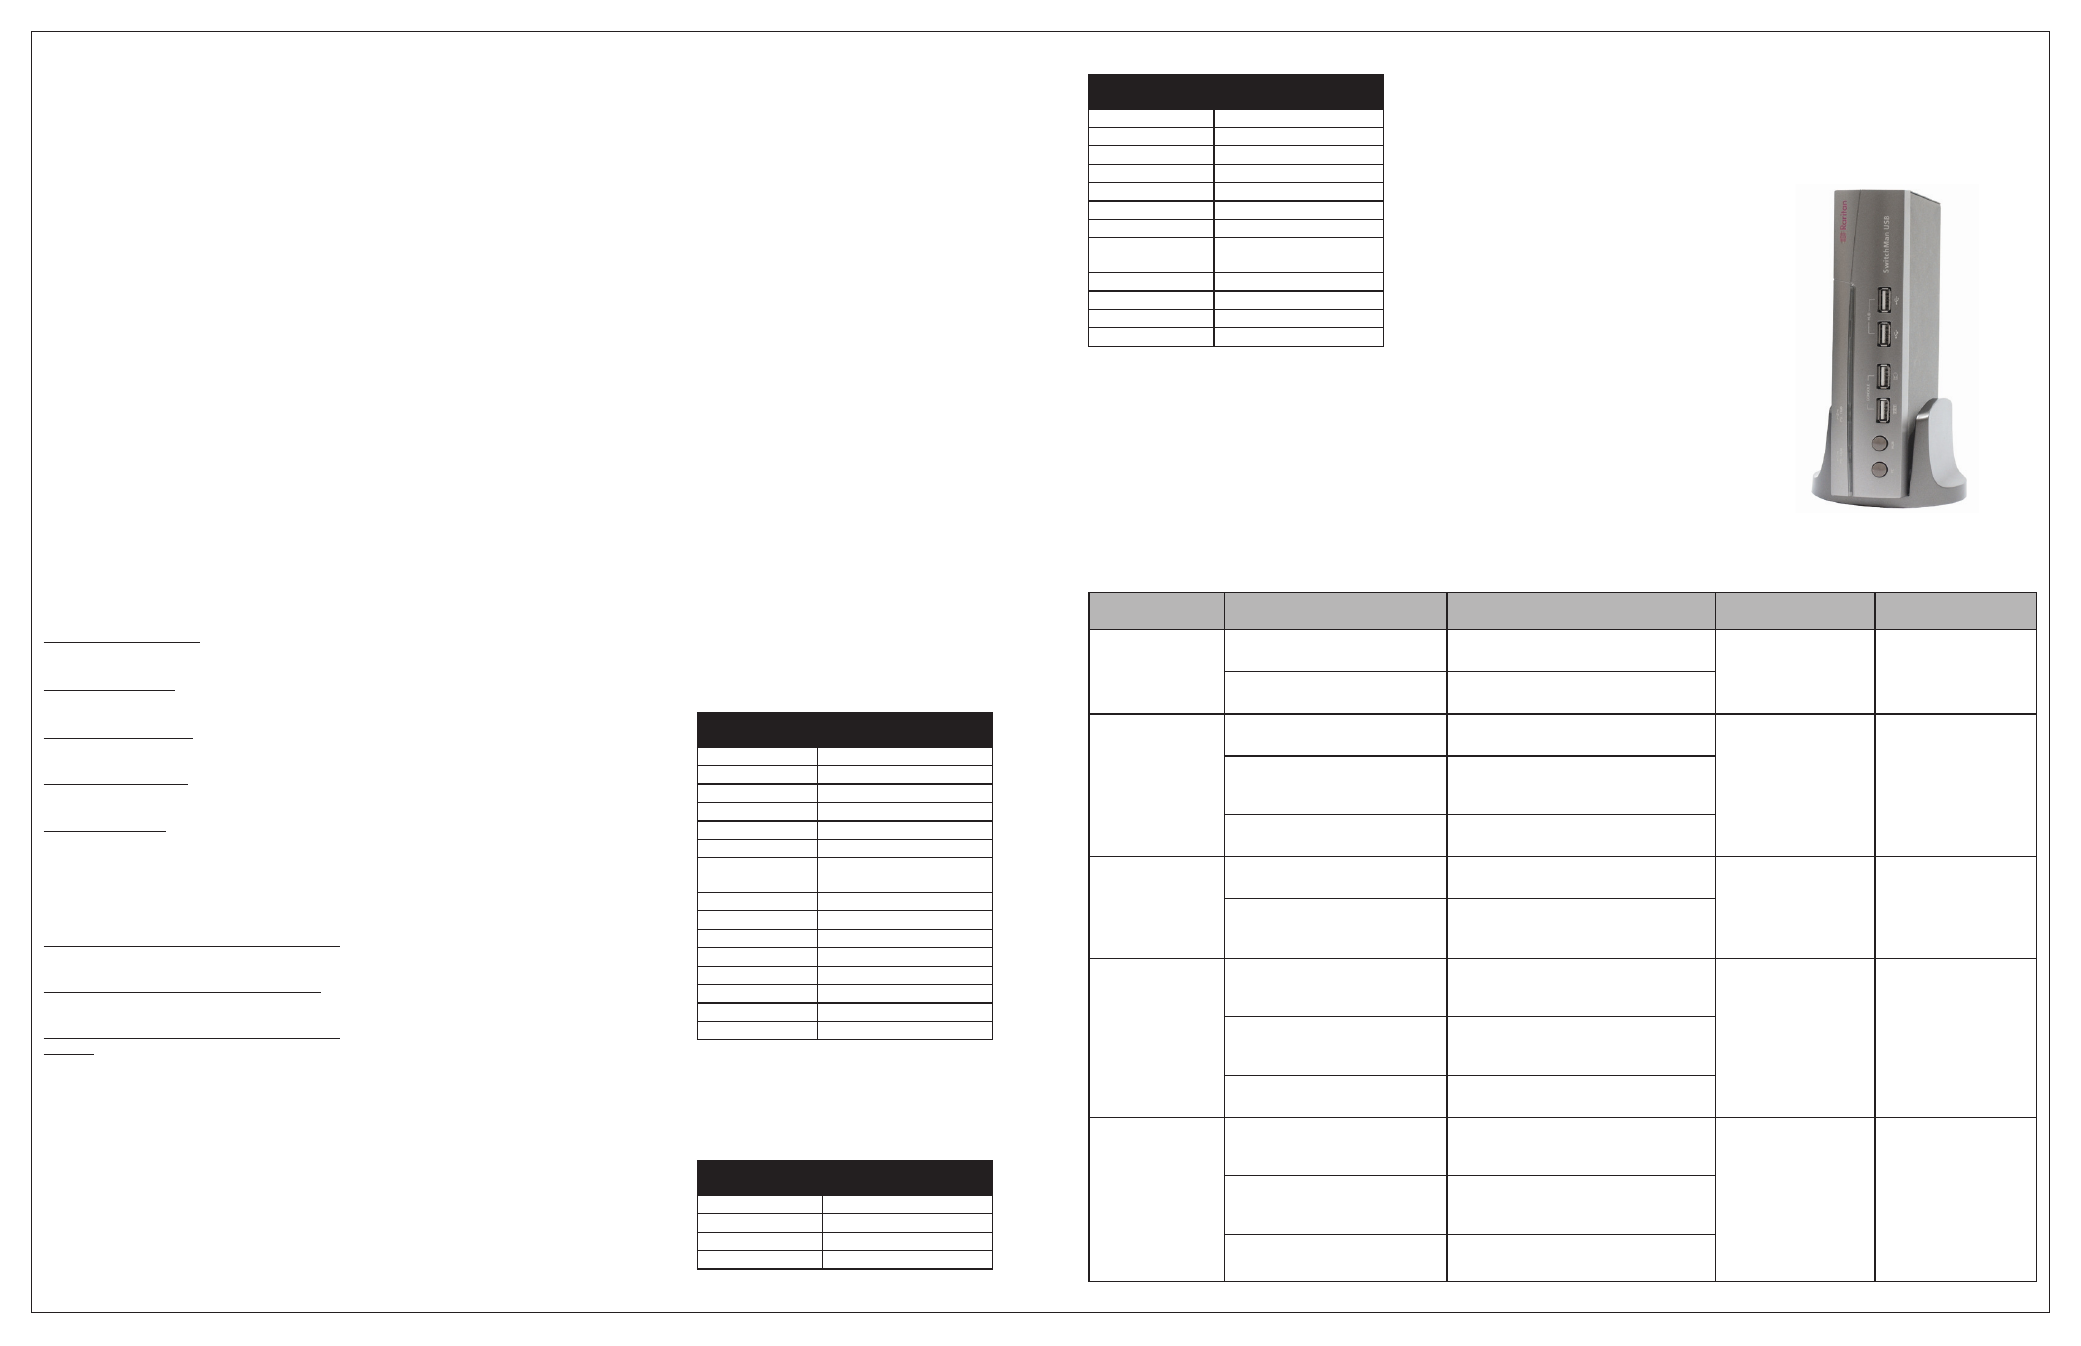
SW2-USB, mounted vertically
SwitchMan Operations Quick Reference Table
Switching Mode
Condition
Hot Keys to enable Operation
Push Button Operation Hot Key Operation
KVM+Audio+USB
Devices
If KVM+Audio+USB switch are
linked together
No pre-operation
Press PC to move to
next port
Scroll Lock + Scroll Lock
+ A + Port #
If KVM, Audio and USB switch are
separated
Scroll Lock + Scroll Lock + T (to link
KVM+Audio+USB)
KVM+Audio Only
If KVM+Audio+USB switch are
linked together
Scroll Lock + Scroll Lock + T (to unlink
KVM+Audio and USB)
Press PC to move to
next port
Scroll Lock+Scroll Lock
+C + Port #
If KVM+Audio and USB switch are
separated (default setting after
power up)
No pre-operation
If KVM and Audio switch are
separated
Scroll Lock + Scroll Lock + L (to link
KVM+Audio)
USB Devices Only
If KVM+Audio+USB s witch are
linked together
Scroll Lock + Scroll Lock + T (to unlink
KVM+Audio and USB)
Press HUB to move to
next port
Scroll Lock+Scroll Lock
+H + Port #
If KVM+Audio and USB switch are
separated (default setting after
power up)
No pre-operation
KVM Only
If KVM+Audio+USB switch are
linked together
Scroll Lock + Scroll Lock + T (to unlink
KVM+Audio and USB). Scroll Lock + Scroll
Lock + U (to unlink KVM and Audio)
Press PC to move to
next port
Scroll Lock+Scroll Lock
+C + Port #
If KVM+Audio and USB switch are
separated (default setting after
power up)
Scroll Lock + Scroll Lock + U (to unlink
KVM and Audio)
If KVM and Audio switch are
separated
No pre-operation
Audio Only
If KVM+Audio+USB switch are
linked together
Scroll Lock + Scroll Lock + T (to unlink
KVM+Audio and USB). Scroll Lock + Scroll
Lock + U (to unlink KVM and Audio)
Press and hold PC
Press HUB to move to
next port
Scroll Lock+Scroll Lock
+M + Port #
If KVM+Audio and USB switch are
separated (default setting after
power up)
Scroll Lock + Scroll Lock + U (to unlink
KVM and Audio)
If KVM and Audio switch are
separated
No pre-operation
V. Selecting Ports: Push Button Mode