Quick start, Continued – NEC 175VXM User Manual
Page 6
4
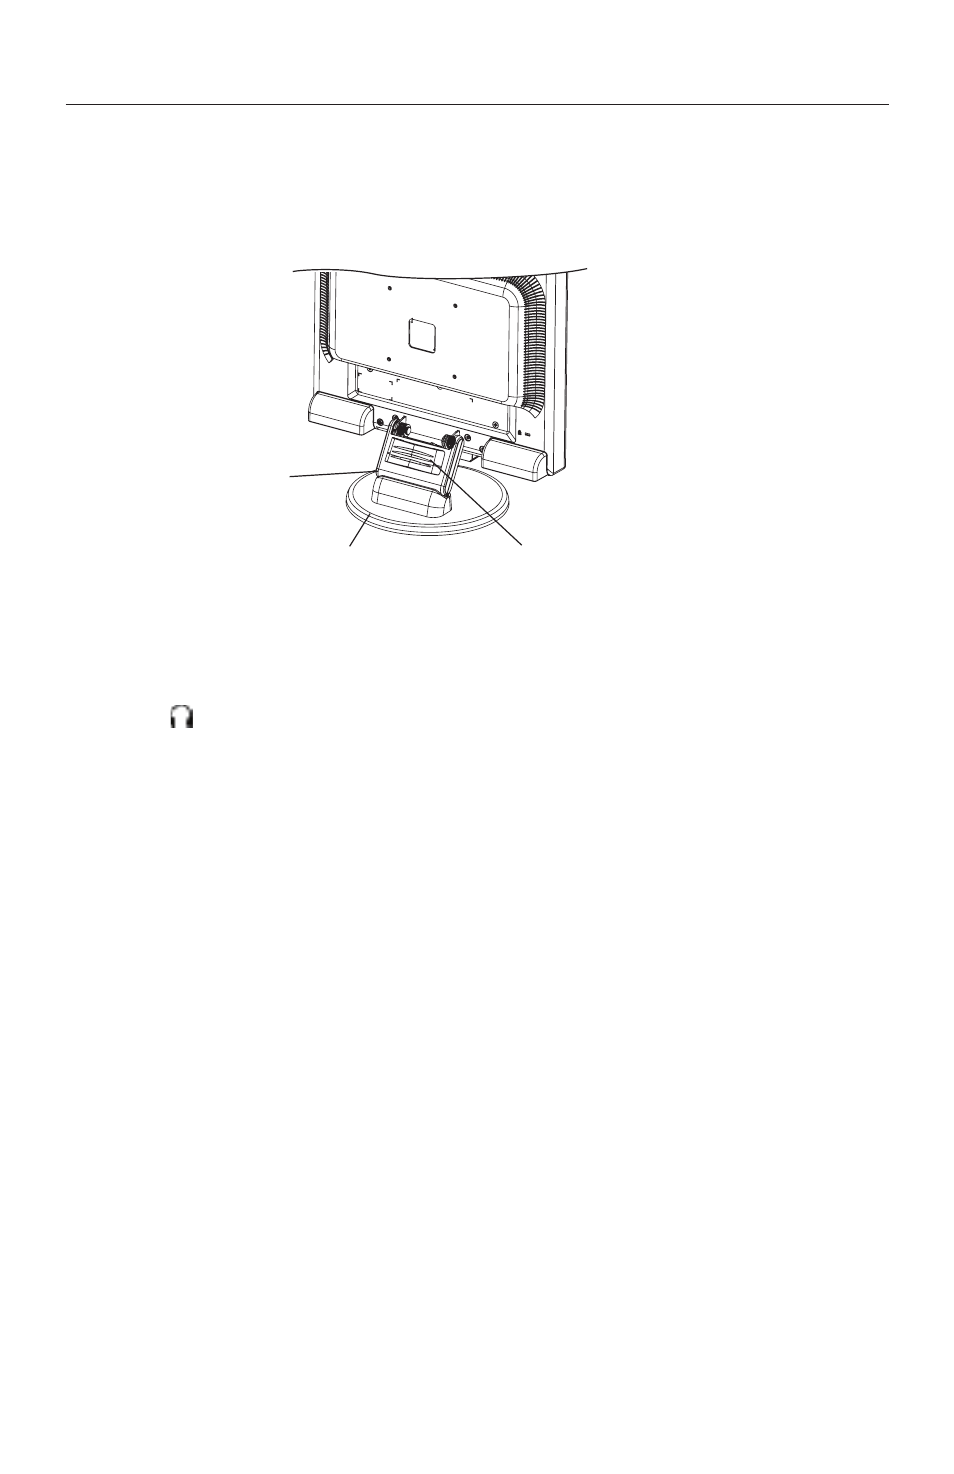
3. To attach the Cable Holder:
Insert the tabs of the Cable Holder into the holes of Stand neck and downward into
place (Figure A.4).
4. Connect the5-pin mini D-SUB cable to the appropriate connector on the back
of the monitor. (Figure B.1) Connect one end of the audio cable to AUDIO-INPUT
on the back of the monitor and the other end to the “Audio Out” terminal on the
computer (LCD175VXM+ only). Headphones may connected to the “Headphones”
output, “ ”, on the front of the monitor. While headphones are connected, the
sound from the speakers will be disabled.
5. Connect one end of the power cord to the LCD and the other end to the power
outlet. Place the video signal cable, power cord and DVI cable into the cable
holder (Figure B.1).
NOTE: Adjust the position of cables in the cable holder to avoid damage.
NOTE: If you use this monitor at AC25-240V, please refer to Recommended Use
section of this manual for proper selection of power cord.
Quick Start
- continued
Stand
Base
Cable Holder
Figure A.4