NEC 42MP1 User Manual
Page 28
21
Adjusting the color to the desired quality
Use this procedure to adjust the white balance for bright pic-
tures and dark pictures to achieve the desired color quality.
Example: Adjusting the "WHITE BALANCE"
Press the PROCEED button on the remote controller to
display the MAIN MENU on the screen, then...
1. Use the
▲ and ▼ buttons to select “PICTURE”, then
press the “PROCEED” button.
The “PICTURE” screen appears.
2. Use the
▲ and ▼ buttons to select “COLOR TEMP.”.
P I C T U R E
CONTRAST
BRIGHTNESS
SHARPNESS
COLOR
TINT
PICTURE MODE
COLOR TEMP.
NR
MEMORY
2
NR-2
:
:
:
R
G
SEL.
ADJ.
RETURN
EXIT
3. Use the
ᮤ
and
ᮣ
buttons to select "PRO".
The mode switches as follows when the
ᮤ
and
ᮣ
buttons are pressed:
→ 1 ↔ 2 ↔ 3 ↔ PRO ←
If neither the
ᮤ
or
ᮣ
button is pressed within 5 seconds,
the current selection is set and the previous screen reppears.
4. Press the “PROCEED” button.
The "WHITE BALANCE" screen appears.
5. Use the
▲ and ▼ buttons to select "RED-GAIN".
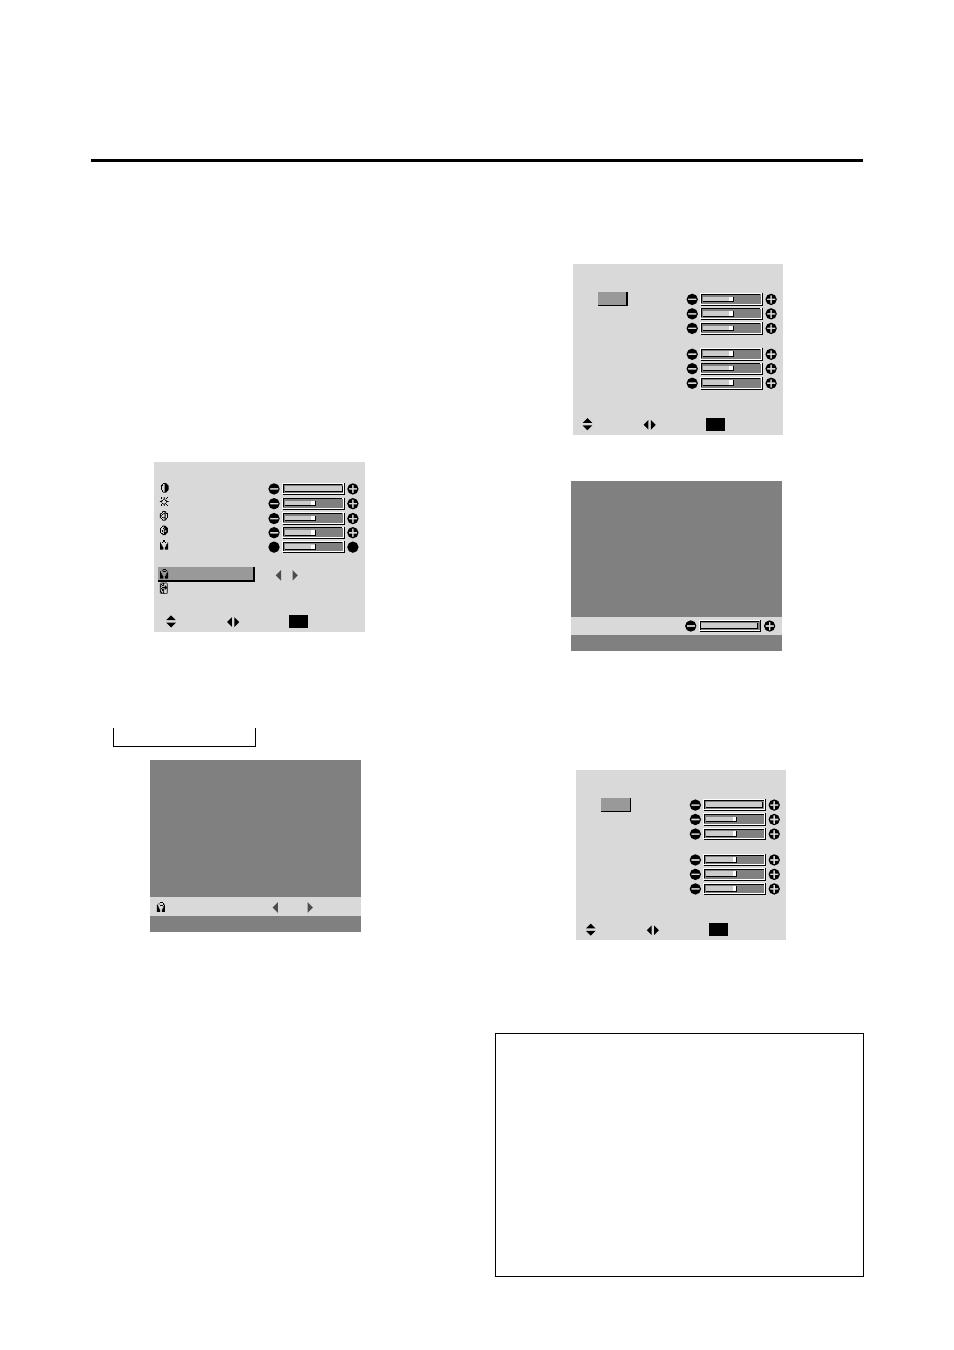
W H I T E B A L A N C E
GAIN
RED
GREEN
BLUE
BIAS
RED
GREEN
BLUE
SEL.
ADJ.
RETURN
EXIT
R-GAIN
6. Adjusts the white balance using the
ᮤ
and
ᮣ
buttons.
W H I T E B A L A N C E
GAIN
RED
GREEN
BLUE
BIAS
RED
GREEN
BLUE
SEL.
ADJ.
RETURN
EXIT
Information
Ⅵ Adjusting the white balance
RGB-GAIN .... White balance adjustment for signal
level
RGB-BIAS ..... White balance adjustment for black
level
Ⅵ Restoring the factory default settings
Restoring the factory default settings
Select “RESET” under the function menu. Note that this
also restores other settings to the factory defaults.
PRO
:
COLOR TEMP.
* If neither the
ᮤ
or
ᮣ
button is pressed within 5 sec-
onds, the current setting is set and the previous screen
reappears.
7. Press the “PROCEED” button.
The white balance has now been adjusted.
8. Once the adjustment is completed...
Press the “EXIT” button to return to the main menu.
To delete the main menu, press the “EXIT” button once
more.