Programming a recording (timer) – Philips VR130/07 User Manual
Page 12
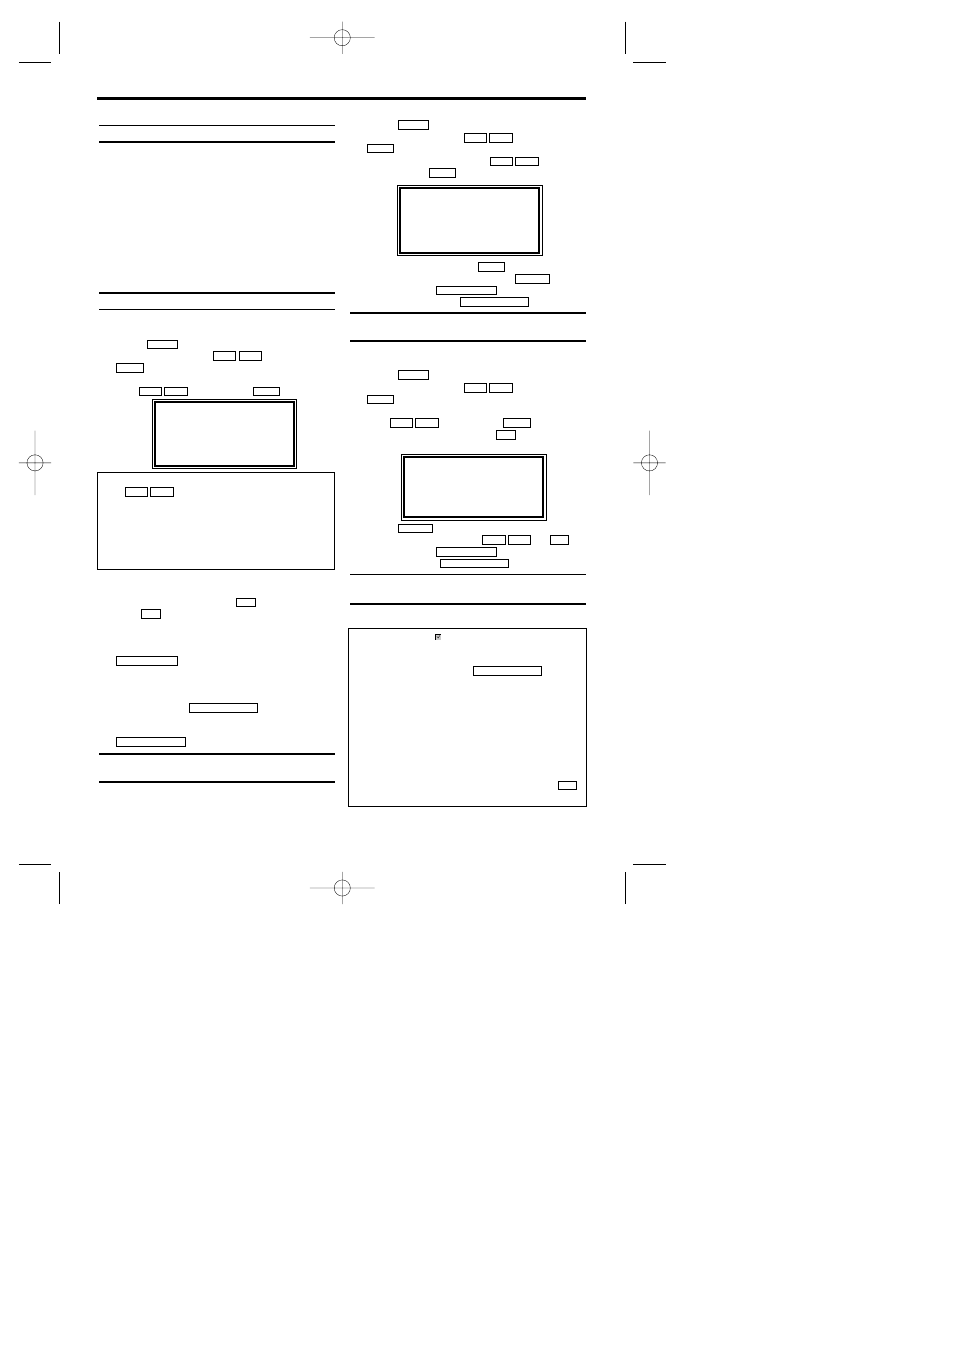
7. Programming a recording (TIMER)
General information
Use a TIMER programming to automatically start
and stop a recording at a later time or date. The
video recorder will switch to the right programme
number and begin recording at the correct time.
With this video recorder, you can pre-programme
up to eight recordings within a period of one
year. To make a programmed recording, your
video recorder needs to know:
* the date you want to make the recording
* the programme number of the TV channel
* the start and stop time of the recording
This information is saved in a 'TIMER block
Programming a recording
1.
1.
Switch on the TV. If required, select the pro-
gramme number for the video recorder.
2.
2.
Press
. The main menu will appear.
3.
3.
Select 'TIMER' with
. Then press
.
4.
4.
Select ONCE, DAILY, or WEEKLY recording
with . Then
press
.
If any of the TIMER blocks are in use, 'FULL' will
appear on the TV screen.
5.
5.
Select TIMER block with
.
6.
6.
With
buttons you can enter 'START'
(start time) , 'STOP' (end time) , 'PROG.'
(programme number) and 'DATE'.
7.
7.
When all inputs are correct, press
. The programming information
is stored in a TIMER block.
8.
8.
Insert a cassette with an intact security tab
(unprotected).
9.
9.
Switch off with
.
The programmed recording will only function
when the video recorder is switched off with
.
How to check, or delete a pro-
grammed recording (TIMER)
1.
1.
Switch on the TV. If required, select the pro-
gramme number for the video recorder.
2.
2.
Press
. The main menu will appear.
3.
3.
Select 'TIMER' with
. Then press
.
4.
4.
Select 'TIMER LIST' with
, and
confirm with
.
5.
5.
Select timer block with
.
6.
6.
To cancel the recording, press
.
7.
7.
To end, press
.
8.
8.
Switch off with
with
.
How to change a programmed
recording (TIMER)
1.
1.
Switch on the TV. If required, select the pro-
gramme number for the video recorder.
2.
2.
Press
. The main menu will appear.
3.
3.
Select 'TIMER' with
. Then press
.
4.
4.
Select ONCE, DAILY, or WEEKLY recording
with . Then
press
.
5.
5.
Select a TIMER block with
. (The flashing
number indicates an empty TIMER block.)
6.
6.
Press
to delete information and input
correct information with
or
.
7.
7.
To end, press
.
8.
8.
Switch off with
.
Problems and solutions for pro-
grammed recordings
STANDBY/ON y
y
STATUS/EXIT
0..9
L C
K B
CLEAR
0..9
B 1
L C
K B
B 1
L C
K B
MENU
STANDBY/ON y
y
STATUS/EXIT
CLEAR
B 1
B 1
L C
K B
B 1
L C
K B
MENU
STANDBY/ON y
y
STANDBY/ON y
y
STATUS/EXIT
0..9
0..9
B 1
L C
K B
B 1
L C
K B
MENU
12
EN
SELECT K L CHOOSE B
→
ONCE
DAILY
WEEKLY
TIMER LIST
END=EXIT
Selecting once/daily/weekly recordings
Use
to select from the following
options:
'ONCE': Recording once
'DAILY': Repeated daily recordings from
Monday to Friday
'WEEKLY.': Repeated weekly recordings (every
week on the same day)
L C
K B
SELECT K L CHOOSE B
ONCE
DAILY
WEEKLY
→
TIMER LIST
END=EXIT
ONCE
TIMER - 1 2 3 4 5 6 7 8 -
SELECT TIMER NUMBER
END=EXIT
Error message: '
' will flash in the video
recorder display
•
No cassette was inserted. Insert a cassette and switch
off the video recorder using
•
A cassette was inserted with the security tab removed.
Undo the erase protection (chapter 'Manual Recording',
section 'Preventing accidental erasing of cassettes') or
insert a different cassette.
Cassette is ejected during recording
•
The end of the tape was reached during recording.
The video recorder does not react
•
While a programmed recording is being made, you
cannot operate your video recorder manually. If you
want to cancel the programmed recording, press
.
•
The end of the tape was reached during recording.
C
/A
A
STANDBY/ON y
y
VR130/07(EN).QX4 02.4.23 11:17 PM Page 12