Quick start guide – Promise Technology FastTrak SX4000 Lite User Manual
Page 9
Quick Start Guide
9
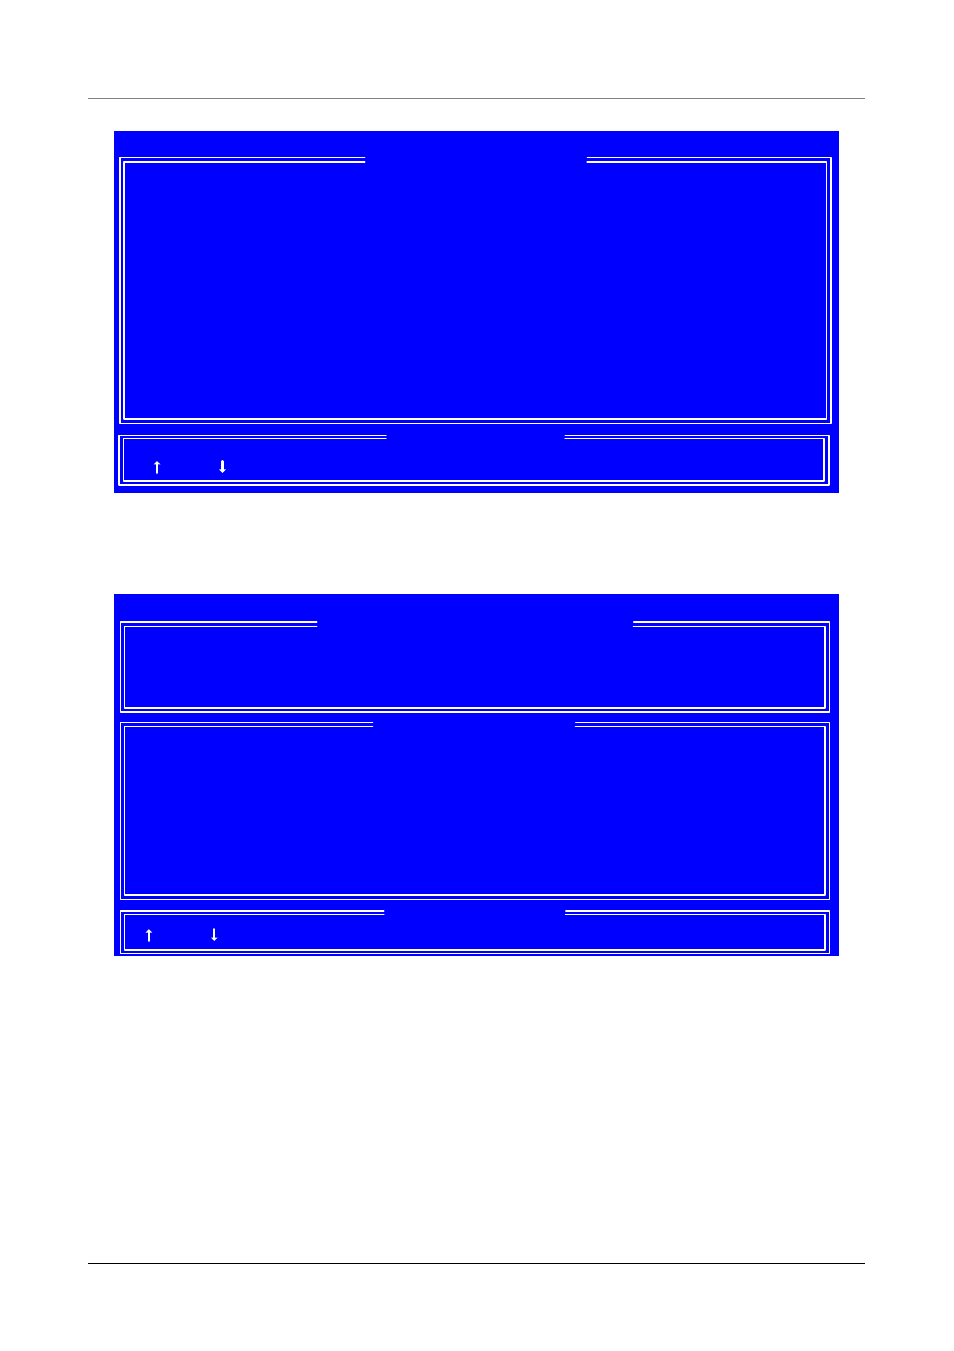
FastBuild Array Utility 2.xx (c) 2002-2005 Promise Technology, Inc.
[ Define Array Menu ]
[ Keys Available ]
Array No
RAID Level
Total Drv
Capacity (MB)
Status
Array 1
-----
-----
-----
-----
Array 2
-----
-----
-----
-----
Array 3
-----
-----
-----
-----
Array 4
-----
----
-----
-----
Note: * --Bootable Array
[ ] Up [ ] Down
[ESC] Exit
[Enter] Select
[Space] Change Boot Drive
4.
Press the arrow keys to highlight an array number you wish to define and
press Enter to select it. The Define Array Definition Menu will next appear
(below).
FastBuild Array Utility 2.xx (c) 2002-2005 Promise Technology, Inc.
[ Define Array Definition Menu ]
Array No
RAID Level
Total Drv
Status
Array 1
RAID 5
3
Functional
Stripe Block: 64 KB
Initialize Array: ON
Gigabyte Boundary: ON
[ Drive Assignments ]
Channel ID
Drive Model
Capacity (MB)
Assignment
1:
SEAGATEST380023AS
80630
Array 1
2:
SEAGATEST380023AS
80630
Array 1
3:
SEAGATEST380023AS
80630
Array 1
4:
SEAGATEST380023AS
80630
Free
[ Keys Available ]
[ ] Up [ ] Down
[Space] Change Option
[ESC] Exit
[Ctrl-Y] Save
5.
Choose the RAID Level you want. In the Define Array Definition Menu
section, press the Spacebar to cycle through array types:
•
RAID 0 (Striping)
•
RAID 1 (Mirroring)
•
RAID 0+1 (Striping / Mirroring)
•
RAID 5 (Data / Parity Striping)
•
JBOD (Single Drive)