Getting started – Philips HTS5510C User Manual
Page 20
20
Getting Started
(continued)
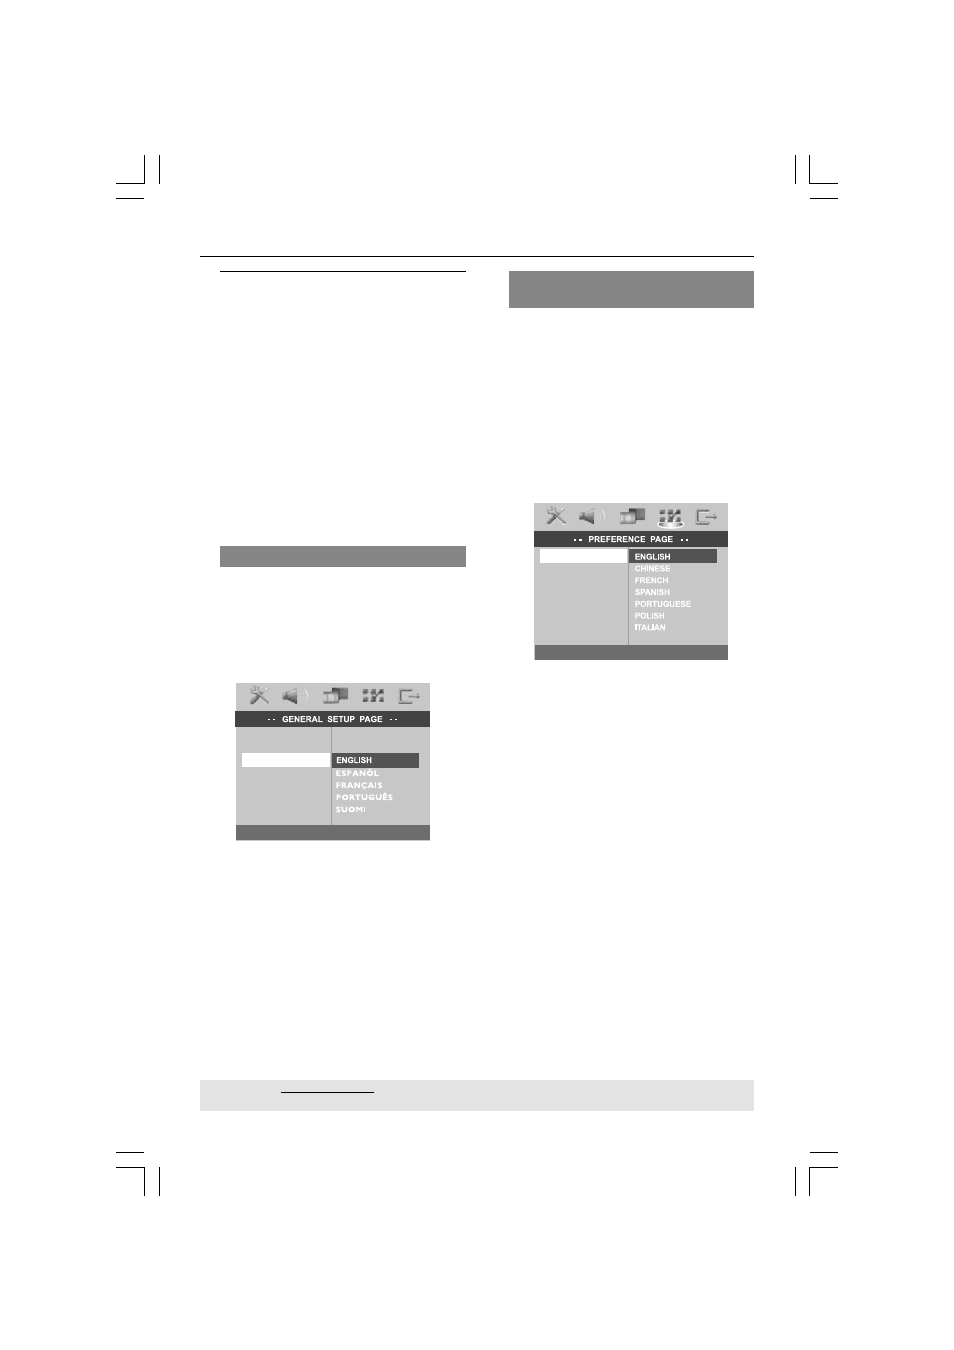
Step 3: Setting language
preferences
You can select your preferred language
settings so that this DVD system will
automatically switch to the language for
you whenever you load a disc. If the
language selected is not available on the
disc, the disc’s default language will be
used instead.
The OSD (On-Screen Display) language
for the system menu will remain as you
set it, regardless of the default and
optional disc languages.
On-screen display (OSD) language
1
In disc mode, press SETUP.
2
Press 2 to select ‘GENERAL SETUP
PAGE.’
3
Press
34 to highlight { OSD
LANGUAGE, } then press
2.
DISPLAY DIM
PROGRAM
OSD LANGUAGE
SCREEN SAVER
DISC LOCK
DIVX(R) VOD CODE
4
Press 34 to select a language and press
OK to confirm.
Audio, Subtitle and Disc menu
languages
1
In disc mode, press Ç twice to stop
playback (if any,) then press SETUP.
2
Press 2 repeatedly to select
‘PREFERENCE PAGE.’
3
Press 34 to highlight one of the options
below, then press
2.
– { AUDIO } (disc’s soundtrack)
– { SUBTITLE } (disc’s subtitles)
– { DISC MENU } (disc’s menu)
AUDIO
SUBTITLE
DISC MENU
PARENTAL
PBC
MP3/JPEG NAV
PASSWORD
DIVX SUBTITLE
DEFAULT
4
Press 34 to select a language and press
OK to confirm.
If the language you want is not in
the list, then select { OTHERS. }
Use the numeric keypad (0-9) on the
remote to enter the 4-digit language code
‘XXXX’ (see page 3) and press OK to
confirm.
5
Repeat steps
3
~
4
for other settings.
TIPS:
The underlined option is the factory default setting.
To return to the previous menu, press 1. To remove the menu, press SETUP.