Manual programming without ’videoplus, How to clear a timer, Interrupt a timer – Philips 21PV688/05 User Manual
Page 15: How to check or alter a timer
D If ’
Code error
’ appears on the TV screen, you
entered an incorrect code number. Repeat the entry or
end with the
STANDBY m
button.
D If ’
Daily error
’ appears on the TV screen, the date
was incorrectly set or you chose the wrong option in
’
REPEAT
’.
D If the message ’
Press STOP to start re-
cording
’ appears on the TV screen, press the
STOP h
button.
A TIMER recording will only function, if the set is not used
for other video recorder functions (e.g. playback).
D The TIMER lamp on the front of the set lights up when
one or more of the TIMER blocks are occupied.
D If the end of the cassette is reached during a recording,
the TV-VIDEO Combi automatically ejects the cassette.
D If you forget to load a cassette, ’
Timer pro-
grammed - no cassette
’ will appear.
D If you inserted a cassette with erase protection when you
want to start a recording, the cassette will be ejected.
Manual programming without ’VIDEOPlus’
a
Press the
TIMER k
button.
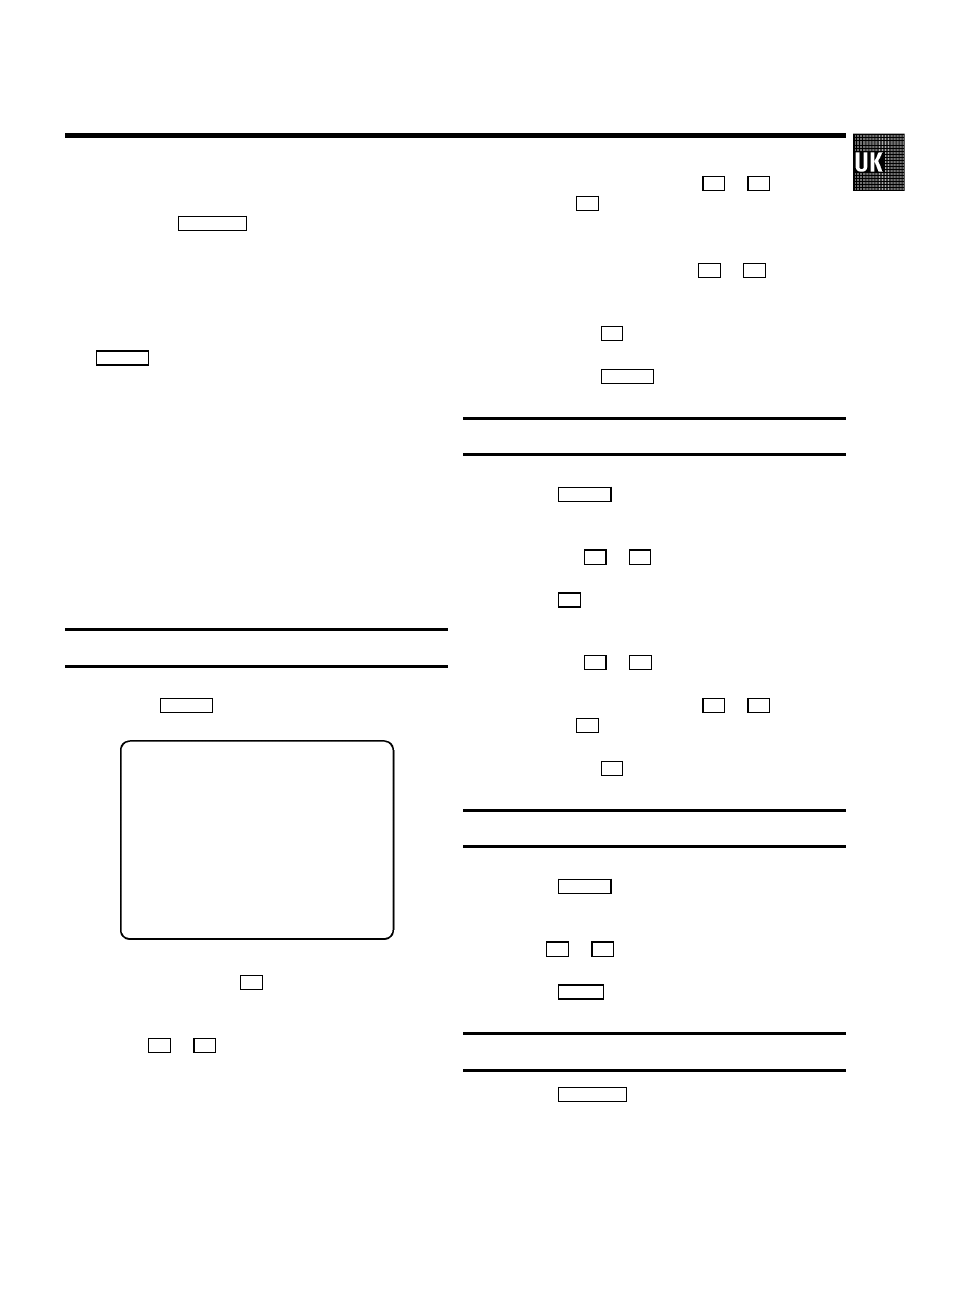
TIMER PROGRAMMING
VPS
DATE PROG. START
END
LP PDC REP.
,,,,,,,,,,,,,,,,,,,,,,,,,,,,,,,
--
--
--:--
--:--
-
-
-----
Exit:
Start:
press TIMER
press
b
Press the menu button
C
.
c
Select where you want to enter data with the menu
buttons
D
or
C
.
’
DATE
’: Date on which the recording is to be made
’
PROG.
’: Programme number of the TV programme
’
START
’: Start time of the recording
’
END
’: End time of the recording
’
LP
’: Recording speed
’
VPS/PDC
’: Recording with/without VPS/PDC
’
REP.
’: Recording at daily or weekly intervals
d
Enter data with the menu buttons
A
or
B
or with the
digit buttons
0-9
.
D If you want an external source to control the TIMER
recording, select ’
Record prepared
’ in the line
’
PROG.
’ with the menu buttons
A
or
B
. The TV-
VIDEO Combi will now be controlled via the SCART cable.
e
Confirm with the
OK
button.
f
Confirm with the
TIMER k
button.
How to check or alter a TIMER
a
Press the
TIMER k
button.
b
Select the TIMER you want to check or alter with the
menu buttons
A
or
B
.
c
Press the
C
button.
d
Select where you want to check or alter data with the
menu buttons
D
or
C
.
e
Enter data with the menu buttons
A
or
B
or with the
digit buttons
0-9
.
f
Confirm with the
OK
button.
How to clear a TIMER
a
Press the
TIMER k
button.
b
Select the TIMER you want to clear with the menu
buttons
A
or
B
.
c
Press the
CLEAR
button.
Interrupt a TIMER
E Press the
STANDBY m
button for several seconds.
D The TIMER will be cleared automatically.
13