Installing the replacement mpm/mpm+ card, Installing the replacement mpm/mpm+ card -33 – Polycom Real-Time Media Conferencing Platform RMX 2000 User Manual
Page 39
Polycom RMX 2000 Hardware Guide
1-33
5
Carefully slide the MPM/MPM+ card out through the front panel.
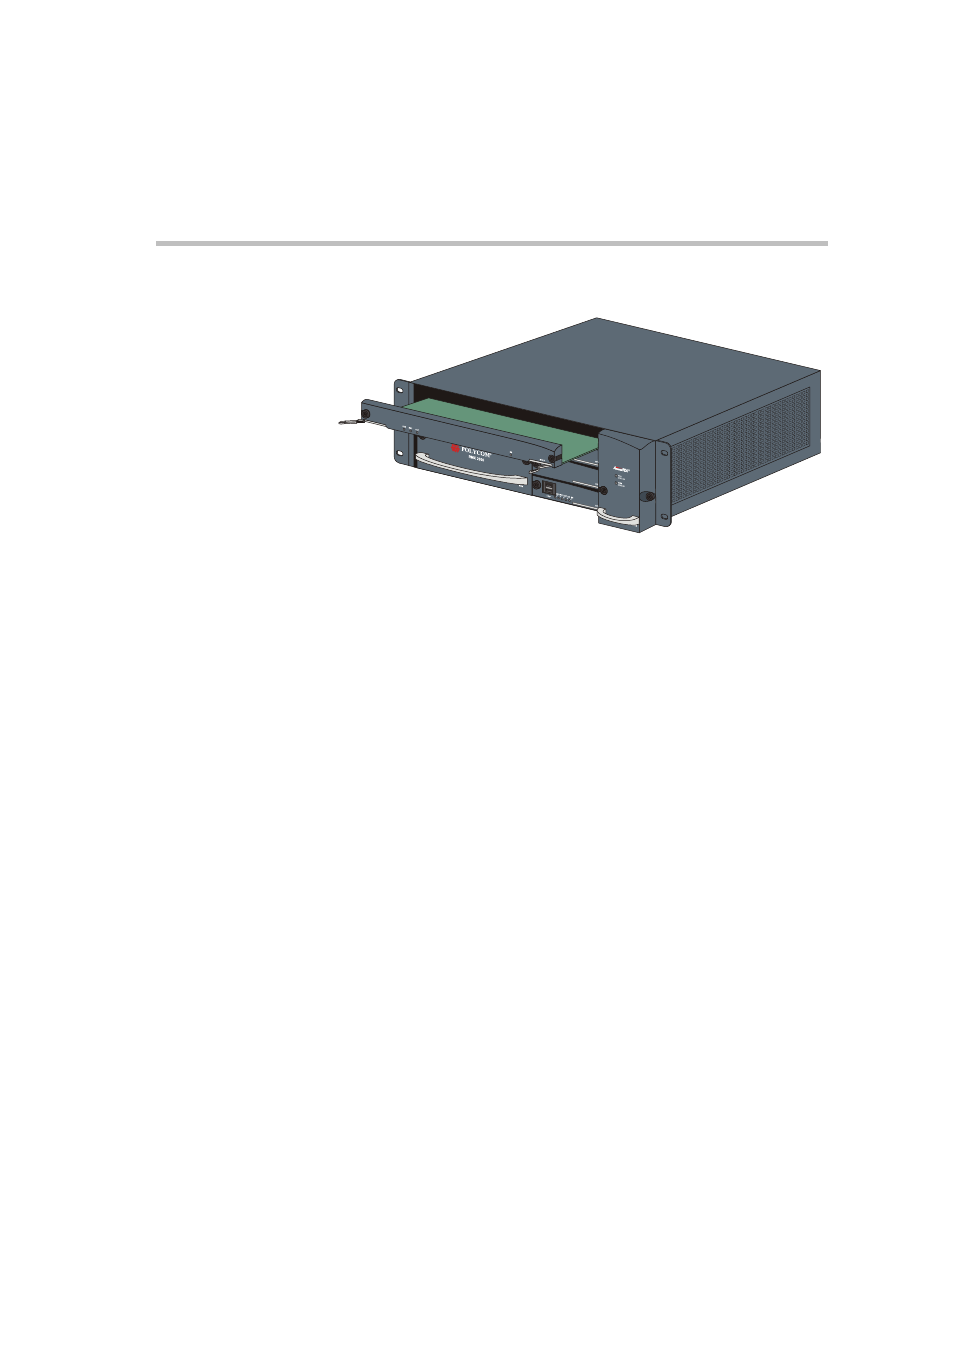
Installing the Replacement MPM/MPM+ Card
1
On the card to be installed, move the ejector levers to their fully open
position.
2
Slide in the replacement MPM/MPM+ card.
3
Push the MPM/MPM+ card firmly into the Backplane, making sure it
is properly seated in its slot.
4
Ensure that the metal ejector levers are fully retracted into their
housings.
5
Tighten the captive screws on the front panel of the RMX that secure
the MPM/MPM+ card to the chassis.
Installing a New MPM/MPM+ Card in a Powered On
RMX 2000
1
If applicable, loosen the captive screws and remove the slot cover.
2
On the card to be installed, move the ejector levers to their full open
position.
3
Insert the card into the slot until the ejector levers touch the front
edge of the card cage.
4
Push the ejector levers to their closed position and tighten the captive
screws on each side of the card, securing the MPM/MPM+ card to
the RMX.