Using a printer (pictbridge) – Panasonic DMC-LC1PP User Manual
Page 102
Playback (advanced)
102
Using a Printer (PictBridge)
Preparation
• Connect the camera to a printer. (P101)
• The paper size cannot be changed depending on the printer. For details, refer to
the operating instructions of the printer.
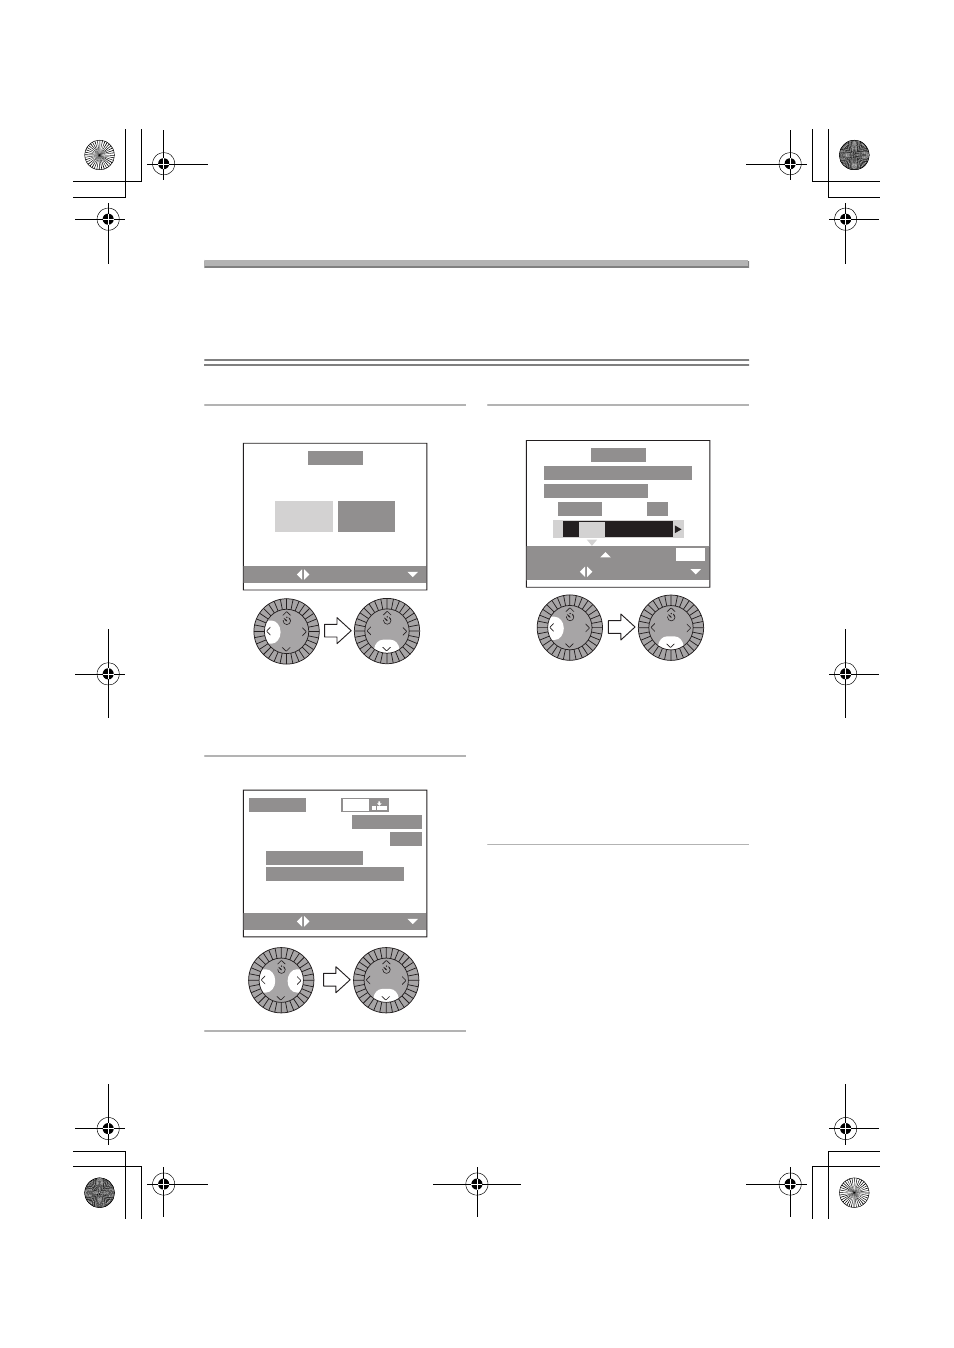
ª Single picture
1
Select [SINGLE PICTURE].
• The screen shown in step 2
appears when DPOF print is not
set or the printer does not support
DPOF print.
2
Select the picture to print.
3
Select [YES] and print.
• Press the [DISPLAY] button to print
the date. (Only when connecting to
a printer which supports printing
the date.)
• Press
3 and then press 2/1 to
set the number of prints. Press
4/[REVIEW] to print pictures.
• Press the [MENU] button to cancel
printing.
SINGLE
PICTURE
DPOF
PICTURE
SET
SELECT
PictBridge
REVIEW
REVIEW
Pict Bridge
SELECT
2560
100_0001
1 / 1 9
PLEASE SELECT
THE PICTURE TO PRINT
REVIEW
REVIEW
PLS CHECK THE PRINTER
START PRINTING?
DATE
DISPLAY
SELECT
SET COUNT
SET
COUNT
1
YES
NO
REVIEW
REVIEW
PictBridge
LC1PP.book 102 ページ 2004年1月26日 月曜日 午後6時50分