Installing the blade, Telescoping guard – Porter-Cable 447 User Manual
Page 8
8
4.
Remove blade retaining bolt, release blade lock and remove outer blade
flange.
5.
Retract telescoping guard and remove blade.
INSTALLING THE BLADE
1.
DISCONNECT TOOL FROM POWER SOURCE.
2.
Remove any sawdust that may have accumulated within guards and
around arbor. Check the telescoping guard to insure it is in working order.
3.
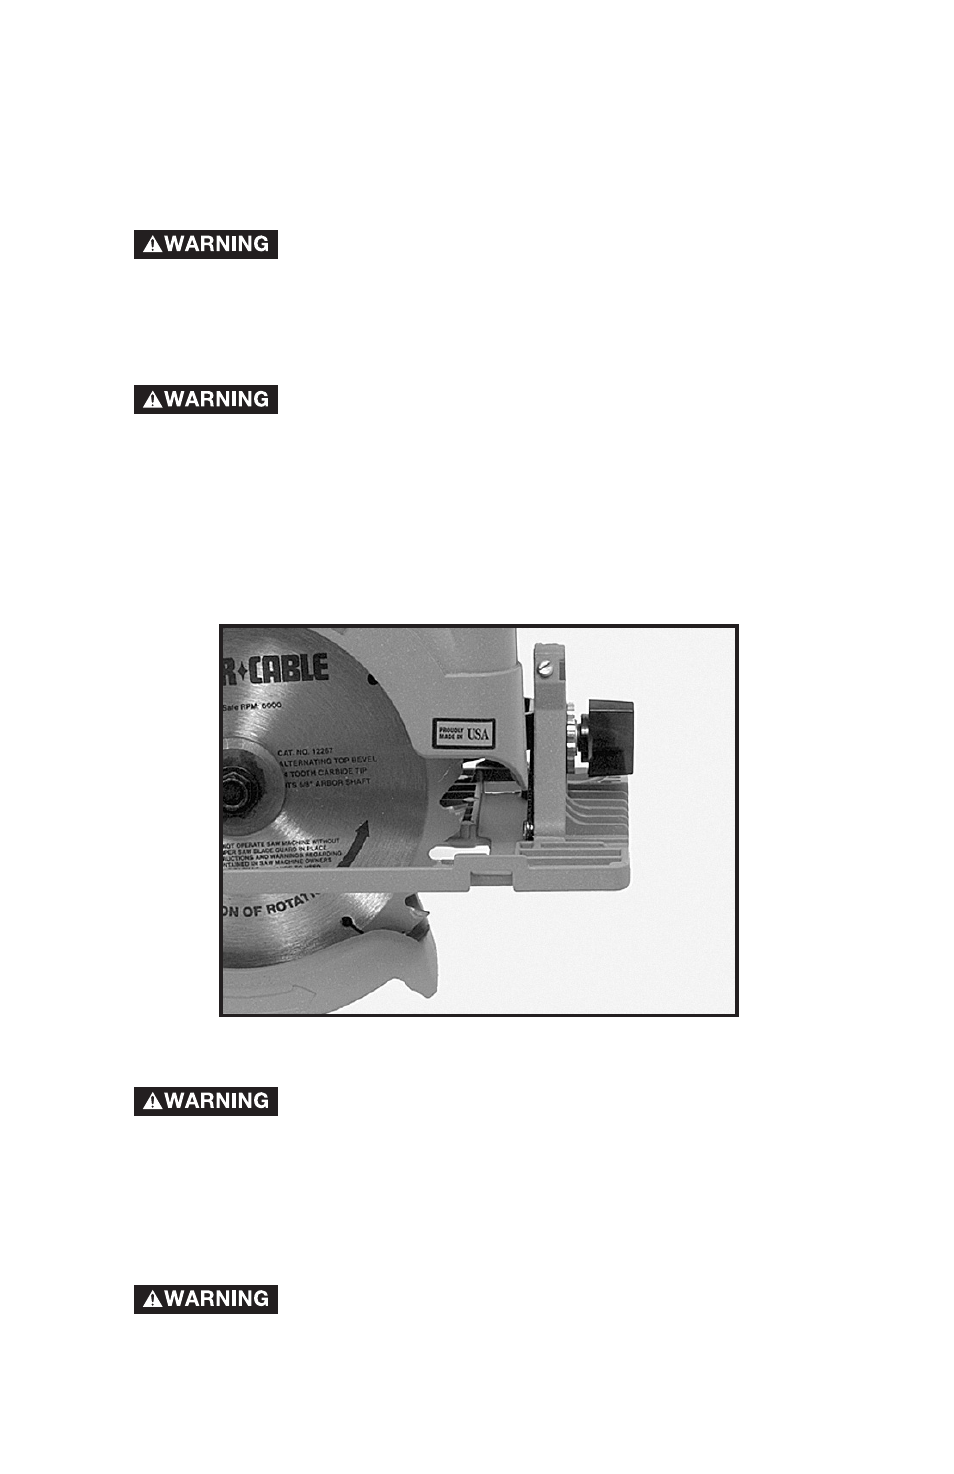
Clean inner blade flange, retract telescoping guard, and place sharp
blade on arbor making sure teeth point up at front of saw as shown in Fig. 2.
AVOID CONTACT WITH BLADE TEETH TO
PREVENT PERSONAL INJURY.
4.
Place outer blade flange on arbor with flange towards blade and flats
mating with those on arbor.
5.
Replace blade retaining bolt and finger tighten by turning clockwise.
6.
Push in blade lock and rotate blade arbor by hand until lock engages
arbor. Tighten blade retaining bolt with wrench provided just enough to
prevent blade slippage during normal cutting and release blade lock.
TELESCOPING GUARD
The telescoping guard (A) Fig. 3, is a safety device
important to your protection. Every time you use the saw, see that
the telescoping guard rotates freely and returns quickly and
completely to its closed position. At least once a month, remove
any accumulated sawdust, pitch, etc., from the area around the hub
(B), of the telescoping guard. DO NOT LUBRICATE THIS AREA. The
hub has a dry film lubricated surface that does not need oiling.
NEVER block or wedge the telescoping guard in the open position.
NEVER use your saw if the telescoping guard is not
in working order. If telescoping guard movement is sluggish or
binding exists, return the saw to your nearest AUTHORIZED
PORTER-CABLE SERVICE STATION or PORTER-CABLE SERVICE
CENTER for repair.
Fig. 2