Recording, Adjusting the recording level, Recording an entire cd – Philips CDR-600 User Manual
Page 19
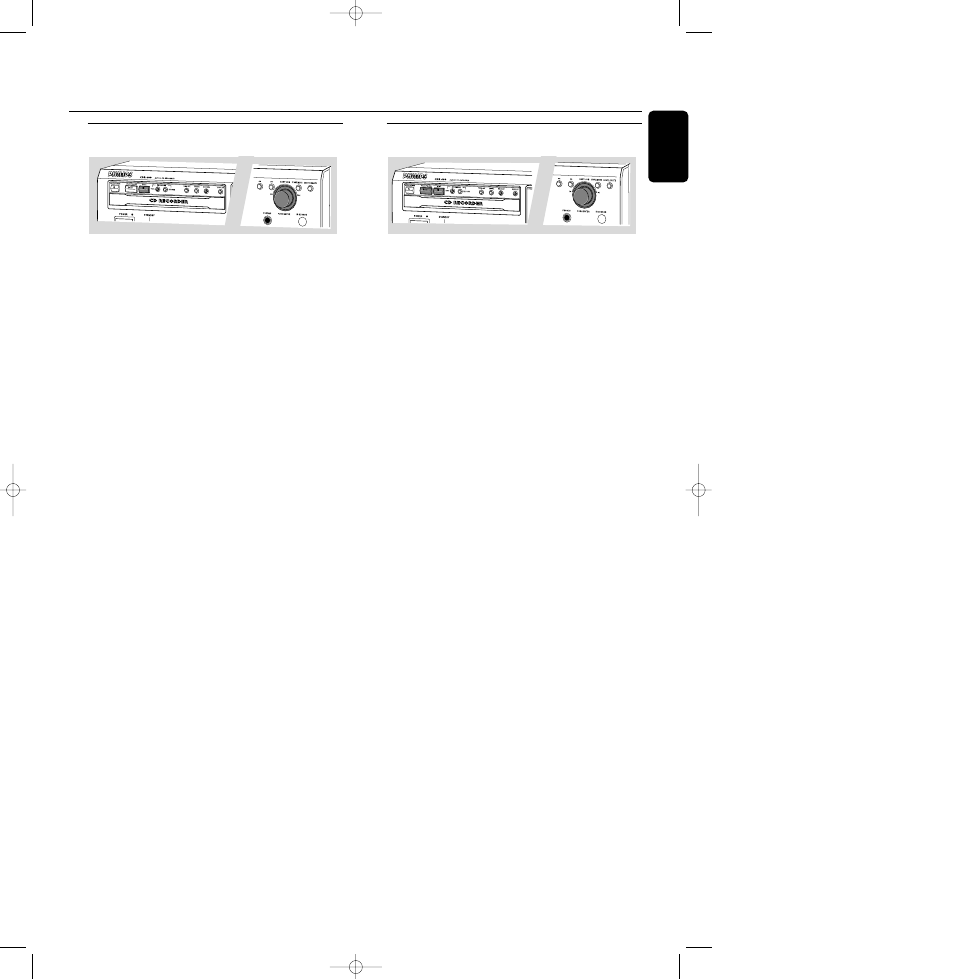
Adjusting the recording level
Some analog sources have such high output levels, that you
may need to adjust the recording level to ensure good
quality recordings without distortion.
1
Place an unfinalized CD(RW) disc, absolutely free of
scratches and dust particles in the CD recorder tray.
2
Press SOURCE repeatedly to select the ANALOG input
➜
ANALOG
lights up and
ANALOG will appear on the
display.
3
With the CD recorder stopped, press RECORDING TYPE
three times to select REC MANUAL.
➜
d starts to flash and the display shows
PRESS RECORD.
4
Start the source by pressing PLAY/PAUSE 2;.
DO NOT start recording!
5
Rotate the EASY JOG/ENTER key to decrease the record
level until, on the Record/Play Level bar, all the blue
segments are alight, but the red segments do not light
continuously during the loudest passages.
6
Press STOP 9 on the CD recorder and on the source.
➜
The adjusted recording level is stored in the memory
of your recorder (also when powered off!).
Note:The recording level can also be adjusted for digital or
optical recordings after selecting the
DIGITAL 1 or
OPTICAL input.
Recording an entire CD
This feature enables you to make fast and easy copy of an
entire CD to CD, make a compilation CD or archive an
entire LP or cassette on CD.
Preparing
1
Place an unfinalized recordable disc, absolutely free of
scratches and dust particles in the CD recorder tray.
2
Press SOURCE repeatedly to select the type of connection
you made to your source of recording. Examples:
- CD-player is connected with its digital out connector
directly to the digital in connector of your CD-recorder:
connection is DIGITAL I.
- CD-player is connected with its analog out connectors
directly to analog in connectors of your CD-recorder:
connection is ANALOG
- Turntable is connected with its analog out connectors to
amplifier/receiver which is connected to the analog in
connectors of your CD-recorder: connection is ANALOG
➜
DIGITAL I
,
OPTICAL I
or
ANALOG
lights up and
DIGITAL 1, OPTICAL or ANALOG will appear on
the display.
3
With the CD recorder stopped, press REC TYPE to select
REC DISC for recording of an entire CD or a program of
tracks.
➜
d and sync start to flash and the display shows the
selection.
If the input label
DIGITAL I
or
OPTICAL
also flashes,
switch on the external source or check the digital
connection.
Notes:
If you are recording from a digital source (
OPTICAL or
DIGITAL 1) and want to finalize the CD automatically after
recording, press RECORDING TYPE until the option MAKE CD
is selected.
If you planned to record a compilation of tracks, be sure to
have programmed a selection of tracks on the CD-player or
CD-changer from which you are going to record.
Recording
19
English
xp CDR 600/17 English 20-03-2001 13:27 Pagina 19