Viewing a jpeg file, Jpeg file operation, English – Philips RCP7005TP2L User Manual
Page 42: Skip images, Rotate images, View slide shows
English
42
Viewing a JPEG File
The recorder can play discs with JPEG files.
Before playing JPEG recordings, read “Notes on JPEG
Recordings” at right.
otes
Multi session DVD containing Windows Media
TM
Audio
files may not be supported.
Open session disc does not be supported.
This unit does not support PC data.
This unit does not support an unfinalized disc with
closed session.
If color display on the TV is displayed wrongly, please
toggle the switch between RGB and COMPONENT.
11
Insert a disc and close the tray.
The Photo menu appears on the TV screen.
2
2
Use v V b B to select a folder, then press OK.
Open icon is highlighted on the left side of the
menu.
3
3
Press OK.
A list of files in the folder appears.
ote
If the
icon displays in the Photo menu, it means you
cannot see those JPEG files.
4
4
Use v V b B to select a file, then press OK.
The options appear on the left side of the menu.
ip
If you are in a file list and want to return to the Folder
list, use the v / V buttons on the remote to highlight
the
icon and press OK.
You can view TV channel or video input source by
pressing RETURN. If you want to return to the Photo
menu, press LIST/DISC MENU.
On CDs with mixed content (audio tracks,
MP3/Windows Media
TM
Audio files and JPEG files),
you can select among the AUDIO CD menu,
MP3/Windows Media
TM
Audio CD menu, and Photo
CD menu by pressing TITLE repeatedly in Stop mode.
5
5
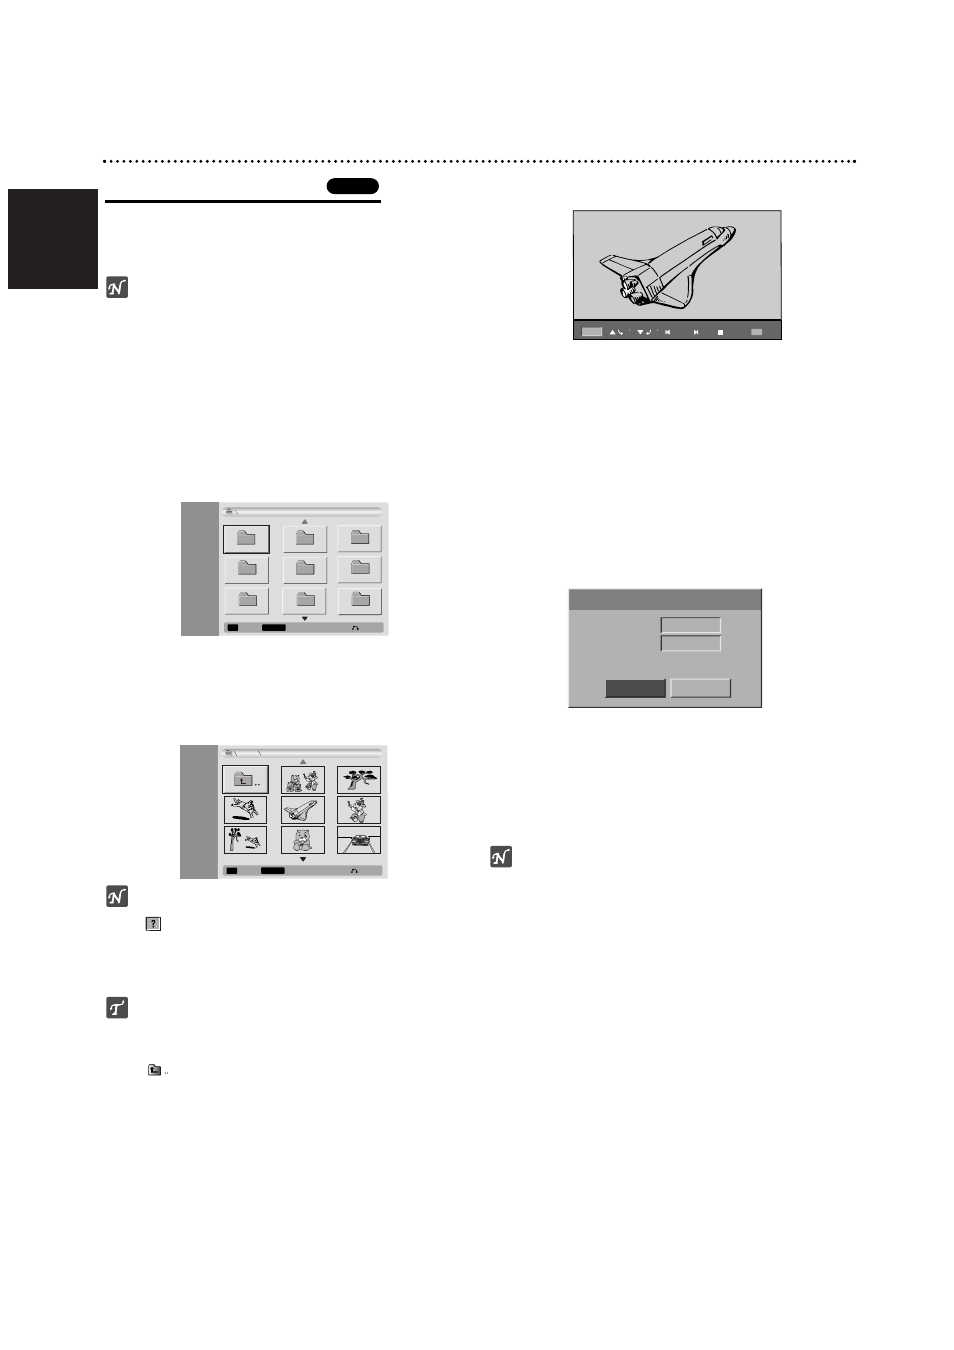
Use v / V to select “Full Screen” option then
press OK.
6
6
To stop viewing at any time, press STOP.
The Photo menu reappears.
Skip Images
While viewing a picture, press
'
b
or B
'
once to advance
to the next file or return to the previous file.
Rotate Images
Use v / V while viewing a picture to flip the picture
clockwise or counterclockwise.
View Slide Shows
1. Select “Slide Show” option on the Photo menu.
2. Press OK.
The Slide Show menu appears.
3. Use v V b B to set the options.
Object: Selected file or All files.
Speed: Sets the speed for Slide Show (Slow,
Normal, or Fast)
4. Select the Start option then press OK to start the
Slide Show.
5. Press STOP to stop the Slide Show and returns to
the Photo menu.
ote
Use the MARKER button to select multiple files.
Notes on JPEG Recordings
Depending on the size and number of JPEG files, it
may take several minutes for the recorder to read the
disc’s content. If you don’t see an on-screen display
after several minutes, some of the files are too big —
reduce the resolution of the JPEG files to less than 4
mega pixels and burn another disc.
The total number of files and folders are free but the
total number of files on the folder should be less than
999.
Some discs may be incompatible due to different
recording formats or the condition of the discs.
When you are using software such as “Easy CD
Creator” to burn JPEG files on a CD-R, ensure that
all selected files have the “.jpg” extension before
copying them into the CD layout.
If the files have “.jpe” extensions, please rename
them as “.jpg” files.
File names without the “.jpg” extension cannot be
read by this recorder, even though the files are shown
as JPEG image files in Windows Explorer
®
.
JPEG
JPEG File Operation
MARKER
OK
Mark
Select
Photo
-CD
JPEG
Folder 01
Folder 02
Folder 03
Folder 04
Folder 05
Folder 08
Folder 06
Folder 07
Close
Start
Object
Speed
Slide Show
Cancel
All
Normal
Photo
-CD
JPEG
MARKER
Mark
Select
Close
OK
4/20
File 03.jpg
90
90
Stop
Prev
Next
OK
Hide